Introduzione
This guide goes over how to replace the controller's main circuit board.
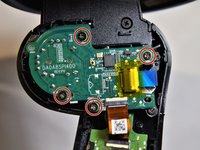
If your TPC-Q044 circuit board starts failing when using your controller, you may want to think about replacing the component. The failure may be a result of bad soldering or missed connections. The replacement of the circuit board is not too complex. A couple of screwdrivers and a spudger will be sufficient to complete this task. There are no warnings or potential hazards when replacing the board.
Cosa ti serve
-
-
-
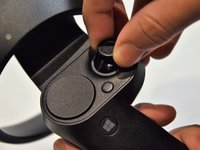
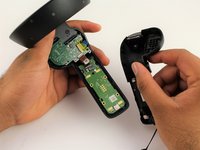
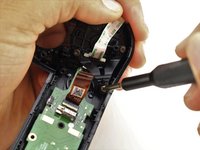
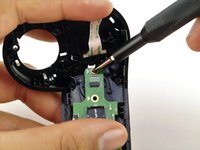
Using a Phillips #00 screwdriver, remove the four 4mm screws located on the joystick circuit board underneath the top half of the controller.
-
-
-
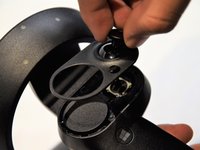
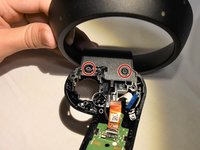
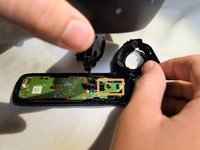
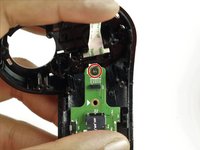
Remove the two 6mm screws at the base of the ring using a Phillips #0 screwdriver.
-
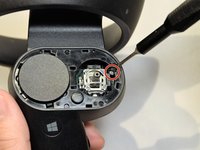
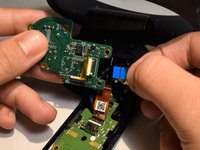
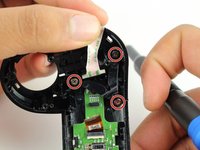
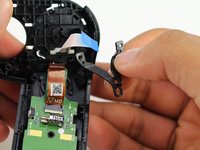
Pull towards the base of the controller to release the black wire from the connector on the circuit board.
-
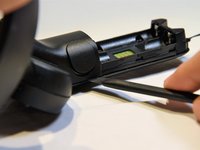
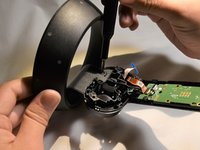
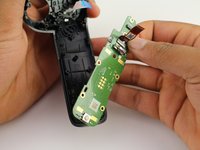
Pull the ring apart from the rest of the controller.
-


To reassemble your device, follow these instructions in reverse order.
Annulla: non ho completato questa guida.
Altre 4 persone hanno completato questa guida.
1Commento della guida
Awesome! But were do you get the components to replace from??
Since separate controllers are very difficult to find and expensive (You wont find Samsung ones) I will be interested to buy a few to do repairs to friends and so.