Introduzione
The HP TouchSmart 15-r015dx has 4 GB of RAM.
Cosa ti serve
-
-
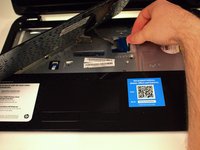
Flip over to view the bottom of the laptop in order to gain access the battery and the DVD±RW Drive.
-
-
-
There is one screw holding the DVD±RW Drive in place. Use the #00 screwdriver to remove the screw.
-
-
-
-
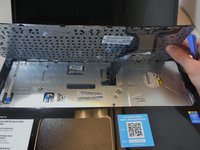
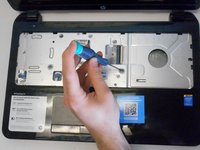
Using your Phillips #00 screwdriver, remove the two screws to loosen the fittings of the keyboard.
-
-
-
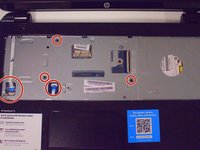
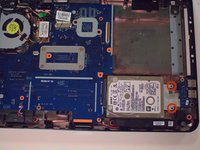
Flip the laptop over to view the bottom and remove the remaining screws from the bottom.
-
-
-
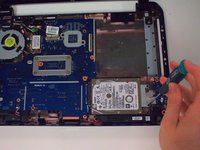
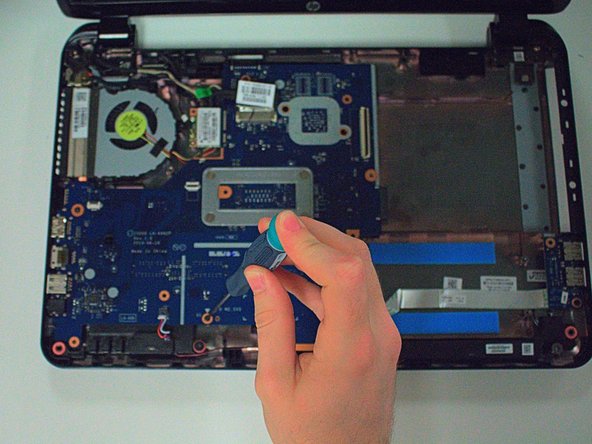
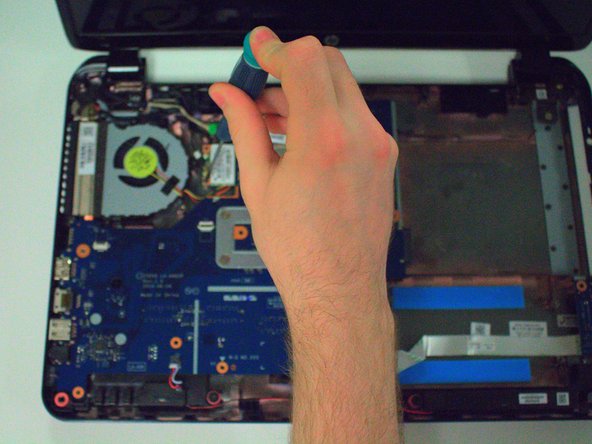
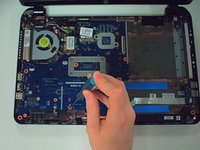
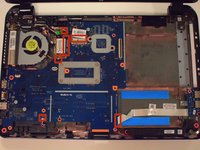
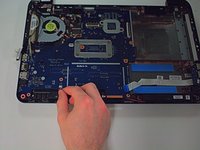
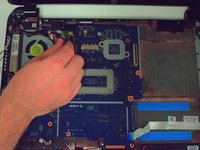
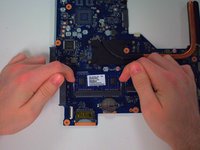
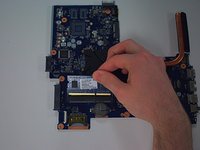
There are 3 screws holding the motherboard in place.
-
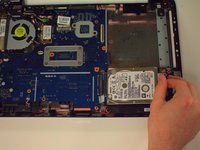
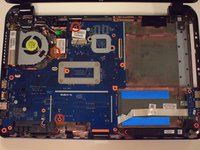
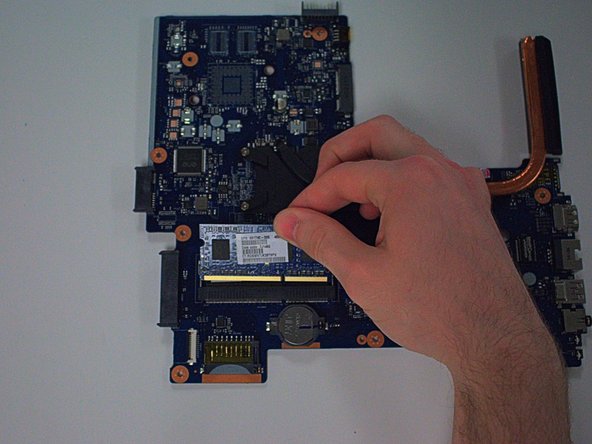
Unscrew the screws to release the motherboard.
-


To reassemble your device, follow these instructions in reverse order.
To reassemble your device, follow these instructions in reverse order.
Annulla: non ho completato questa guida.
Altre 10 persone hanno completato questa guida.

Team

USF Tampa, Team 16-4, Watkins Winter 2015 Membro di USF Tampa, Team 16-4, Watkins Winter 2015
USFT-WATKINS-W15S16G4
4 Membri
6 Guide realizzate
3 Commenti
Cool, thanks guys. I used the guide successfully to upgrade the RAM on my HP 15-r033na Notebook. It would have taken ages without your help! A really tough way to reach the memory.
I wonder if the second DIMM slot is usable. The specs I've found says this board only takes one card, so maybe the second is disconnected.
Did you ever get an answer on this? Did your upgrade improve performance at all? Seems like 20 steps x 2 should only be undertaken if there's a serious boost at the end of that tunnel. Thoughts?
Note that my system now has 4GB in slot 1 and 2GB additional in slot 2. Still, I constantly run out of RAM.
Thanks!
Daniel - HP TS 15 owner
Thanks so much for this guide. I’d found my PC’s manual/repair guide online (it’s an HP 15-r011dx) but the instructions were much more cumbersome. Your guide is excellent, and now with twice the RAM, I feel like I have a totally different PC!
The whole upgrade was much more fidgety though than any Mac I’ve ever worked on, and so strange that HP puts the RAM chip on the motherboard. Crazy… It’s like having to do a root canal to brush your teeth!