Introduzione
Use this guide to replace a broken LCD.
Cosa ti serve
-
-
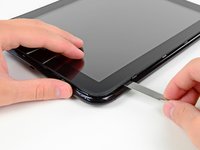
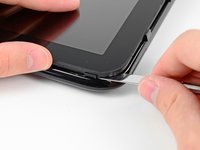
In the following steps, you will use a metal spudger to lift the front panel out from the rear case of your TouchPad.
-
-
-
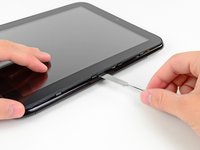
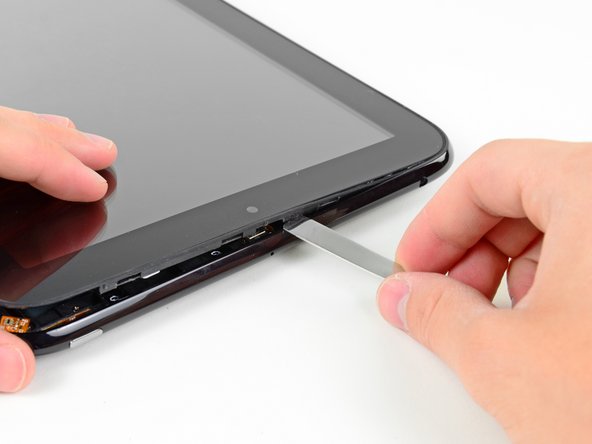
As in the previous step, use a spudger to pry the front panel up from the rear case along its long edge on the volume button side of the TouchPad.
-
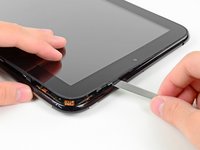
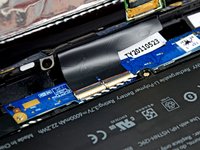
Continue to pry the front panel assembly up along the volume button side of the TouchPad until there is a gap between it and the rear case.
-
-
-
-
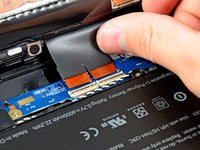
Remove the six 2.2 mm Phillips screws securing the LCD to the front panel.
-
-
-
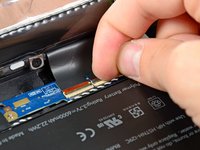
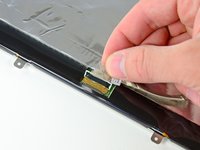
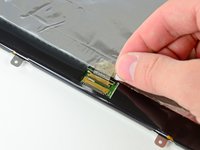
Use the edge of a plastic opening tool to peel up the self-adhesive pull tab stuck to the display data cable.
-


To reassemble your device, follow these instructions in reverse order.
Annulla: non ho completato questa guida.
Altre 11 persone hanno completato questa guida.

1Commento della guida
This was an especially easy and very helpful guide.... If anyone finds out where to get the HP Touchpad plastic retainer clips (which break very easily as it turns out) please let me know here or at gskdesigns@gmail.com.
Great Guide!
GK