Introduzione
Use this guide to replace the digitizer control board.
Cosa ti serve
-
-
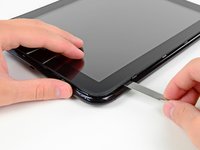
In the following steps, you will use a metal spudger to lift the front panel out from the rear case of your TouchPad.
-
-
-
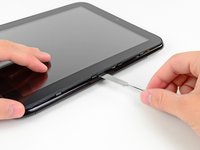
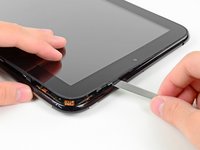
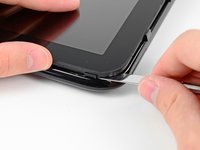
As in the previous step, use a spudger to pry the front panel up from the rear case along its long edge on the volume button side of the TouchPad.
-
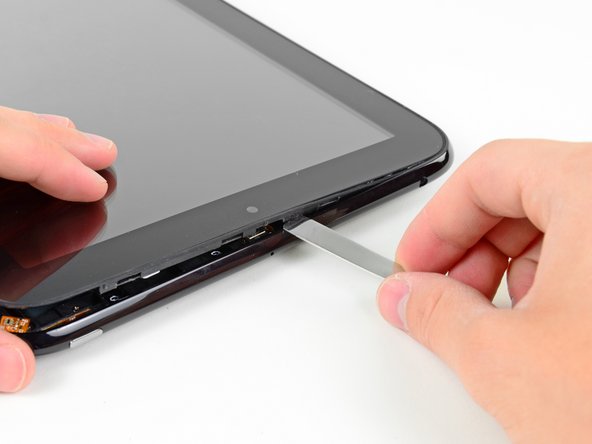
Continue to pry the front panel assembly up along the volume button side of the TouchPad until there is a gap between it and the rear case.
-
-
-
-
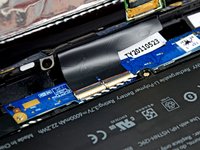
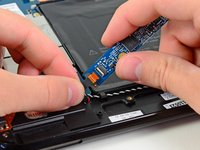
Remove the two 3.0 mm Phillips screws securing the digitizer control board to the rear case.
-
-
-
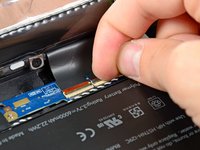
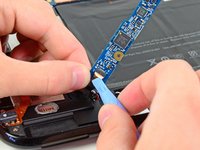
Using the edge of a plastic opening tool or your fingernail, carefully flip up the retaining flap on the digitizer control board ribbon cable ZIF socket.
-
Pull the digitizer control board ribbon cable straight out of its socket on the digitizer control board.
-
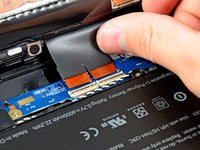
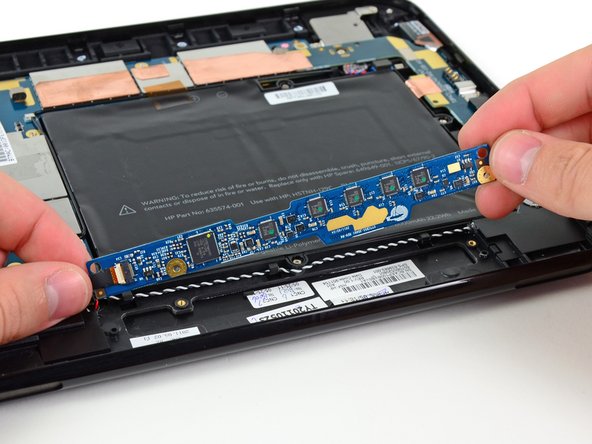
Remove the digitizer control board from the TouchPad.
-


To reassemble your device, follow these instructions in reverse order.
Annulla: non ho completato questa guida.
Altre 3 persone hanno completato questa guida.

4Commenti sulla guida
when my charger falled on the screen of my hp touchpad its screen did not break but its touchscreen is not working so which part i whant to change