Salta al contenuto principale
Unisciti alla Community delle riparazioni - Crea un account

HP Photosmart 935 LCD Screen Replacement

Cosa ti serve

    1. HP Photosmart 935 LCD Screen Replacement, Batteries: passo 1, immagine 1 di 2 HP Photosmart 935 LCD Screen Replacement, Batteries: passo 1, immagine 2 di 2
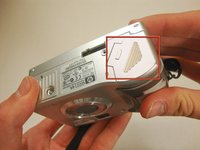
      • Flip the camera over so the bottom of the camera is facing you.

      Chiedi a FixBot

      Aggiungi Commento

      • Turn the mode dial to the OFF position.

      Chiedi a FixBot

      Aggiungi Commento

    2. HP Photosmart 935 LCD Screen Replacement: passo 3, immagine 1 di 2 HP Photosmart 935 LCD Screen Replacement: passo 3, immagine 2 di 2
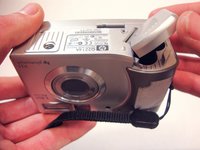
      • Slide the bottom cover in the direction of the arrow to open it.

      Chiedi a FixBot

      Aggiungi Commento

    3. HP Photosmart 935 LCD Screen Replacement: passo 4, immagine 1 di 1
      • Pull out the batteries.

      Chiedi a FixBot

      Aggiungi Commento

    1. HP Photosmart 935 LCD Screen Replacement, Plastic Casing: passo 5, immagine 1 di 1
      • Use a Phillips #00 screwdriver to remove the two 4.7 mm screws in the bottom of the plastic casing.

      Chiedi a FixBot

      Aggiungi Commento

    2. HP Photosmart 935 LCD Screen Replacement: passo 6, immagine 1 di 2 HP Photosmart 935 LCD Screen Replacement: passo 6, immagine 2 di 2
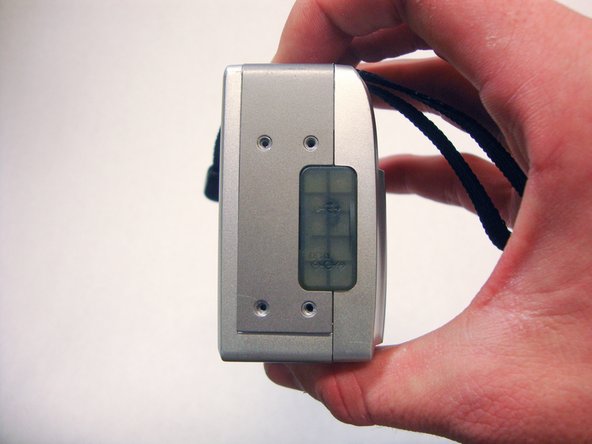
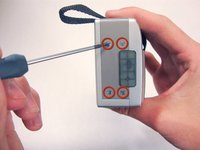
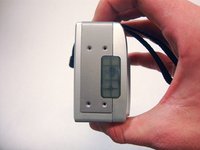
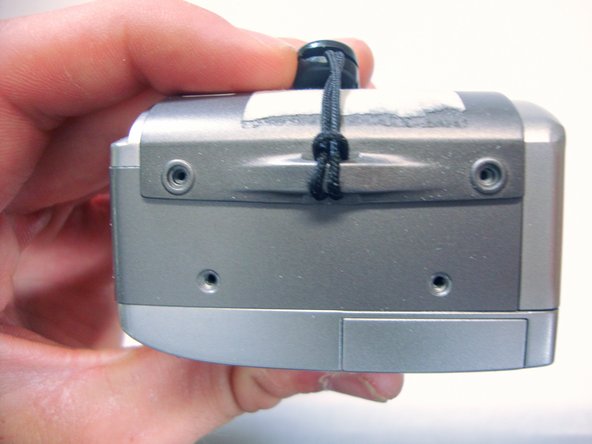
      • Remove the four 4.7 mm screws on the left side of the camera.

      Chiedi a FixBot

      Aggiungi Commento

    3. HP Photosmart 935 LCD Screen Replacement: passo 7, immagine 1 di 2 HP Photosmart 935 LCD Screen Replacement: passo 7, immagine 2 di 2
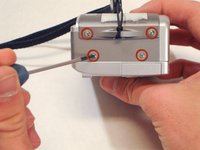
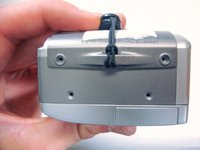
      • Remove the four 4.7 mm screws on the opposite side of the camera.

      Chiedi a FixBot

      Aggiungi Commento

    4. HP Photosmart 935 LCD Screen Replacement: passo 8, immagine 1 di 3 HP Photosmart 935 LCD Screen Replacement: passo 8, immagine 2 di 3 HP Photosmart 935 LCD Screen Replacement: passo 8, immagine 3 di 3
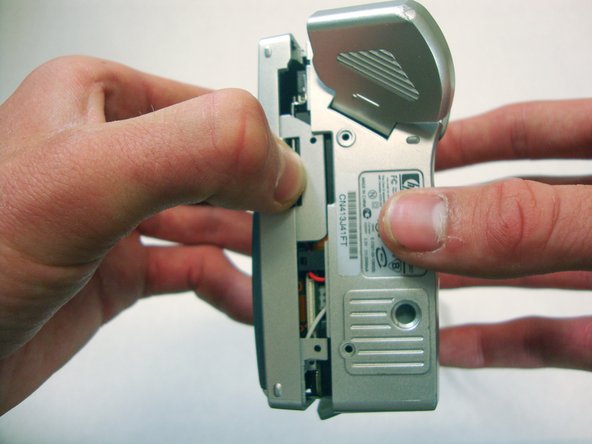
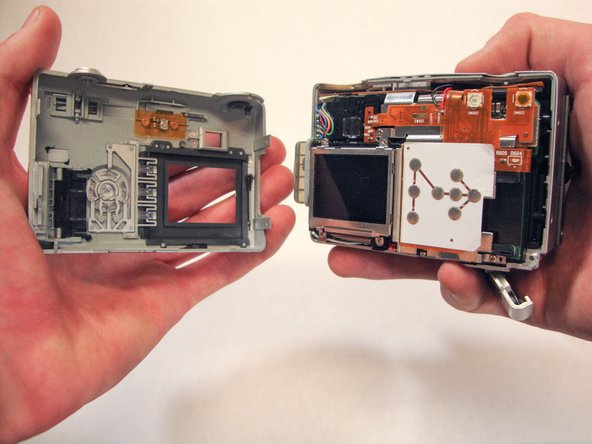
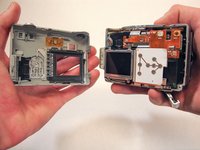
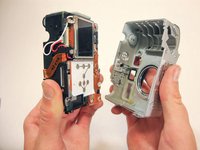
      • Use your thumbs to pry the case apart.

      • It is easiest to pry the case apart if you start at the bottom.

      • The case should come apart with minimal effort. If it doesn't, you can use a spudger or plastic opening tool to pry it open.

      Chiedi a FixBot

      Aggiungi Commento

    5. HP Photosmart 935 LCD Screen Replacement: passo 9, immagine 1 di 1
      • This step requires a significant amount of force.

      • Pull the bottom half of the inner camera out of the case by half an inch. This may be difficult.

      Chiedi a FixBot

      Aggiungi Commento

    6. HP Photosmart 935 LCD Screen Replacement: passo 10, immagine 1 di 2 HP Photosmart 935 LCD Screen Replacement: passo 10, immagine 2 di 2
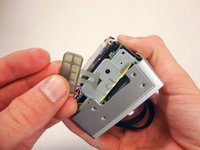
      • While pulling the camera out of the case, note the small soft plastic cover on the side. This cover will detach from the rest of the device.

      • Once the bottom of the inner camera is pulled out, pull the device out completely.

      • Use a firm grasp when removing the device from the case for stability and control.

      Chiedi a FixBot

      Aggiungi Commento

    1. HP Photosmart 935 LCD Screen Replacement, LCD Screen: passo 11, immagine 1 di 1
      • Orient the camera so that the LCD screen is facing you.

      • If case is still on, remove it by following the Plastic Casing Installation Guide found in the previous steps.

      • Removing the casing completely is crucial to completing this guide.

      Chiedi a FixBot

      Aggiungi Commento

    2. HP Photosmart 935 LCD Screen Replacement: passo 12, immagine 1 di 2 HP Photosmart 935 LCD Screen Replacement: passo 12, immagine 2 di 2
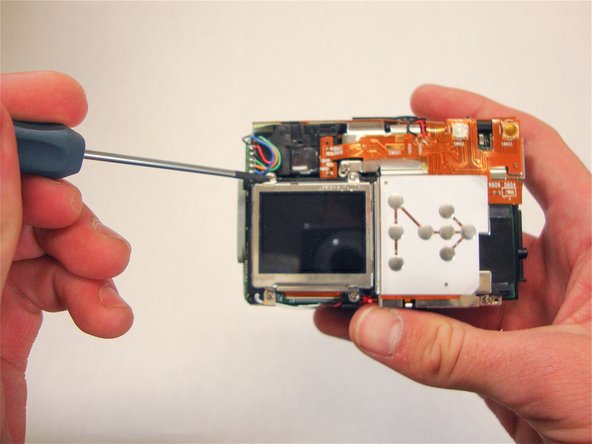
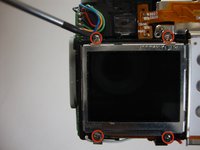
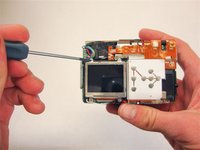
      • Using a Phillips #00 remove the four 4.40 mm screws that secure the LCD screen to the frame.

      Chiedi a FixBot

      Aggiungi Commento

    3. HP Photosmart 935 LCD Screen Replacement: passo 13, immagine 1 di 1
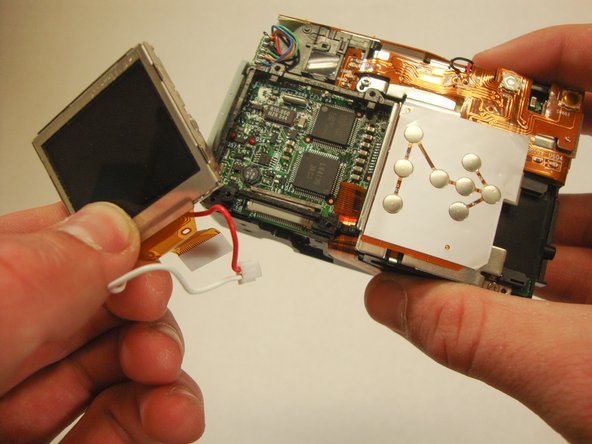
      • Allow the LCD screen to flip down. This will expose the electric strip that connects the screen to the camera.

      Chiedi a FixBot

      Aggiungi Commento

    4. HP Photosmart 935 LCD Screen Replacement: passo 14, immagine 1 di 1
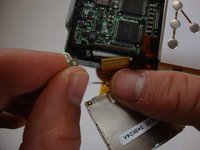
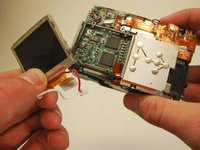
      • Look for where the yellow electric strip is attached to the camera. You will find a plastic grey bar and a white base holding this strip in place.

      • Push the grey bar away from the white base. This will release the yellow electric strip and free the LCD screen from the camera.

      Chiedi a FixBot

      Aggiungi Commento

    5. HP Photosmart 935 LCD Screen Replacement: passo 15, immagine 1 di 1
      • Unplug the connected red and white wires. They will come out with the small white casing.

      Chiedi a FixBot

      Aggiungi Commento

    6. HP Photosmart 935 LCD Screen Replacement: passo 16, immagine 1 di 1
      • Flip camera so that the lens is facing away from you. You should be looking at the LCD screen.

      Chiedi a FixBot

      Aggiungi Commento

    7. HP Photosmart 935 LCD Screen Replacement: passo 17, immagine 1 di 2 HP Photosmart 935 LCD Screen Replacement: passo 17, immagine 2 di 2
      • Remove the bottom left LCD mounting frame screw. The screen should come loose after the screw is removed.

      • Remove the LCD screen from the camera. Make sure that the electric strip comes out with screen.

      Chiedi a FixBot

      Aggiungi Commento

Conclusione

To reassemble your device, follow these instructions in reverse order.

Annulla: non ho completato questa guida.

Altre 3 persone hanno completato questa guida.

Team

Cal Poly, Team 15-13, Forte Spring 2012 Membro di Cal Poly, Team 15-13, Forte Spring 2012

CPSU-FORTE-S12S15G13

5 Membri

60 guide realizzate

1Commento della guida

Thank for this very good job, I own this this camera so it is will be quite easy to fix it following your guide.

Saverio Mercurio - Rispondi Condividi

Aggiungi Commento

Visualizza statistiche:

Ultime 24 ore: 2

Ultimi 7 giorni: 30

Ultimi 30 giorni: 72

Tutti i Tempi: 3,259