Salta al contenuto principale
Unisciti alla Community delle riparazioni - Crea un account

HP Pavilion ze5000 Screen Replacement

Cosa ti serve

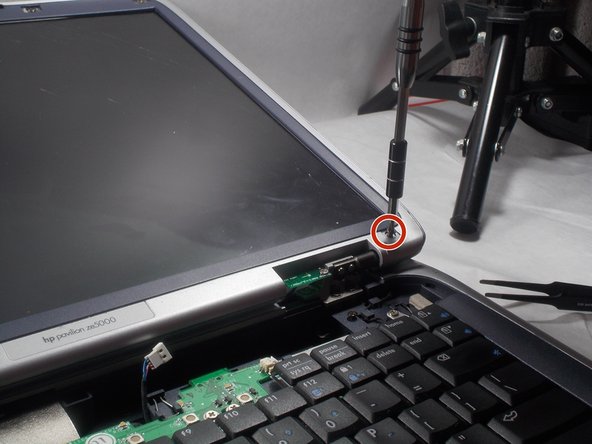
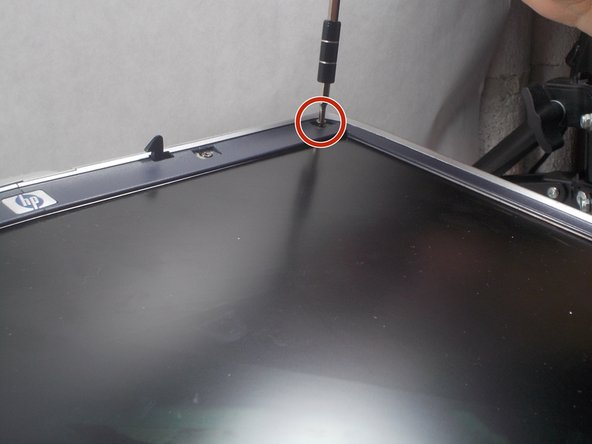
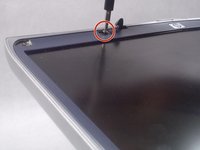
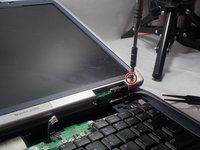
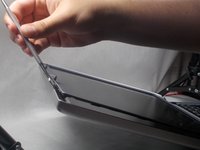
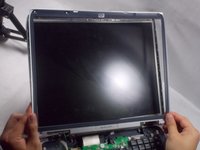
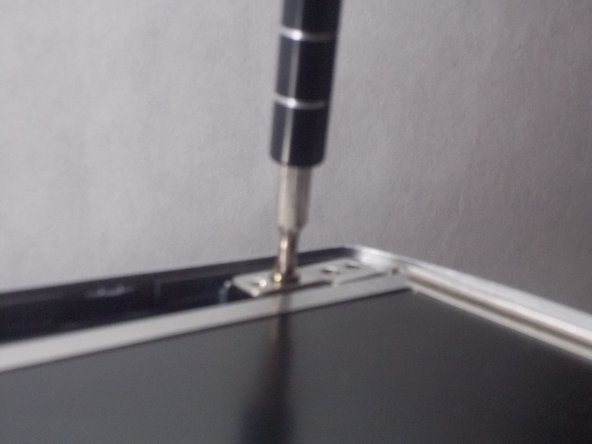
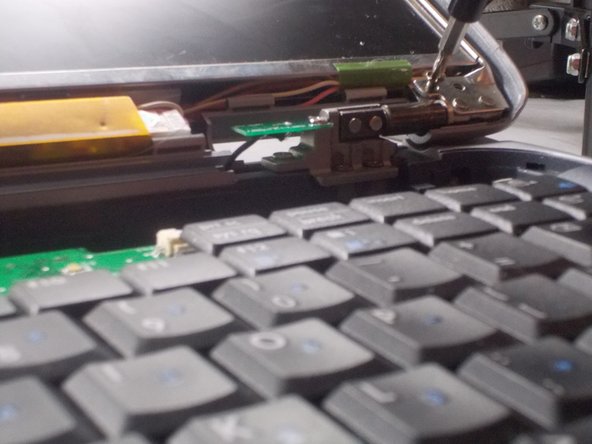
  1. HP Pavilion ze5000 Screen Replacement, Screen: passo 1, immagine 1 di 3 HP Pavilion ze5000 Screen Replacement, Screen: passo 1, immagine 2 di 3 HP Pavilion ze5000 Screen Replacement, Screen: passo 1, immagine 3 di 3
    • Remove two 5.0 mm Philips #0 screws on the hinge of the device

    Chiedi a FixBot
  2. HP Pavilion ze5000 Screen Replacement: passo 2, immagine 1 di 2 HP Pavilion ze5000 Screen Replacement: passo 2, immagine 2 di 2
    Strumento utilizzato in questo passaggio:
    Tweezers
    $4.99
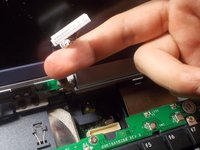
    • Using tweezers, gently pull on the hinges to remove the plastic case connected to the hinges

    Chiedi a FixBot
  3. HP Pavilion ze5000 Screen Replacement: passo 3, immagine 1 di 3 HP Pavilion ze5000 Screen Replacement: passo 3, immagine 2 di 3 HP Pavilion ze5000 Screen Replacement: passo 3, immagine 3 di 3
    • Remove the connection between the plastic case and interior of the device

    Chiedi a FixBot
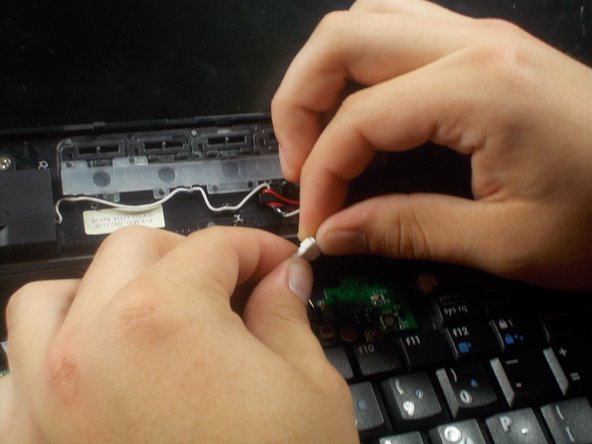
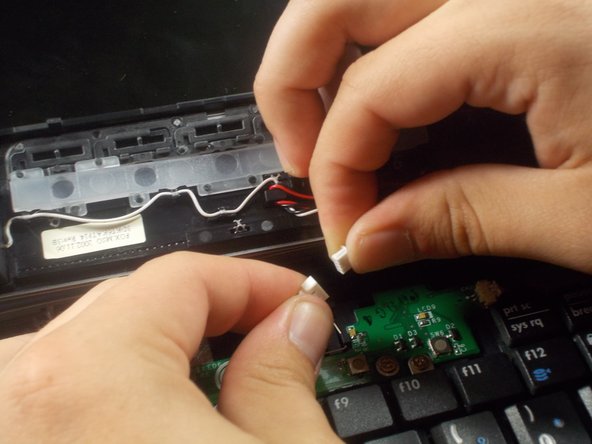
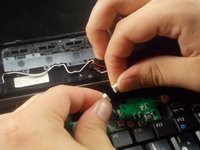
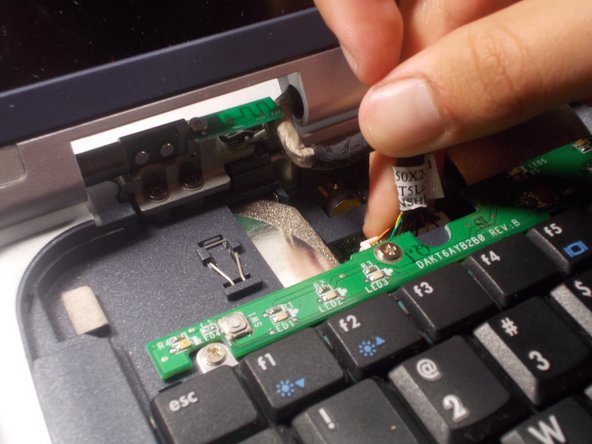
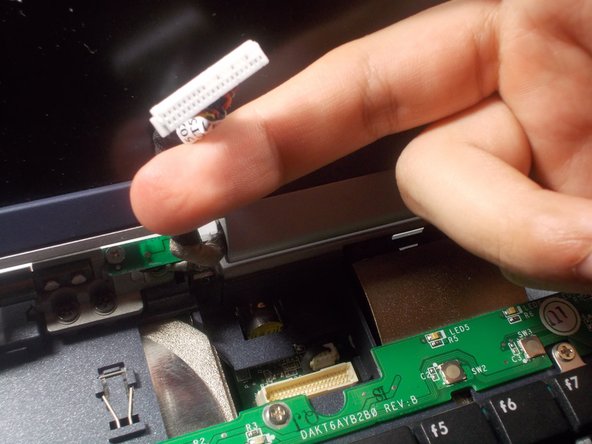
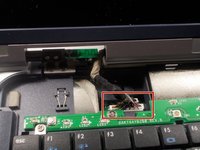
  4. HP Pavilion ze5000 Screen Replacement: passo 4, immagine 1 di 3 HP Pavilion ze5000 Screen Replacement: passo 4, immagine 2 di 3 HP Pavilion ze5000 Screen Replacement: passo 4, immagine 3 di 3
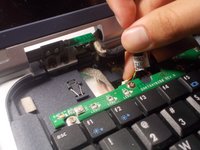
    • Remove the connection from the exposed hinge and interior of the device

    Chiedi a FixBot
  5. HP Pavilion ze5000 Screen Replacement: passo 5, immagine 1 di 2 HP Pavilion ze5000 Screen Replacement: passo 5, immagine 2 di 2
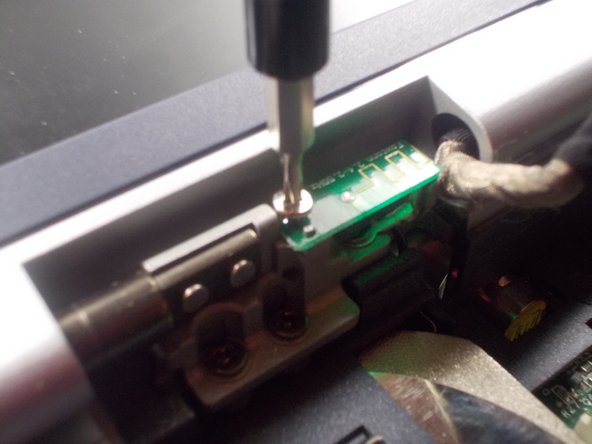
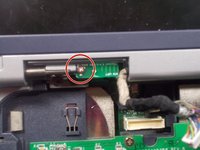
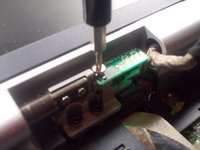
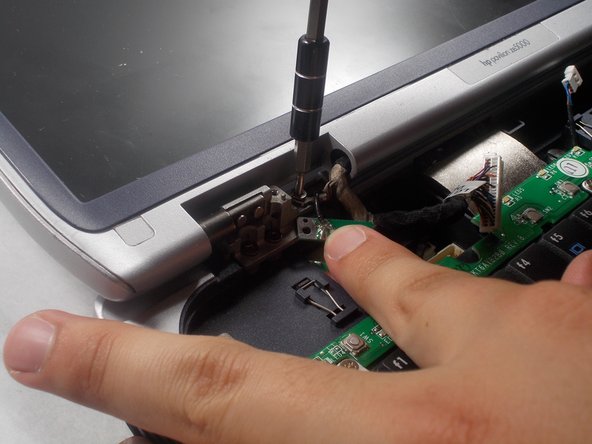
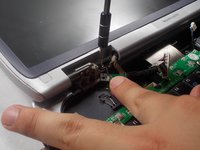
    • Remove the 3.5 mm philips #00 screw on the small circuit board on the hinge

    Chiedi a FixBot
  6. HP Pavilion ze5000 Screen Replacement: passo 6, immagine 1 di 2 HP Pavilion ze5000 Screen Replacement: passo 6, immagine 2 di 2
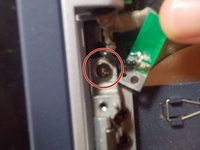
    • Remove the 5.0 mm philips #0 screw that was hidden underneath the small circuit board

    Chiedi a FixBot
  7. HP Pavilion ze5000 Screen Replacement: passo 7, immagine 1 di 1
    • Remove the 6 plastic caps located in the four corners of the screen and the top of the screen

    • It may be easier to use tweezers for this part

    Chiedi a FixBot
  8. HP Pavilion ze5000 Screen Replacement: passo 8, immagine 1 di 3 HP Pavilion ze5000 Screen Replacement: passo 8, immagine 2 di 3 HP Pavilion ze5000 Screen Replacement: passo 8, immagine 3 di 3
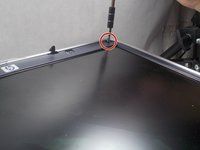
    • Unscrew the six 5.0 mm Philips #0 screws underneath the caps

    Chiedi a FixBot
  9. HP Pavilion ze5000 Screen Replacement: passo 9, immagine 1 di 3 HP Pavilion ze5000 Screen Replacement: passo 9, immagine 2 di 3 HP Pavilion ze5000 Screen Replacement: passo 9, immagine 3 di 3
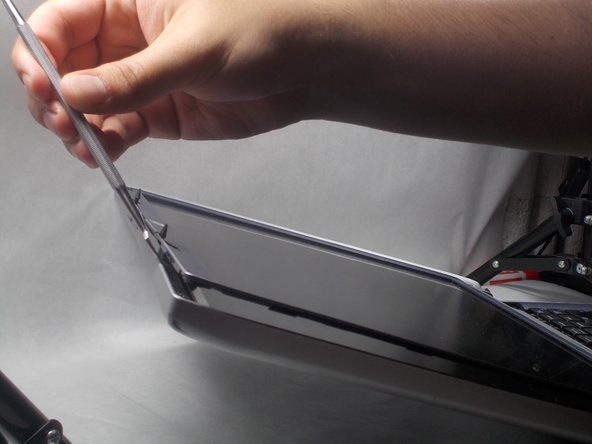
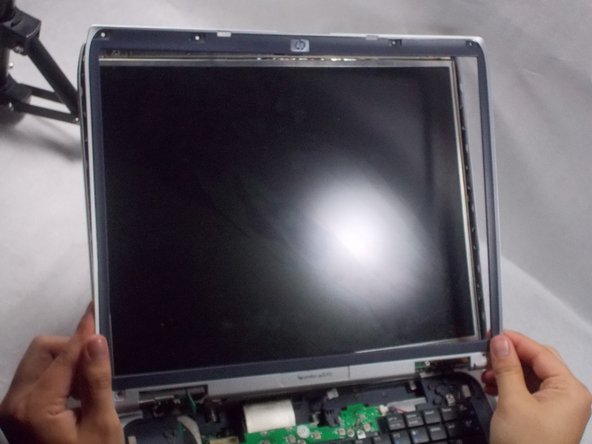
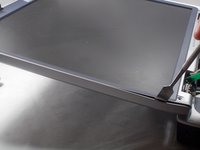
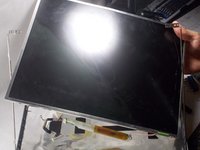
    • Using a spudger, pry the plastic casing off of the screen.

    Chiedi a FixBot
  10. HP Pavilion ze5000 Screen Replacement: passo 10, immagine 1 di 3 HP Pavilion ze5000 Screen Replacement: passo 10, immagine 2 di 3 HP Pavilion ze5000 Screen Replacement: passo 10, immagine 3 di 3
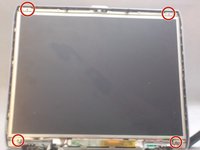
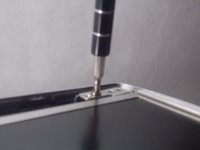
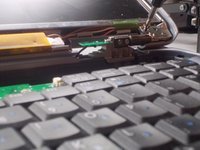
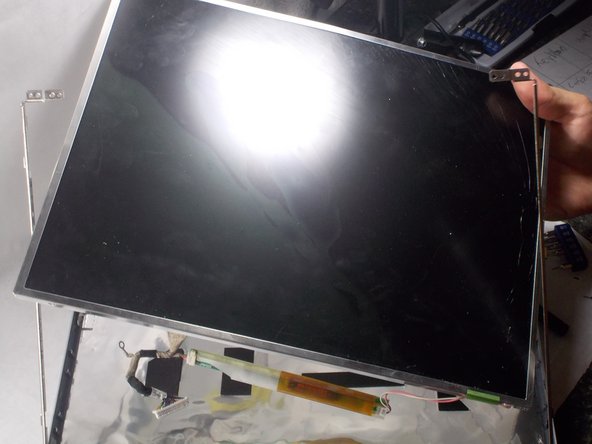
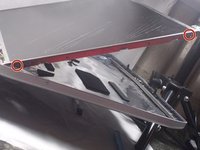
    • Remove four 5.0 mm Philips #0 screws located in the corners of the screen

    • These screws locations will be close to the screws locations in step 2.

    • During reassembly, make sure you do not confuse the proper screw placements from this step and step 4.

    Chiedi a FixBot
  11. HP Pavilion ze5000 Screen Replacement: passo 11, immagine 1 di 2 HP Pavilion ze5000 Screen Replacement: passo 11, immagine 2 di 2
    • Remove the four 3.5 mm Philips #00 screws from the sides of the aluminum casing.

    • There will be two 3.5 mm Philips screws on each side

    Chiedi a FixBot
Conclusione

To reassemble your device, follow these instructions in reverse order.

0Commenti sulla guida

Aggiungi Commento

Visualizza Statistiche:

Ultime 24 Ore: 1

Ultimi 7 Giorni: 10

Ultimi 30 Giorni: 63

Tutti i Tempi: 402