Introduzione
A hard drive is the house of all applications on a computer, including Windows. Without one there would be almost no functionality to the device. It helps with or is used to download and use applications, save files, and almost everything else you’d do with your computer.
A hard drive can fail for a multitude of reasons: dropping the laptop, normal “wear and tear,” or even a manufacturing defect. Issues with a hard drive can be noticed by irregular noises, inability to access certain files, and less total storage than when you initially purchased the laptop.
Before you begin the process of replacing the HP Pavilion x360 m3-u101dx hard drive, refer to the troubleshooting page, hard drive section. This page will ensure that the hard drive needs replacing and not a different part. Ensure that the computer is turned completely off, and NOT plugged in when beginning.
Cosa ti serve
-
-
-
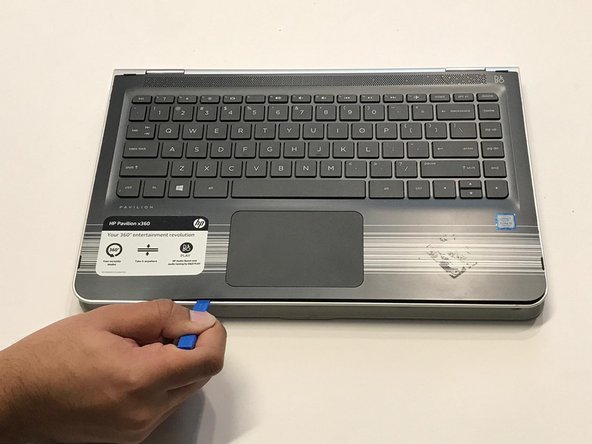
Lift open the laptop screen and flip it around so that the keyboard is facing up.
-
Insert a plastic opening tool into one of the corners to create a gap between the bottom panel and the keyboard panel.
-
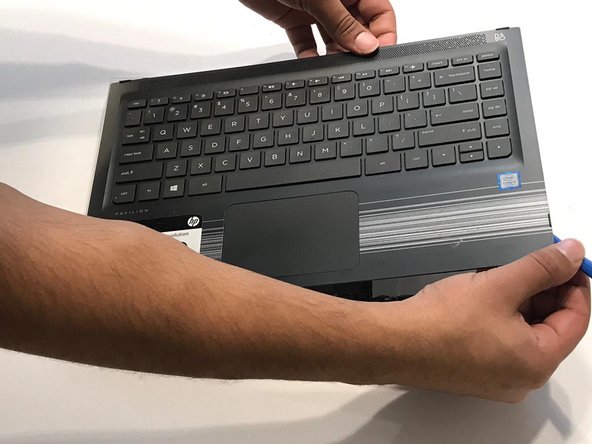
Guide the plastic opening tool around the perimeter of the panel to detach all the clips that are supporting it in place.
-
Detach the keyboard panel from the frame.
-
-
-
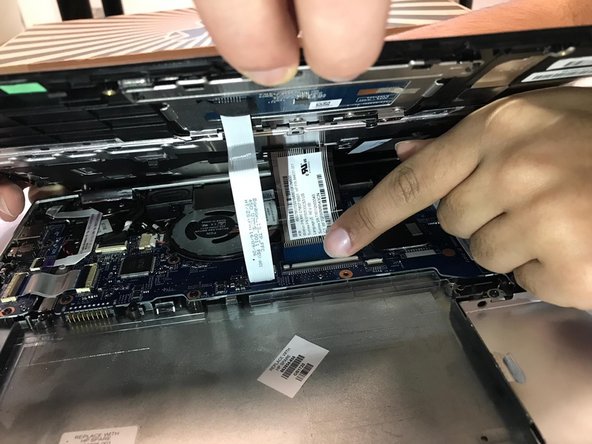
Remove the four 3.7mm Phillips #1 screws holding the hard drive in place.
-
Remove the SATA cable from the motherboard.
-


To reassemble your device, follow these instructions in reverse order.
To reassemble your device, follow these instructions in reverse order.

Team

York University, Team S8-G1, Turner Winter 2020 Membro di York University, Team S8-G1, Turner Winter 2020
YORK-TURNER-W20S8G1
5 Membri
7 Guide realizzate