Introduzione
This guide shows you how to replace the charging port in your HP Pavilion x360 11-p110nr laptop. This repair may be necessary whenever the laptop is not able to charge, hold a charge, or power on.
Before committing to replacing the charging port, it is worth checking that the charger being used works. This can be accomplished by trying a different charger on the laptop, or trying the charger on a different laptop.
Using only a screwdriver and the replacement part, the entire process is fairly quick and easy, and with a bit of care it can be completed safely at home.
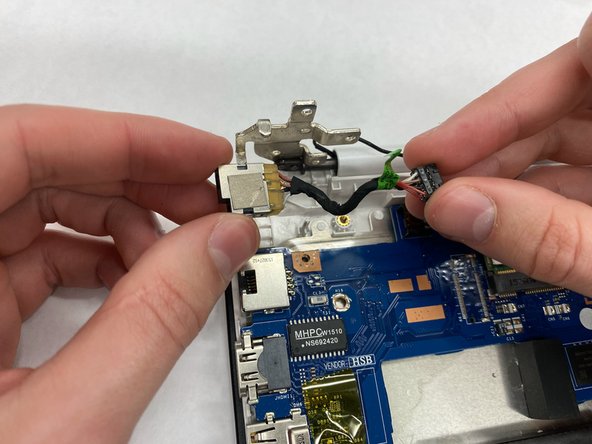
Caution: Anytime you are working with batteries or power, be sure to take care around the electricity and always unplug the battery before you attempt to replace the port.
Cosa ti serve
-
-
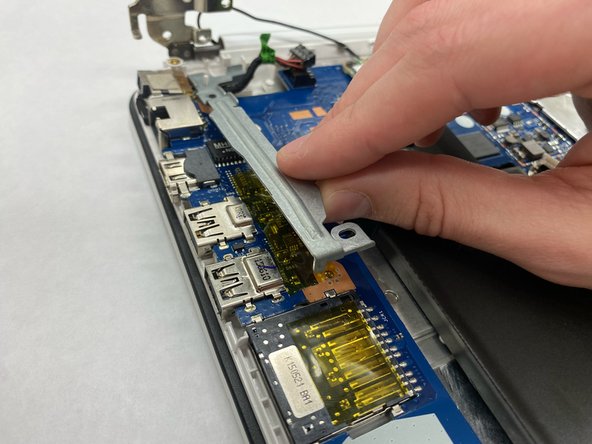
Use a Phillips #0 screwdriver to remove all 6.7 mm screws from the bottom cover.
-
Carefully take the bottom cover off.
-
-


To reassemble your device, follow these instructions in reverse order.
To reassemble your device, follow these instructions in reverse order.
Team

IUPUI, Team 1-2, Harley Spring 2023 Membro di IUPUI, Team 1-2, Harley Spring 2023
IUPUI-HARLEY-S23S1G2
3 Membri
3 Guide realizzate