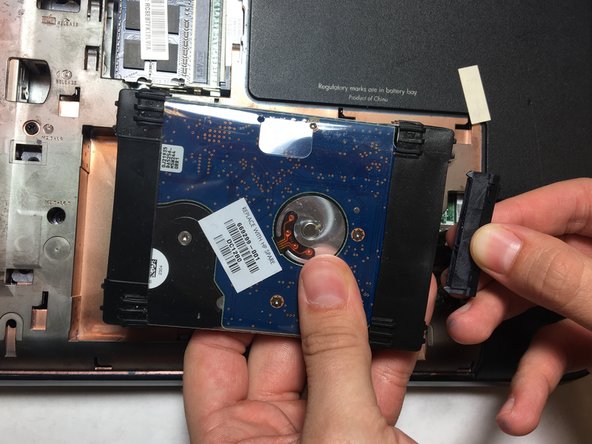
Salta al contenuto principale

HP Pavilion g6-2228tx RAM Replacement

Cosa ti serve

  1. HP Pavilion g6-2228tx RAM Replacement, Battery: passo 1, immagine 1 di 2 HP Pavilion g6-2228tx RAM Replacement, Battery: passo 1, immagine 2 di 2
    • Push the battery latch to the left to release the battery.

    • Remove the battery from the device.

  2. HP Pavilion g6-2228tx RAM Replacement, Hard Drive: passo 2, immagine 1 di 2 HP Pavilion g6-2228tx RAM Replacement, Hard Drive: passo 2, immagine 2 di 2
    • Use a Phillips #0 screw driver to loosen the screw. The screw will not detach from the cover.

  3. HP Pavilion g6-2228tx RAM Replacement: passo 3, immagine 1 di 3 HP Pavilion g6-2228tx RAM Replacement: passo 3, immagine 2 di 3 HP Pavilion g6-2228tx RAM Replacement: passo 3, immagine 3 di 3
    • Place your hand on the cover and slide the cover down.

    • Use your hand to lift the cover from the bottom right and slide the cover to the right to remove the cover.

  4. HP Pavilion g6-2228tx RAM Replacement: passo 4, immagine 1 di 2 HP Pavilion g6-2228tx RAM Replacement: passo 4, immagine 2 di 2
    • Place one finger on the right side of the hard drive.

    • Push the hard drive to the left and lift the hard drive up to remove it from the device.

  5. HP Pavilion g6-2228tx RAM Replacement: passo 5, immagine 1 di 2 HP Pavilion g6-2228tx RAM Replacement: passo 5, immagine 2 di 2
    • Disconnect the connecting part by pulling the part to the right.

    • Remove the hard drive from the device.

  6. HP Pavilion g6-2228tx RAM Replacement, RAM: passo 6, immagine 1 di 2 HP Pavilion g6-2228tx RAM Replacement, RAM: passo 6, immagine 2 di 2
    • The silver hinges holds the RAM in place.

  7. HP Pavilion g6-2228tx RAM Replacement: passo 7, immagine 1 di 2 HP Pavilion g6-2228tx RAM Replacement: passo 7, immagine 2 di 2
    • Use two fingers to push both silver hinges outward to release the RAM.

    • The released RAM will pop up.

  8. HP Pavilion g6-2228tx RAM Replacement: passo 8, immagine 1 di 1
    • Pull the RAM stick to the left and remove it from the device.

Conclusione

To reassemble your device, follow these instructions in reverse order.

Hai Lin

Membro da: 10/19/18

446 Reputazione

4 Guide realizzate

Team

UC Davis, Team S4-G6, Lore Fall 2018 Membro di UC Davis, Team S4-G6, Lore Fall 2018

UCD-LORE-F18S4G6

3 Membri

4 Guide realizzate

0 Commenti

Aggiungi Commento

Visualizza Statistiche:

Ultime 24 Ore: 4

Ultimi 7 Giorni: 6

Ultimi 30 Giorni: 19

Tutti i Tempi: 682