Introduzione
If your HP Pavilion dm4-1265dx laptop is failing to load into the operating system, use this guide to replace the hard drive.
The hard drive is the component that stores all the programs and data on a computer. A failed hard drive will prevent the laptop from booting into the operating system.
Before using this guide, keep in mind that hard drive failure can be recognized by computers. A warning will pop up in the BIOS after the laptop fails to load the installed operating system.
If the hard drive fails while the laptop is used, the device will load into BIOS or blue screen.
Before beginning, make sure to power off your laptop completely and disconnect from any external power source.
Cosa ti serve
-
-
-
Orient the device so that the empty battery port is closest to you.
-
Loosen the two captive screws holding the back panel in place using a Phillips #0 screwdriver.
-
-
-
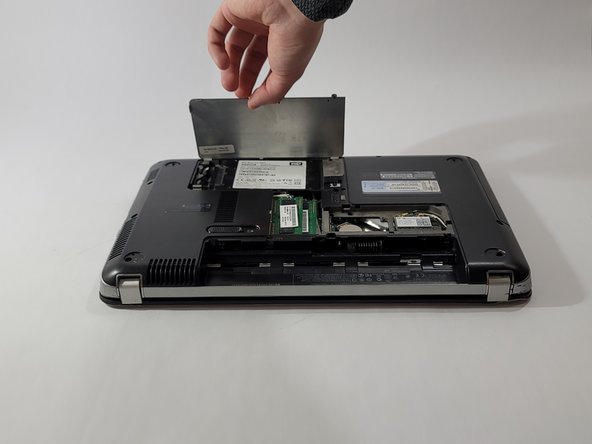
Loosen the single captive screw holding the hard drive cover in place using a Phillips #0 screwdriver.
-
Lift the hard drive cover away and up to remove.
-


To reassemble your device, follow these instructions in reverse order.
To reassemble your device, follow these instructions in reverse order.

Team

Casper College, Team 1-1, Lareau Spring 2022 Membro di Casper College, Team 1-1, Lareau Spring 2022
CASC-LAREAU-S22S1G1
4 Membri
5 Guide realizzate