Questa versione può contenere modifiche errate. Passa all'ultima istantanea verificata.
Cosa ti serve
-
Questo passaggio è privo di traduzione. Aiuta a tradurlo
-
Close your laptop and turn it over so that the bottom is facing up.
-
-
Questo passaggio è privo di traduzione. Aiuta a tradurlo
-
In the upper left hand corner, slide the bar with the lock icon to the right. This will unlock the battery.
-
-
Questo passaggio è privo di traduzione. Aiuta a tradurlo
-
Slide the bar with the battery icon, on the right of your laptop, to the left to release the battery.
-
-
Questo passaggio è privo di traduzione. Aiuta a tradurlo
-
Grab the battery and remove it from the laptop.
-
-
-
Questo passaggio è privo di traduzione. Aiuta a tradurlo
-
Remove the twenty 6.5mm screws using the Phillips #00 screwdriver.
-
Two of these 6.5 mm screws are covered by a silver sticker. Remove the sticker by gently scraping your finger nail under the sticker and then remove the screws.
-
-
Questo passaggio è privo di traduzione. Aiuta a tradurlo
-
Remove the black corner covers on either side of the battery to reveal four additional 6.5 mm Phillips #00 screws.
-
-
Questo passaggio è privo di traduzione. Aiuta a tradurlo
-
Remove the four 6.5 mm Phillips #00 screws that were underneath the black corner covers.
-
-
Questo passaggio è privo di traduzione. Aiuta a tradurlo
-
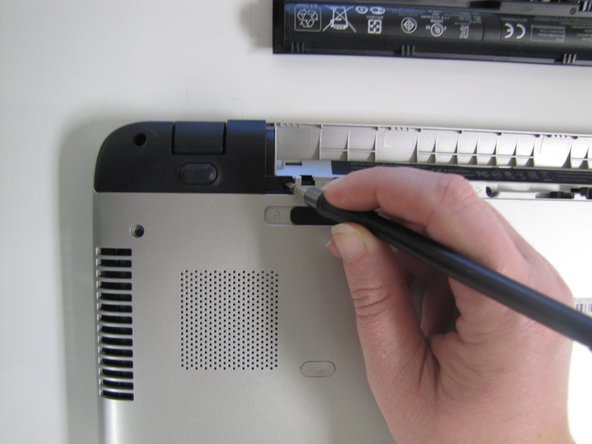
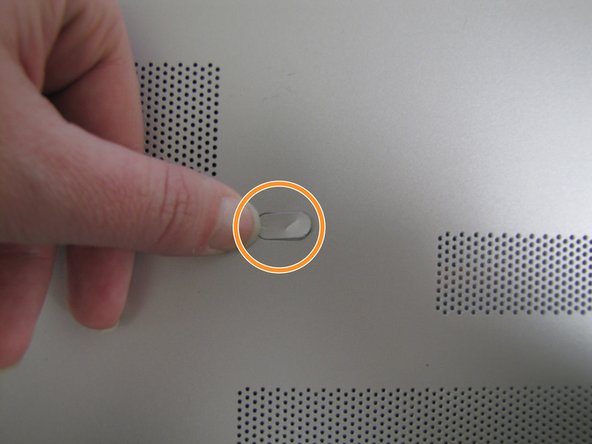
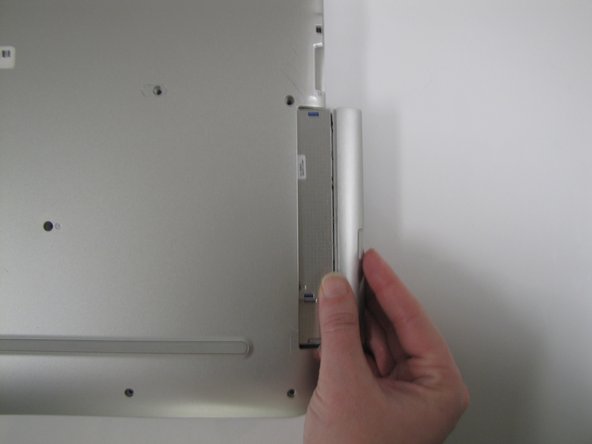
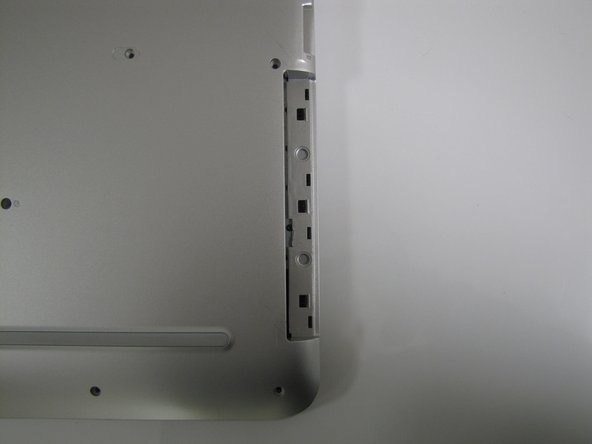
On the right-hand corner of the laptop, remove the CD-ROM by pressing the small button on the side. Pull it out of the laptop, and set it to the side.
-
-
Questo passaggio è privo di traduzione. Aiuta a tradurlo
-
Flip the computer back over with the screen facing up and open the laptop.
-
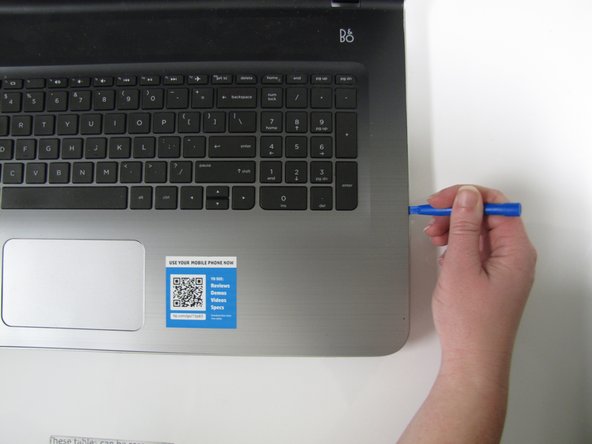
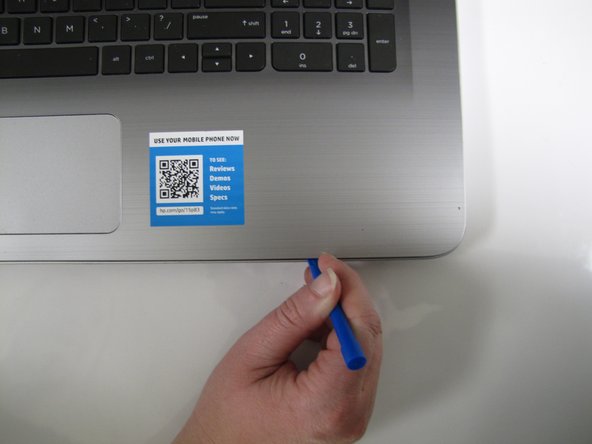
Use the Plastic Opening Tool to separate the face plate from the backing.
-
-
Questo passaggio è privo di traduzione. Aiuta a tradurlo
-
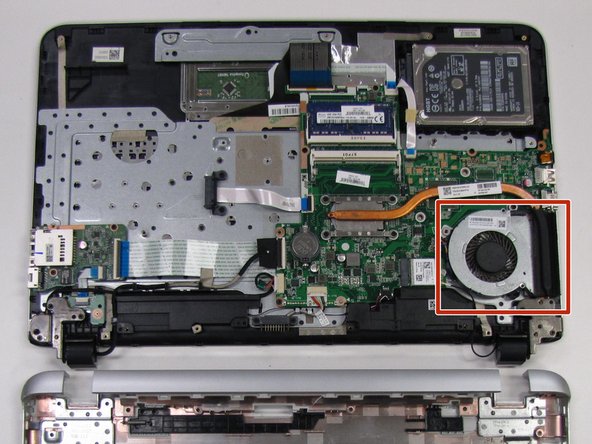
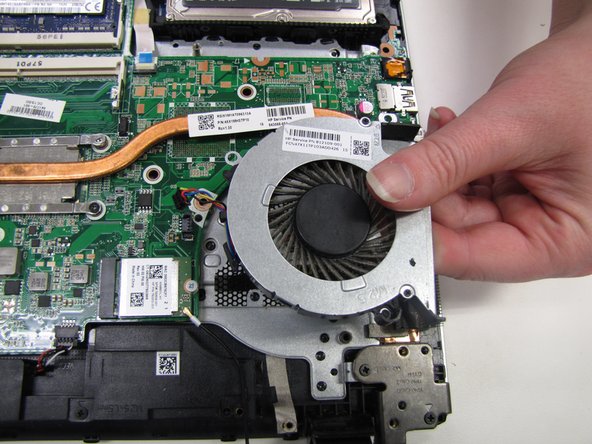
After running the opening tool along the sides, you can pop the keyboard open to access the fan.
-
The fan is located in the lower right corner and is next to the motherboard.
-
-
Questo passaggio è privo di traduzione. Aiuta a tradurlo
-
Unscrew the two 0.5 mm screws using a Phillips #00 screwdriver.
-
-
Questo passaggio è privo di traduzione. Aiuta a tradurlo
-
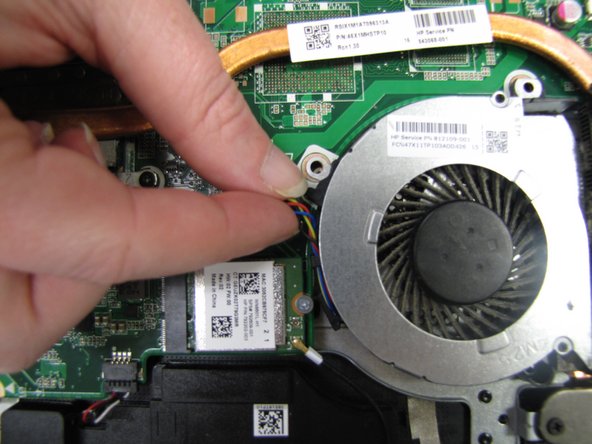
The fan is connected to the motherboard by a cable. To disconnect the fan, gently push in the sides of the connecter to lift the base of the cable out of the port.
-


