Introduzione
If the optical drive in your HP Pavilion 15 has failed or you do not need it (and want to install a blank or hard drive optical drive caddy), this guide will show you how to remove the optical drive, screw bracket and faceplate.
Guide notes
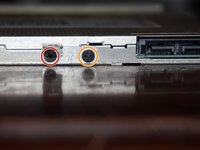
- The replacement component must be 9.5mm. This system does not accept 12.7mm optical drives.
- The optical drive must use SATA. This system does not accept IDE optical drives.
Cosa ti serve
-
-
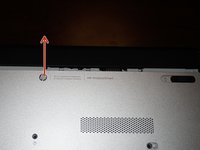
Shut the laptop down until it is hibernated or shut off. Do not remove power until both lights turn off.
-
-
-
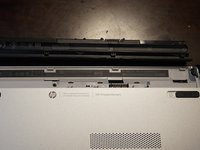
Once the computer is off, remove the battery. Switch the locking tab to the unlocked position.
-
-
-
-
Remove the battery. Pull the battery forward and remove it from the laptop.
-
-
-
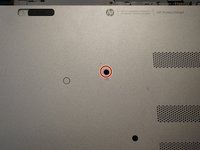
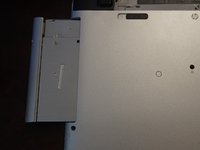
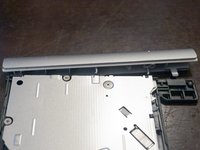
Remove the screw that holds the optical drive in. To do this, use a Phillips #0 screwdriver. Slide the optical drive out once this screw is removed.
-
-
-
EET owners: Your kit has this bit. No purchase needed.
-
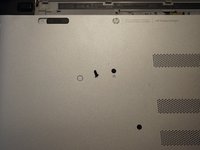
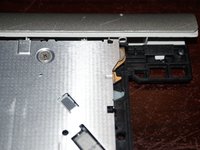
Remove the screws holding the optical drive bracket onto the drive. To do this, use a Phillips #0 screwdriver.
-
-
-
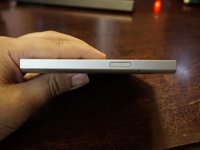
To remove the faceplate, open the optical drive with a paper clip. Once the tray is released, use a flat tool to release the visible clip on the faceplate. Once done, the faceplate should come off.
-


To reassemble your device, follow these instructions in reverse order.
To reassemble your device, follow these instructions in reverse order.
Annulla: non ho completato questa guida.
Altre 3 persone hanno completato questa guida.

Team
