Salta al contenuto principale

HP Pavilion 13-s128nr RAM Replacement

Cosa ti serve

  1. HP Pavilion 13-s128nr RAM Replacement, Back Panel: passo 1, immagine 1 di 2 HP Pavilion 13-s128nr RAM Replacement, Back Panel: passo 1, immagine 2 di 2
    • Use the iFixit opening tool to take off the rubber caps.

    • Remove the screws using the Phillips #0 screwdriver.

  2. HP Pavilion 13-s128nr RAM Replacement: passo 2, immagine 1 di 1
    • Use the Jimmy to pry around the seam of the laptop.

    • Remove the back panel of the laptop.

    • Don't completely remove the back panel as there are ribbon cables that can be easily damaged if removed quickly.

  3. HP Pavilion 13-s128nr RAM Replacement: passo 3, immagine 1 di 2 HP Pavilion 13-s128nr RAM Replacement: passo 3, immagine 2 di 2
    • Using the iFixit opening tool to lift the tabs holding in the cables connecting the keyboard to the motherboard.

    • Pull the cable from the motherboard.

  4. HP Pavilion 13-s128nr RAM Replacement, Battery: passo 4, immagine 1 di 2 HP Pavilion 13-s128nr RAM Replacement, Battery: passo 4, immagine 2 di 2
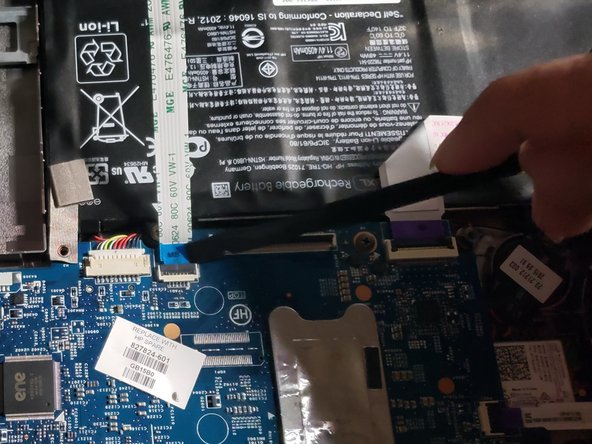
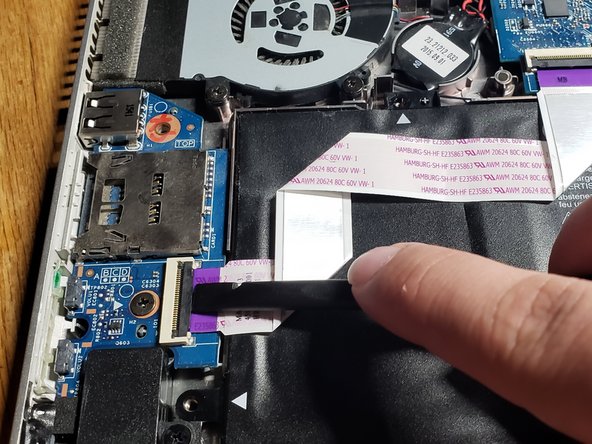
    • Lift upwards on the black tabs the purple strip is connected to.

    • Gently pull the purple strip out of its place.

  5. HP Pavilion 13-s128nr RAM Replacement: passo 5, immagine 1 di 1
    • Using the Phillips #0 screwdriver, remove the five screws holding the battery in place.

  6. HP Pavilion 13-s128nr RAM Replacement: passo 6, immagine 1 di 1
    • Pull the white cable connected to the motherboard out using the iFixit opening tool.

  7. HP Pavilion 13-s128nr RAM Replacement: passo 7, immagine 1 di 1
    • Remove the battery.

    • There are little snap tabs on the right side of the battery. Be sure not to break them by pulling the battery out towards the left side.

  8. HP Pavilion 13-s128nr RAM Replacement, RAM: passo 8, immagine 1 di 1
    • Look on previous instruction for how to open the laptop!

    • Remove these cables

  9. HP Pavilion 13-s128nr RAM Replacement: passo 9, immagine 1 di 1
    • First, these two small.

    • Second, these six.

  10. HP Pavilion 13-s128nr RAM Replacement: passo 10, immagine 1 di 1
    • While fliping the motherboard, lift the CMOS battery from it's place.

  11. HP Pavilion 13-s128nr RAM Replacement: passo 11, immagine 1 di 1
    • 2 RAM-slots under this cover

    • M.2 Wi-Fi card

Conclusione

To reassemble your device, follow these instructions in reverse order.

Documenti Allegati

alibappan

Membro da: 02/26/22

109 Reputazione

1 Guida realizzata

0 Commenti

Aggiungi Commento

Visualizza Statistiche:

Ultime 24 Ore: 1

Ultimi 7 Giorni: 3

Ultimi 30 Giorni: 12

Tutti i Tempi: 324