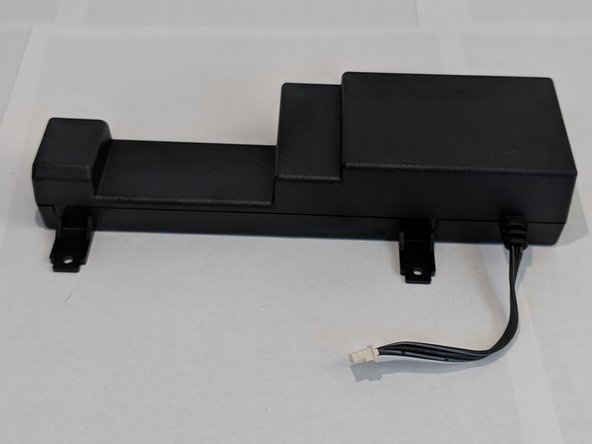
Salta al contenuto principale

HP Officejet Pro 8625 Power Supply Replacement

Cosa ti serve

  1. HP Officejet Pro 8625 Power Supply Replacement, Left Side Panel: passo 1, immagine 1 di 3 HP Officejet Pro 8625 Power Supply Replacement, Left Side Panel: passo 1, immagine 2 di 3 HP Officejet Pro 8625 Power Supply Replacement, Left Side Panel: passo 1, immagine 3 di 3
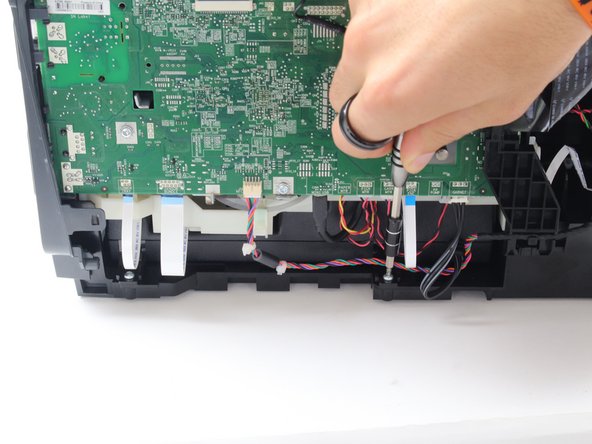
    • Remove the two 11.6 mm T9 screws from the right side of the back of the printer.

  2. HP Officejet Pro 8625 Power Supply Replacement: passo 2, immagine 1 di 3 HP Officejet Pro 8625 Power Supply Replacement: passo 2, immagine 2 di 3 HP Officejet Pro 8625 Power Supply Replacement: passo 2, immagine 3 di 3
    • Pull down the front panel to expose the screws on the front.

    • Remove the one 11.6 mm T9 screw on the left side of the front face.

  3. HP Officejet Pro 8625 Power Supply Replacement: passo 3, immagine 1 di 2 HP Officejet Pro 8625 Power Supply Replacement: passo 3, immagine 2 di 2
    • Remove the side panel by pushing down and towards the back.

    • This step may be easier if the printer is laid on its side with the left side panel facing up.

  4. HP Officejet Pro 8625 Power Supply Replacement, Power Supply: passo 4, immagine 1 di 3 HP Officejet Pro 8625 Power Supply Replacement, Power Supply: passo 4, immagine 2 di 3 HP Officejet Pro 8625 Power Supply Replacement, Power Supply: passo 4, immagine 3 di 3
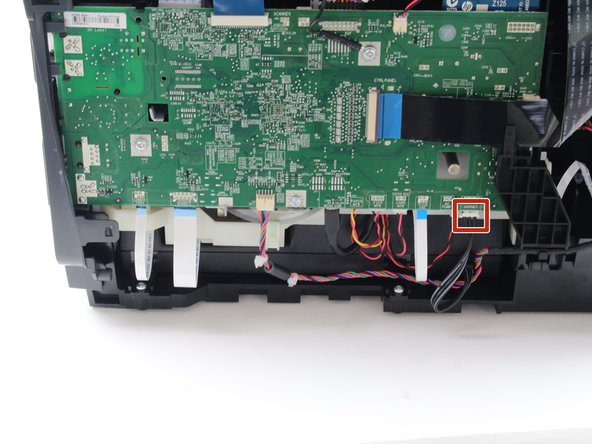
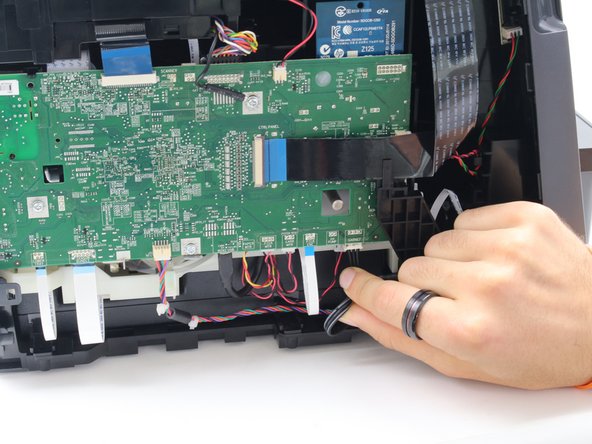
    • Remove the the black cable from the bottom of the motherboard by carefully pulling down on the connection.

  5. HP Officejet Pro 8625 Power Supply Replacement: passo 5, immagine 1 di 2 HP Officejet Pro 8625 Power Supply Replacement: passo 5, immagine 2 di 2
    • Remove the two 9.3 mm T9 screws that attach the power supply to the bottom of the printer.

  6. HP Officejet Pro 8625 Power Supply Replacement: passo 6, immagine 1 di 2 HP Officejet Pro 8625 Power Supply Replacement: passo 6, immagine 2 di 2
    • Slide the power supply out of the printer by pulling towards you.

    • Be careful of the wires coming from the motherboard.

Conclusione

To reassemble your device, follow these instructions in reverse order.

Altre 2 persone hanno completato questa guida.

Cole Andrews

Membro da: 10/08/18

273 Reputazione

2 Guide realizzate

Team

Cal Poly, Team S13-G3, White Fall 2018 Membro di Cal Poly, Team S13-G3, White Fall 2018

CPSU-WHITE-F18S13G3

3 Membri

14 Guide realizzate

0 Commenti

Aggiungi Commento

Visualizza Statistiche:

Ultime 24 Ore: 0

Ultimi 7 Giorni: 0

Ultimi 30 Giorni: 5

Tutti i Tempi: 442