Questa versione può contenere modifiche errate. Passa all'ultima istantanea verificata.
Cosa ti serve
-
Questo passaggio è privo di traduzione. Aiuta a tradurlo
-
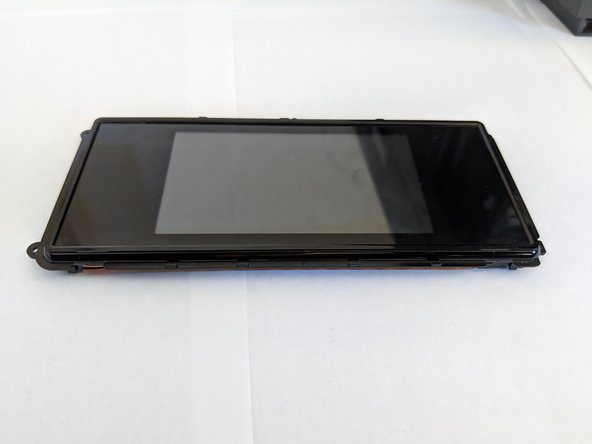
Disconnect the display by holding it in place while pulling down on the plastic hinge.
-
-
Questo passaggio è privo di traduzione. Aiuta a tradurlo
-
Lift the display as high as it will allow to expose the back of the display.
-
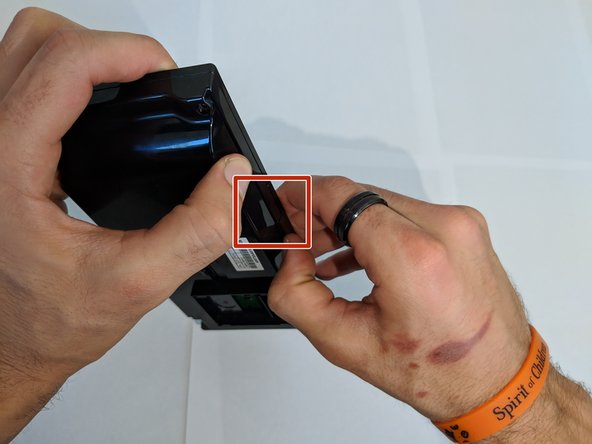
Pinch the sides of the cover and pull away from the printer to reveal the connector.
-
Remove the connector by pulling both away from the display and towards the printer.
-
-
Questo passaggio è privo di traduzione. Aiuta a tradurlo
-
Remove the four 6.2 mm T9 screws from the back of the display.
-
Pull the display assembly up and away from the printer.
-
-
-
Questo passaggio è privo di traduzione. Aiuta a tradurlo
-
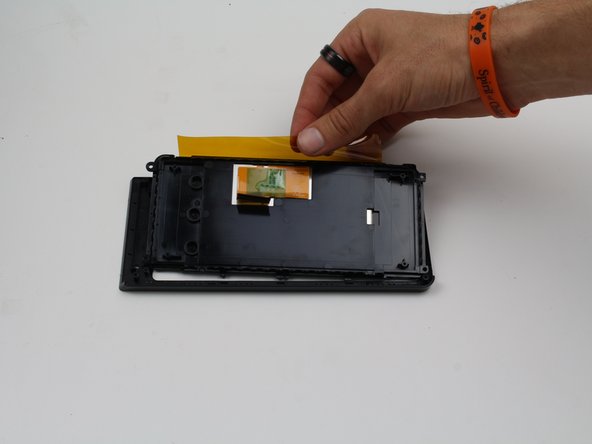
Remove the back cover from the display assembly by pressing down on the point of connection.
-
-
Questo passaggio è privo di traduzione. Aiuta a tradurlo
-
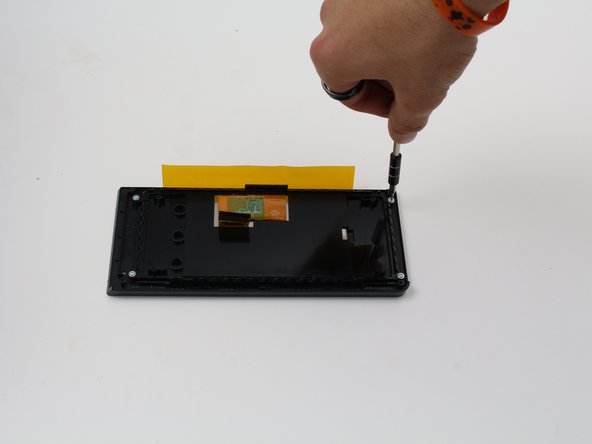
Remove the four 4.8 mm T6 screws from the back of the display motherboard.
-
-
Questo passaggio è privo di traduzione. Aiuta a tradurlo
-
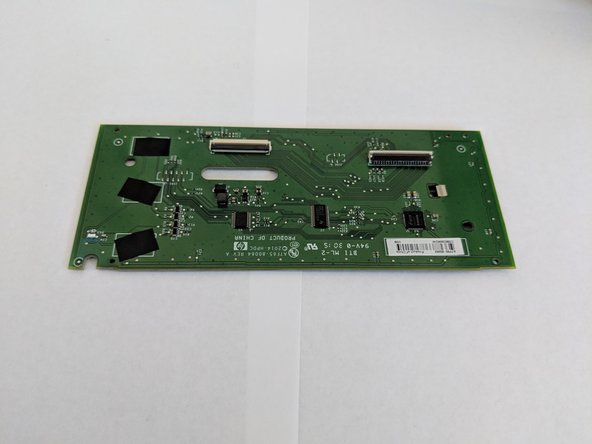
Remove the connection on the front of the display motherboard.
-
Remove the display motherboard.
-
-
Questo passaggio è privo di traduzione. Aiuta a tradurlo
-
Remove the four 4.8 mm screws from the back of the display using a T6 screwdriver.
-


Team

Cal Poly, Team S13-G3, White Fall 2018 Membro di Cal Poly, Team S13-G3, White Fall 2018
CPSU-WHITE-F18S13G3
3 Membri
14 Guide realizzate