Questa versione può contenere modifiche errate. Passa all'ultima istantanea verificata.
Cosa ti serve
-
Questo passaggio è privo di traduzione. Aiuta a tradurlo
-
Open the main lid as far as it will go.
-
Use a plastic opening tool to gently pry off the hinge on the right side by pushing it to the left and off the hook.
-
Open the lid further.
-
-
Questo passaggio è privo di traduzione. Aiuta a tradurlo
-
Use a T9 torx screwdriver to remove a total of ten (10) 12mm screws from the main cover by turning the screwdriver counterclockwise.
-
-
-
Questo passaggio è privo di traduzione. Aiuta a tradurlo
-
Grab the main cover and lift it up slightly.
-
-
Questo passaggio è privo di traduzione. Aiuta a tradurlo
-
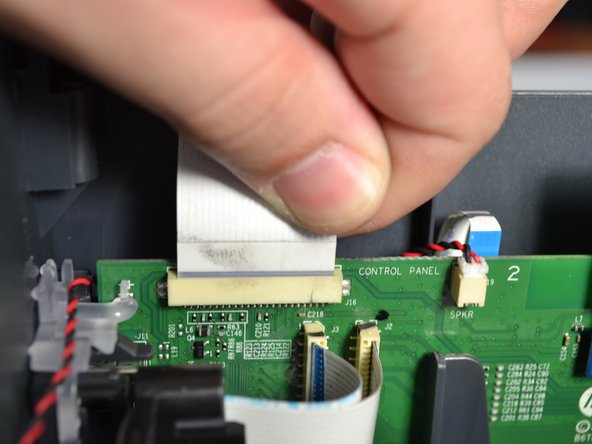
Grab the base of the white ribbon cable connecting the cover to the base of the printer and pull it out.
-


Team

Cal Poly, Team S2-G4, Livingston Winter 2018 Membro di Cal Poly, Team S2-G4, Livingston Winter 2018
CPSU-LIVINGSTON-W18S2G4
4 Membri
16 Guide realizzate