Salta al contenuto principale

HP Notebook 15-db003ca RAM Replacement

Cosa ti serve

  1. HP Notebook 15-db003ca RAM Replacement, RAM: passo 1, immagine 1 di 1
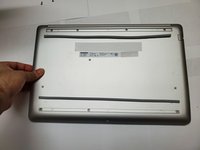
    • Place the powered-off laptop on a clean workspace.

  2. HP Notebook 15-db003ca RAM Replacement: passo 2, immagine 1 di 1
    • Flip the laptop over such that the backside of it is facing you.

    • Grab a Phillips #1 screwdriver.

  3. HP Notebook 15-db003ca RAM Replacement: passo 3, immagine 1 di 1
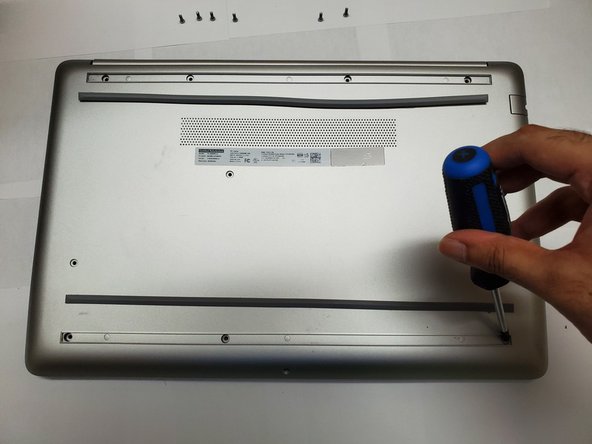
    • Remove the four 9 mm screws from the back panel using a Phillips #1 screwdriver.

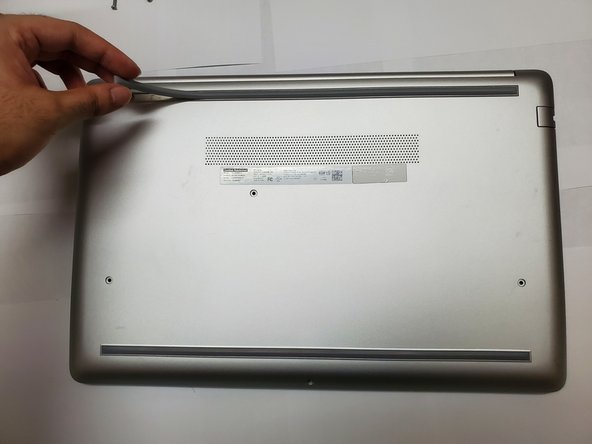
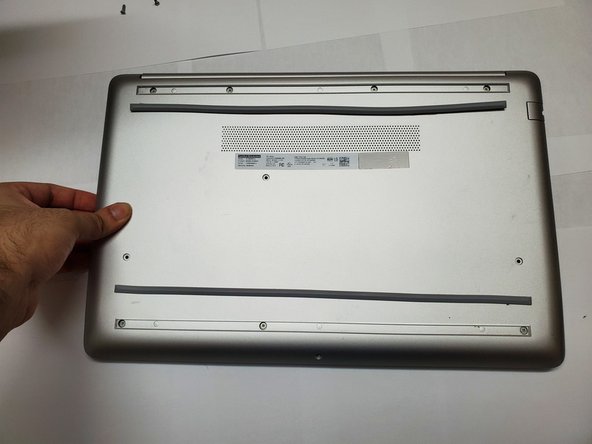
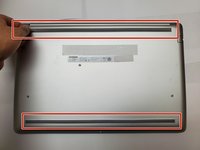
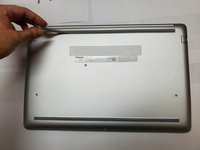
  4. HP Notebook 15-db003ca RAM Replacement: passo 4, immagine 1 di 3 HP Notebook 15-db003ca RAM Replacement: passo 4, immagine 2 di 3 HP Notebook 15-db003ca RAM Replacement: passo 4, immagine 3 di 3
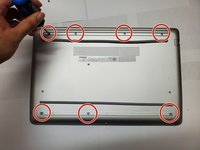
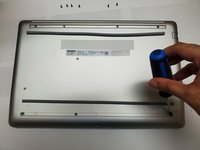
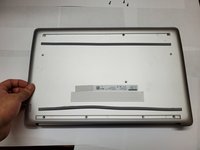
    • Peel the two strips to uncover more screws.

    • Place the strips near where they were removed.

  5. HP Notebook 15-db003ca RAM Replacement: passo 5, immagine 1 di 2 HP Notebook 15-db003ca RAM Replacement: passo 5, immagine 2 di 2
    • Remove the remaining seven 9 mm screws using a Phillips #1 screwdriver.

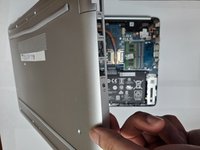
  6. HP Notebook 15-db003ca RAM Replacement: passo 6, immagine 1 di 3 HP Notebook 15-db003ca RAM Replacement: passo 6, immagine 2 di 3 HP Notebook 15-db003ca RAM Replacement: passo 6, immagine 3 di 3
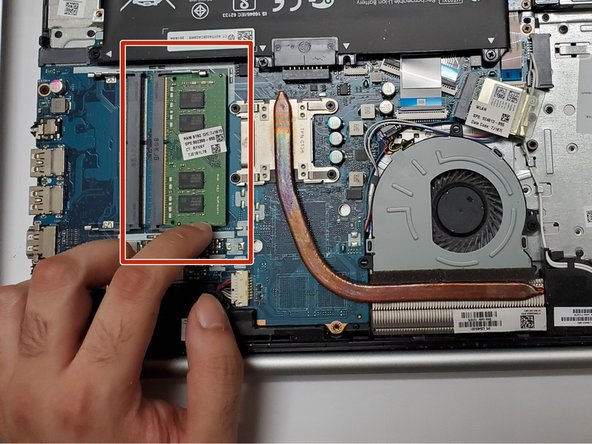
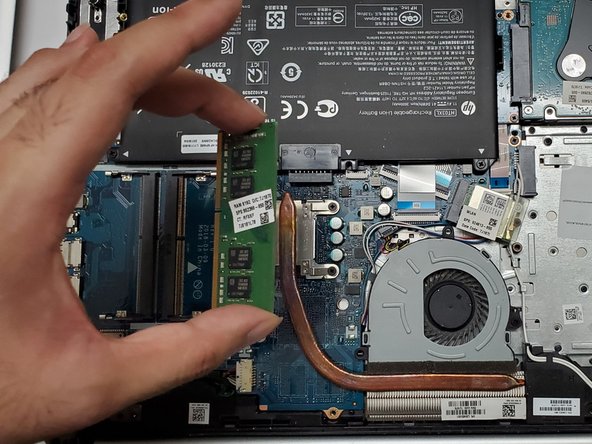
    • Remove the back panel and locate the RAM stick.

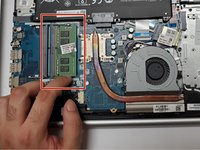
  7. HP Notebook 15-db003ca RAM Replacement: passo 7, immagine 1 di 2 HP Notebook 15-db003ca RAM Replacement: passo 7, immagine 2 di 2
    • Push the RAM to remove it from its slot like shown in the picture.

    • When reassembling, ensure the memory is inserted into the slot and pushed until it clicks into place.

Conclusione

To reassemble your device, follow these instructions in reverse order.

Altre 2 persone hanno completato questa guida.

vtsn t

Membro da: 01/17/23

172 Reputazione

1 Guida realizzata

Team

0Commenti sulla guida

Aggiungi Commento

Visualizza Statistiche:

Ultime 24 Ore: 0

Ultimi 7 Giorni: 11

Ultimi 30 Giorni: 52

Tutti i Tempi: 436