Introduzione
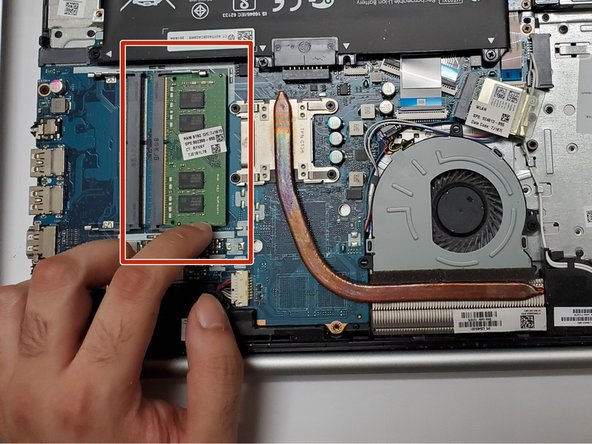
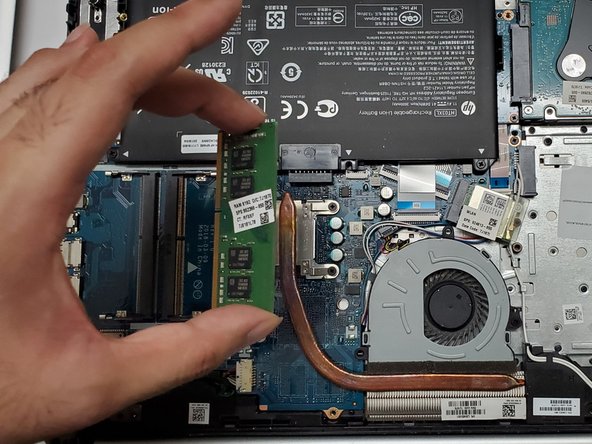
This guide demonstrates how to replace the RAM in the HP Notebook 15-db0003ca laptop. Due to performance slowing down over time or some other technical reason that leads to the memory needing to be being replaced, someone owning this device may not know how to do it and this guide would solve this problem, and it would accomplish restoring the original performance of the laptop.
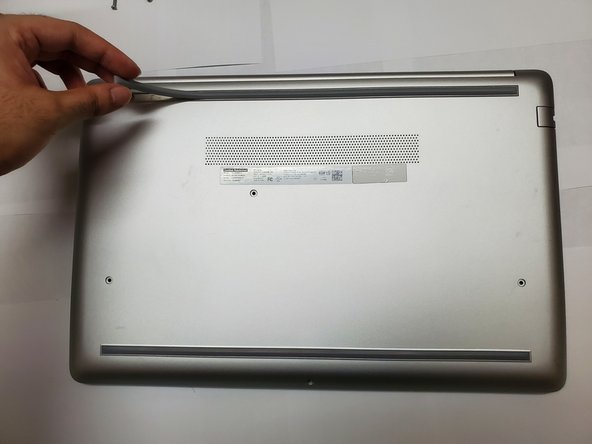
Before replacing the memory, make sure to have the laptop completely powered off and ensure the charger is disconnected from the laptop so that the device is physically unplugged from any outlet.
Cosa ti serve


To reassemble your device, follow these instructions in reverse order.
To reassemble your device, follow these instructions in reverse order.
Annulla: non ho completato questa guida.
Un'altra persona ha completato questa guida.
Team

York University, Team M-9, Allen Summer 2023 Membro di York University, Team M-9, Allen Summer 2023
YORK-ALLEN-SU23SMG9
2 Membri
7 Guide realizzate