Questa versione può contenere modifiche errate. Passa all'ultima istantanea verificata.
Cosa ti serve
-
Questo passaggio è privo di traduzione. Aiuta a tradurlo
-
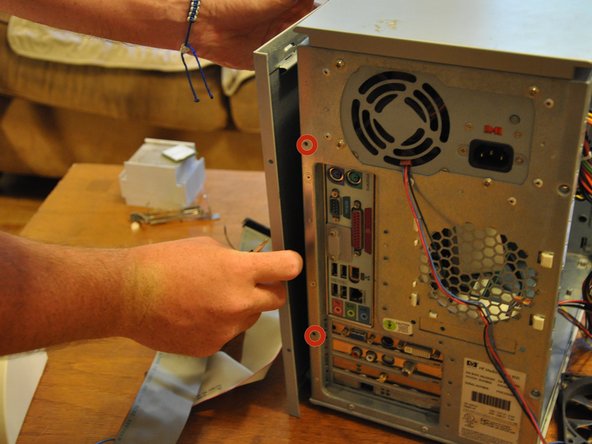
Remove the two (9 mm) hand screws on the back panel.
-
-
Questo passaggio è privo di traduzione. Aiuta a tradurlo
-
Place the tower on its side.
-
Slide the side panel horizontally to detach, and pull upward to remove.
-
-
-
Questo passaggio è privo di traduzione. Aiuta a tradurlo
-
Orient the tower vertically.
-
Using the #0 Phillips head screwdriver, unscrew and remove the two (5 mm) screws that fasten the remaining side panel to the tower.
-
Slide the side panel out of its notches, and pull it gently off of the tower.
-
-
Questo passaggio è privo di traduzione. Aiuta a tradurlo
-
Gently move the tower so that it is in the horizontal orientation.
-
Press down the black tabs (proximal to you) that fasten the front panel to the tower.
-
Press down on the distal, black tabs (symmetric with respect to the previous tabs).
-
Pull front panel forward slightly.
-
-
Questo passaggio è privo di traduzione. Aiuta a tradurlo
-
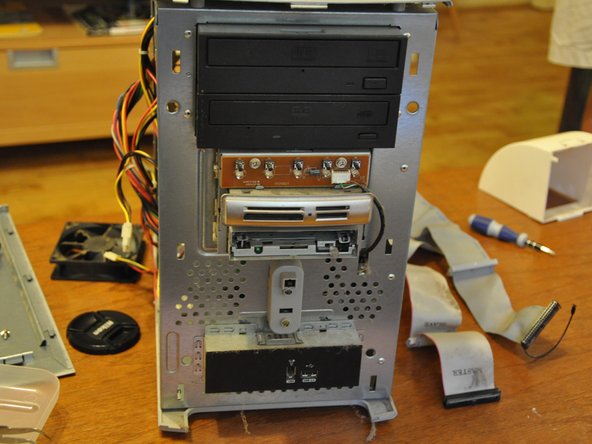
Orient the tower vertically.
-
The front panel will come off in a hinge-like fashion, exposing the drives underneath.
-


Team

Clemson, Team 6-1, Benson Spring 2014 Membro di Clemson, Team 6-1, Benson Spring 2014
CLEM-BENSON-S14S6G1
3 Membri
15 Guide realizzate