Introduzione
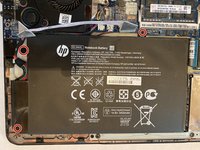
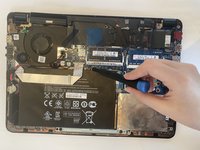
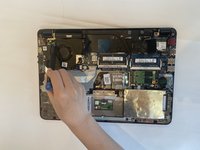
This guide is used to help you replace the cooling fan for the HP Envy Ultrabook 4-1043cl. It can be time to change the fan when you hear noises as the fan is running. This guide provides detailed step by step instructions to ensure your successful replacement. You may need an Ifixit PRO TECH TOOLKIT to remove the screws and unwrap the bottom enclosure. Make sure the charger is DISCONNECTED and the laptop is shut down for safety reasons. Always remember to remove the battery before trying to disconnect the cooling fan. Meanwhile, it is highly recommended to use different containers to place the removed screws from different parts in case you forget where some screws belong .
Cosa ti serve
-
-
-
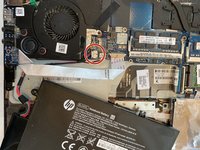
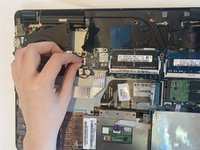
Remove one 4.2mm screw at the bottom right corner by using the Phillips #00 screwdriver.
-


To reassemble your device, follow these instructions in reverse order.
To reassemble your device, follow these instructions in reverse order.
Annulla: non ho completato questa guida.
Altre 2 persone hanno completato questa guida.
Team

Duke University Pratt School of Engineering, Team S5-G1, Matos-Garner Fall 2019 Membro di Duke University Pratt School of Engineering, Team S5-G1, Matos-Garner Fall 2019
DUKEPSE-MATOS-GARNER-F19S5G1
5 Membri
4 Guide realizzate