Introduzione
Use this guide to replace the fan on the HP Elitebook 1040 G4. The fan is essential for expelling heat away from the laptop and keeping the hardware running smoothly. This prevents computers from overheating, shutting down, and damaging components. The fan may be producing excessively loud noise or creating an odd smell which may indicate the fan needs replaced. Although the fan can be replaced without removing the battery, we advise removing the battery before you begin to ensure safety and avoid any electrical issues.
To complete this guide, you will need a #T5 Torx head screwdriver and a Philipps #0 and #00 screwdriver.
Before beginning, be sure to completely power off your computer.
Cosa ti serve
-
-
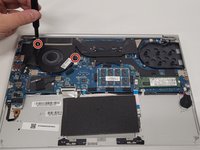
Use a T5 Torx screwdriver to remove the eight 5 mm screws securing the back cover to the chassis.
-
-
-
-
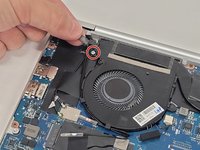
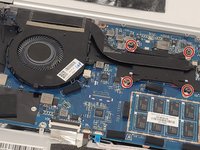
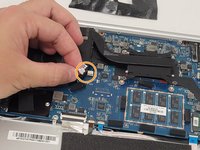
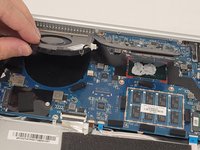
Using the Phillips #0 screwdriver, remove the two silver 5 mm screws surrounding the fan.
-


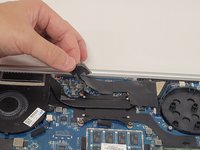


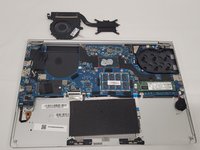
To reassemble your device, follow these instructions in reverse order.
To reassemble your device, follow these instructions in reverse order.

Team

Clemson, Team 4-1, Hunter Fall 2021 Membro di Clemson, Team 4-1, Hunter Fall 2021
CLEM-HUNTER-F21S4G1
5 Membri
10 Guide realizzate