Questa guida ha delle modifiche più recenti. Passa all'ultima versione non verificata.
Introduzione
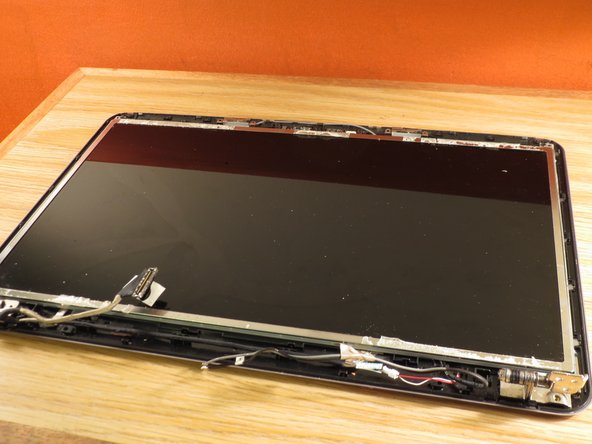
This guide will show how to disassemble the laptop and get to the display assembly to replace LCD screen.
Cosa ti serve
-
-
Make sure laptop is shutdown and unplugged from power adapter.
-
Slide the battery release latch to the left and remove the battery.
-
-
-
Unscrew the five screws holding the bottom cover for accessing the RAM, hard drive and wifi card.
-
Five Phillips #1
-
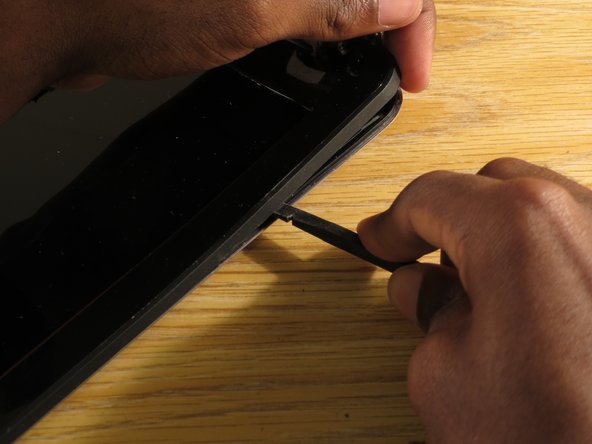
When removing the cover, start from the top edge and lift up.
-
Remove cover.
-
-
-
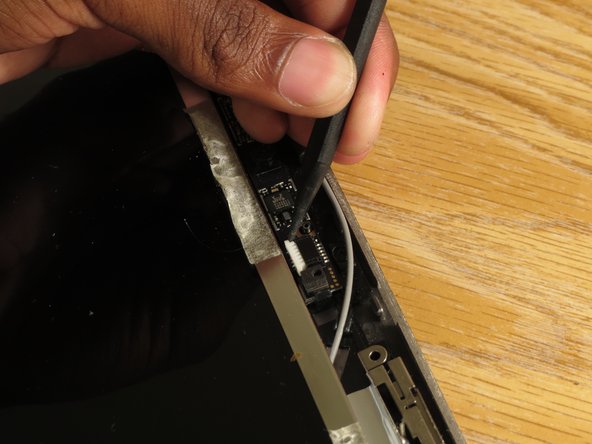
Use the edge of a plastic opening tool to pry the wifi antenna cable up from its socket on the wireless card.
-
Remove two screws from wireless card.
-
Two Phillips #1
-
-
-
Remove the one screw holding the optical drive.
-
One Phillips #1
-
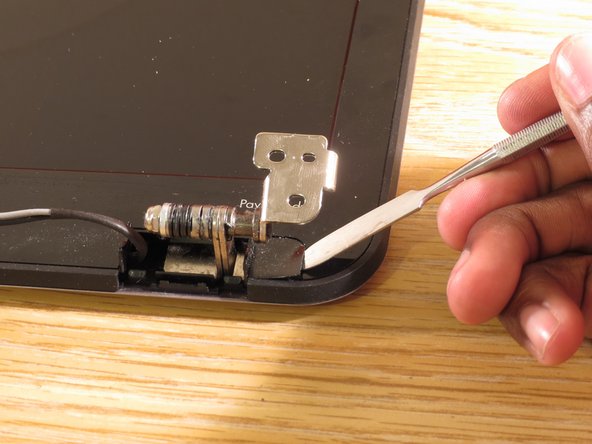
Use a spudger to push on the metal tab below where the screw was. This should disconnect the optical drive from the SATA connector.
-
Remove optical drive.
-
-
-
-
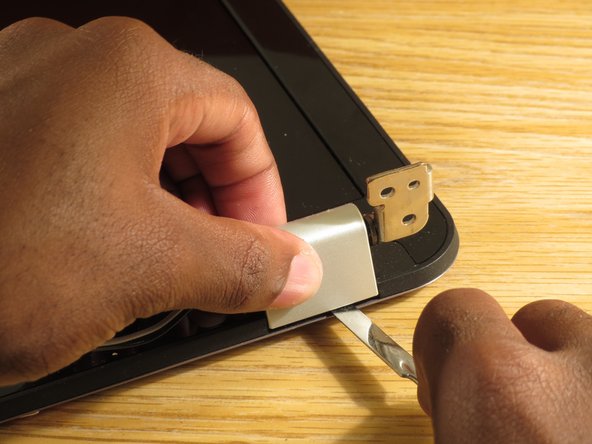
To the left of the battery connector is a keyboard release latch. Use a spudger to release the keyboard.
-
Once freed, lift the keyboard up from the top.
-
Use the edge of a plastic opening tool to carefully flip up the retaining flap on the keyboard ZIF socket.
-
Remove keyboard.
-


To reassemble your device, follow these instructions in reverse order.
To reassemble your device, follow these instructions in reverse order.
Annulla: non ho completato questa guida.
Altre 12 persone hanno completato questa guida.
