Salta al contenuto principale

HP 7 Plus 1302 Motherboard Replacement

Cosa ti serve

  1. HP 7 Plus 1302 Motherboard Replacement, Back Cover: passo 1, immagine 1 di 1
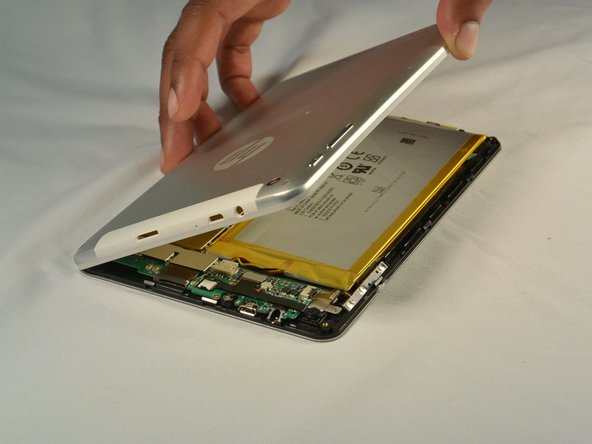
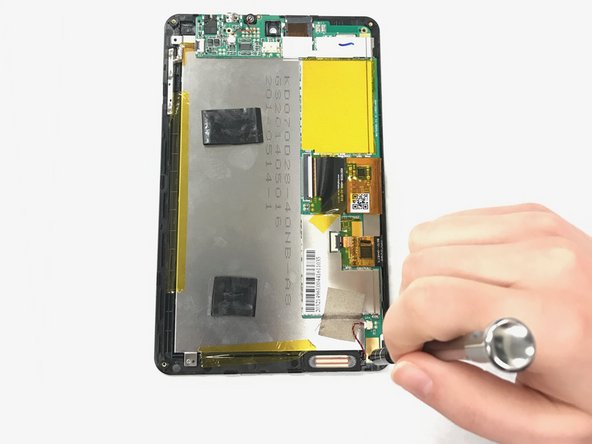
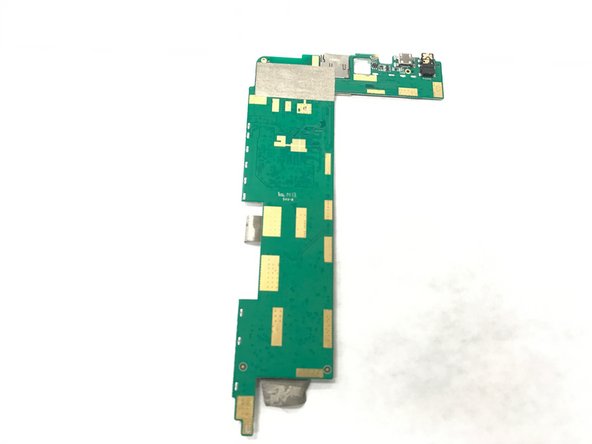
    • Using the T5 Torx Screwdriver, remove the T5x3mm screws located in all 4 corners.

    • Device should be turned off and unplugged before starting the replacements.

  2. HP 7 Plus 1302 Motherboard Replacement: passo 2, immagine 1 di 2 HP 7 Plus 1302 Motherboard Replacement: passo 2, immagine 2 di 2
    • Use the plastic opening tool to push in between the front and the back of the tablet.

    • Slide the plastic opening tool around all 4 sides of the tablet to separate the back cover.

    • Be careful when you are trying to remove the back as it can damage the screen if you force it too much.

  3. HP 7 Plus 1302 Motherboard Replacement: passo 3, immagine 1 di 2 HP 7 Plus 1302 Motherboard Replacement: passo 3, immagine 2 di 2
    • Continue sliding the plastic opening tool around the tablet until all 4 sides are separated from each other.

    • Remove the back cover.

  4. HP 7 Plus 1302 Motherboard Replacement, Battery: passo 4, immagine 1 di 2 HP 7 Plus 1302 Motherboard Replacement, Battery: passo 4, immagine 2 di 2
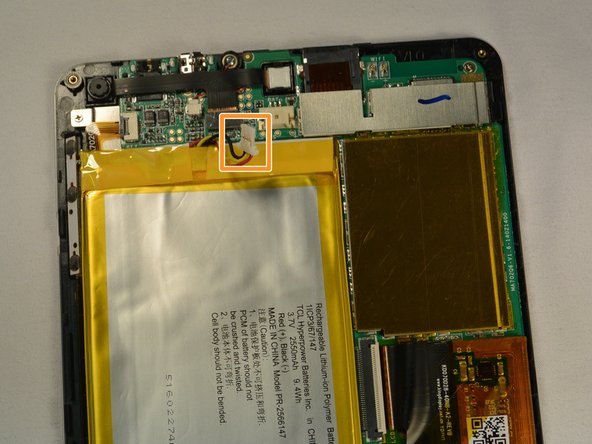
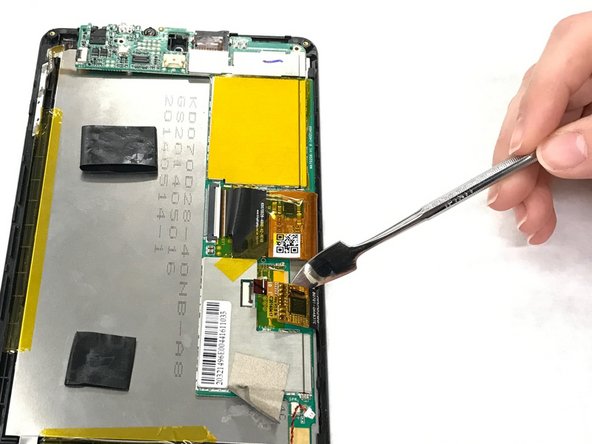
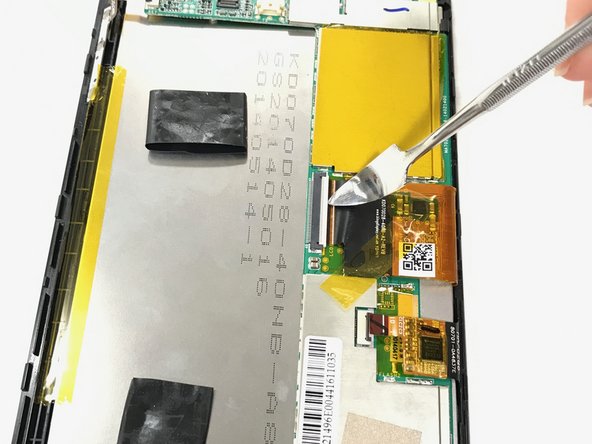
    • Push out the battery connector using the spudger.

    • Swing the battery connector clear of the connector socket.

  5. HP 7 Plus 1302 Motherboard Replacement: passo 5, immagine 1 di 1
    • Lift the battery from the device.

  6. HP 7 Plus 1302 Motherboard Replacement, Motherboard: passo 6, immagine 1 di 2 HP 7 Plus 1302 Motherboard Replacement, Motherboard: passo 6, immagine 2 di 2
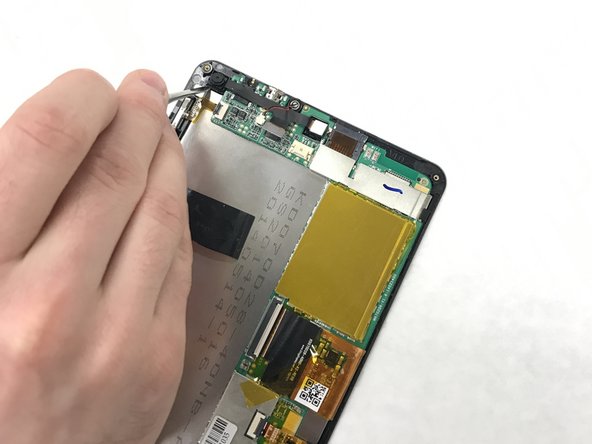
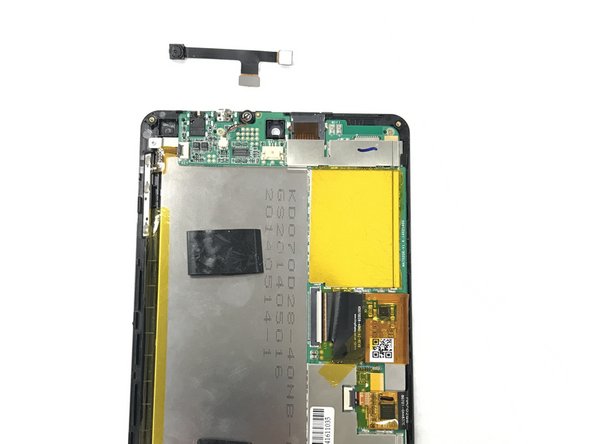
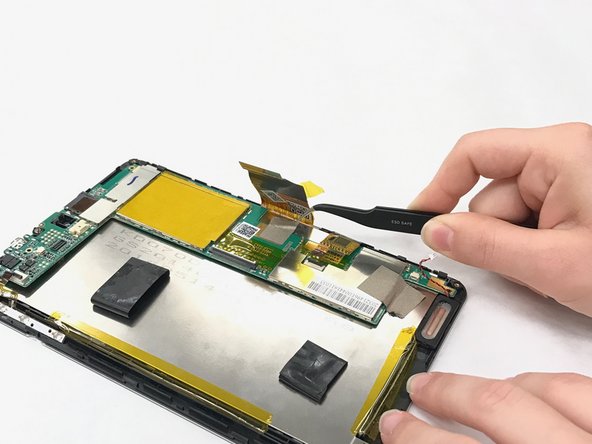
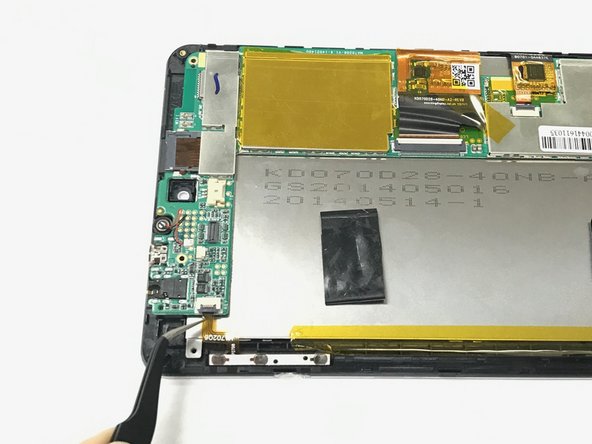
    • Pry the connector that attaches the front and back camera with a metal spudger.

  7. HP 7 Plus 1302 Motherboard Replacement: passo 7, immagine 1 di 2 HP 7 Plus 1302 Motherboard Replacement: passo 7, immagine 2 di 2
    • Pull the camera from the connectors.

  8. HP 7 Plus 1302 Motherboard Replacement: passo 8, immagine 1 di 2 HP 7 Plus 1302 Motherboard Replacement: passo 8, immagine 2 di 2
    • Identify the three T5x1mm screws and remove them with a Phillips #000

  9. HP 7 Plus 1302 Motherboard Replacement: passo 9, immagine 1 di 2 HP 7 Plus 1302 Motherboard Replacement: passo 9, immagine 2 di 2
    • Unplug the connector with the tweezers.

    • Remove the tape.

  10. HP 7 Plus 1302 Motherboard Replacement: passo 10, immagine 1 di 2 HP 7 Plus 1302 Motherboard Replacement: passo 10, immagine 2 di 2
    • Flip the ZIF connector with the metal spudger.

    • Pull the ribbon connector out.

  11. HP 7 Plus 1302 Motherboard Replacement: passo 11, immagine 1 di 3 HP 7 Plus 1302 Motherboard Replacement: passo 11, immagine 2 di 3 HP 7 Plus 1302 Motherboard Replacement: passo 11, immagine 3 di 3
    • Pull the orange tape with the tweezers.

    • Flip the ZIF connector with the spudger.

    • Pull the ribbon connector with the tweezers.

  12. HP 7 Plus 1302 Motherboard Replacement: passo 12, immagine 1 di 1
    • Remove the gray tape below the ribbon connector.

  13. HP 7 Plus 1302 Motherboard Replacement: passo 13, immagine 1 di 2 HP 7 Plus 1302 Motherboard Replacement: passo 13, immagine 2 di 2
    • Flip the ZIF connector.

    • Pull the ribbon connector out with the tweezers.

  14. HP 7 Plus 1302 Motherboard Replacement: passo 14, immagine 1 di 2 HP 7 Plus 1302 Motherboard Replacement: passo 14, immagine 2 di 2
    • Pull the circuit board off.

Conclusione

To reassemble your device, follow these instructions in reverse order.

Team

IUPUI, Team 1-4, Baechle Spring 2017 Membro di IUPUI, Team 1-4, Baechle Spring 2017

IUPUI-BAECHLE-S17S1G4

4 Membri

8 Guide realizzate

0 Commenti

Aggiungi Commento

Visualizza Statistiche:

Ultime 24 Ore: 0

Ultimi 7 Giorni: 0

Ultimi 30 Giorni: 0

Tutti i Tempi: 163