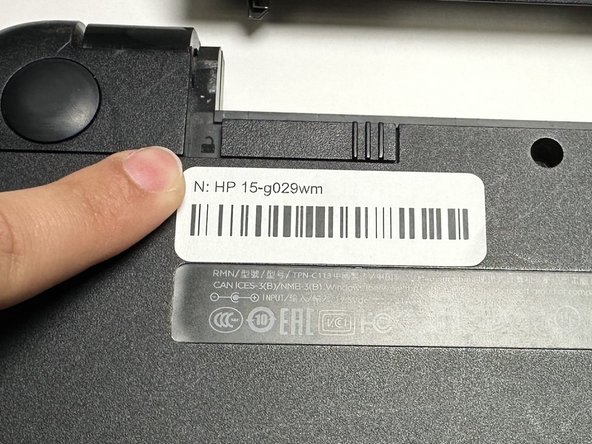
Salta al contenuto principale

HP 15-g029wm Upper Case Replacement

Cosa ti serve

  1. HP 15-g029wm Upper Case Replacement, Battery: passo 1, immagine 1 di 1
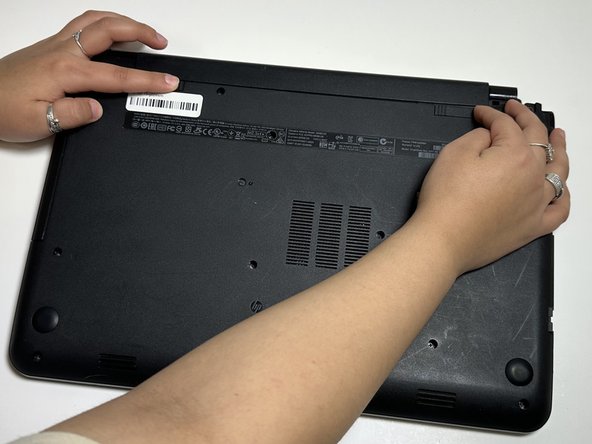
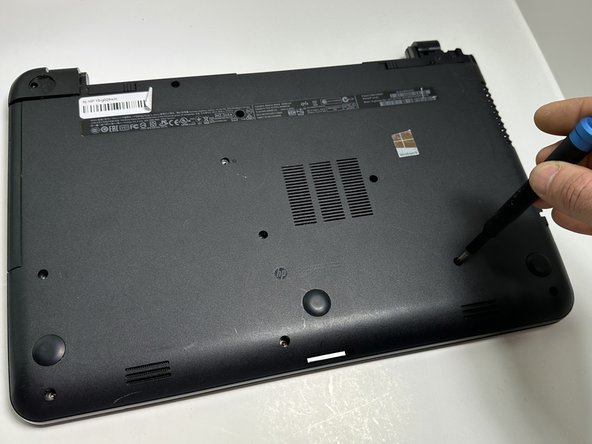
    • Unplug any charging cord or accessories connected to the device before beginning.

  2. HP 15-g029wm Upper Case Replacement: passo 2, immagine 1 di 1
    • Place the laptop bottom-side up on a secure, flat surface.

  3. HP 15-g029wm Upper Case Replacement: passo 3, immagine 1 di 3 HP 15-g029wm Upper Case Replacement: passo 3, immagine 2 di 3 HP 15-g029wm Upper Case Replacement: passo 3, immagine 3 di 3
    • Slide each of the two switches that secure the battery to the left.

    • This will reveal an image of an unlocked lock.

  4. HP 15-g029wm Upper Case Replacement: passo 4, immagine 1 di 3 HP 15-g029wm Upper Case Replacement: passo 4, immagine 2 di 3 HP 15-g029wm Upper Case Replacement: passo 4, immagine 3 di 3
    • Use your hands to gently pull the disconnected battery out of the device.

    • When inserting the new battery, pay special attention to align the battery connections correctly.

  5. HP 15-g029wm Upper Case Replacement, Upper Case: passo 5, immagine 1 di 2 HP 15-g029wm Upper Case Replacement, Upper Case: passo 5, immagine 2 di 2
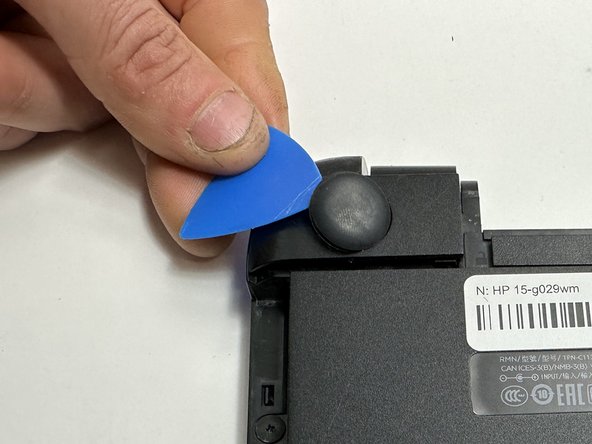
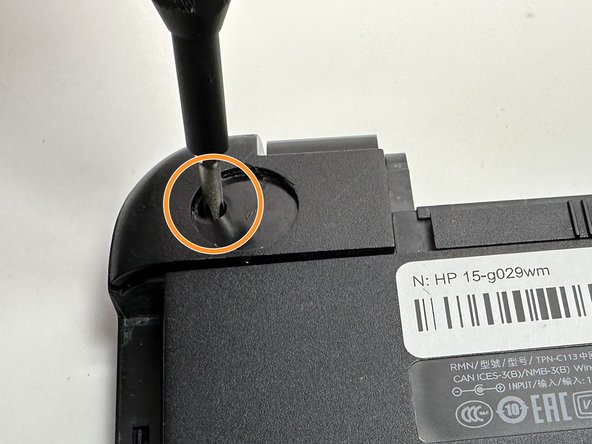
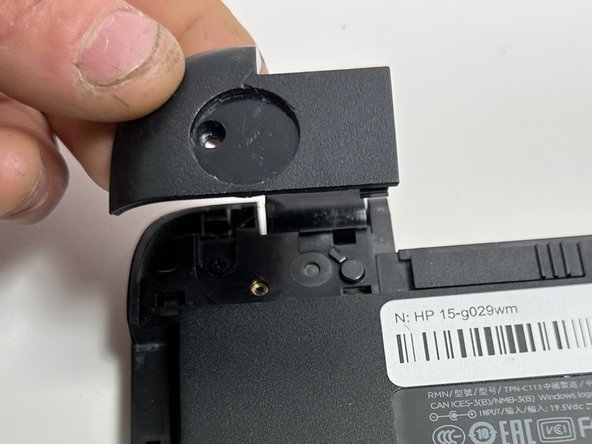
    • Remove the following Phillips screws on the lower case:

    • Nine 5 mm

    • One 6 mm

    • This will allow the optical drive to separate from the chassis.

  6. HP 15-g029wm Upper Case Replacement: passo 6, immagine 1 di 1
    • Slide the optical drive directly out of its slot.

  7. HP 15-g029wm Upper Case Replacement: passo 7, immagine 1 di 1
    • Remove the two 2 mm Phillips screws on the lip of the optical drive slot.

  8. HP 15-g029wm Upper Case Replacement: passo 8, immagine 1 di 3 HP 15-g029wm Upper Case Replacement: passo 8, immagine 2 di 3 HP 15-g029wm Upper Case Replacement: passo 8, immagine 3 di 3
    • Use an opening pick to remove the two circular rubber feet near the laptop hinges.

    • Remove both of the 8 mm Phillips screws.

    • The screws were hidden by the rubber feet.

  9. HP 15-g029wm Upper Case Replacement: passo 9, immagine 1 di 2 HP 15-g029wm Upper Case Replacement: passo 9, immagine 2 di 2
    • Use an opening pick to pry up and remove the left hinge cover.

    • Use an opening pick to pry up and remove the right hinge cover.

  10. HP 15-g029wm Upper Case Replacement: passo 10, immagine 1 di 3 HP 15-g029wm Upper Case Replacement: passo 10, immagine 2 di 3 HP 15-g029wm Upper Case Replacement: passo 10, immagine 3 di 3
    • Flip the device face up and open the lid.

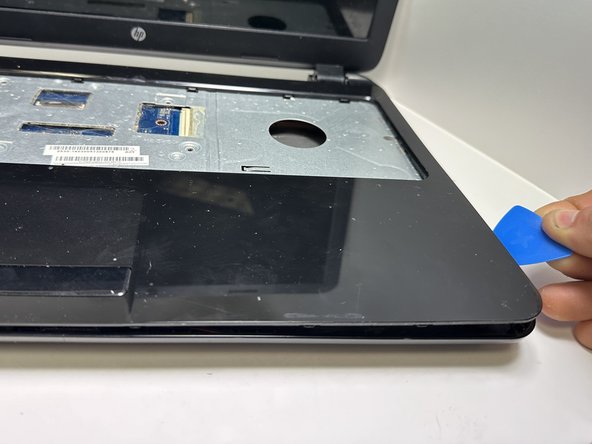
    • Insert an opening pick under the keyboard and pry around the perimeter of the keyboard until it fully releases.

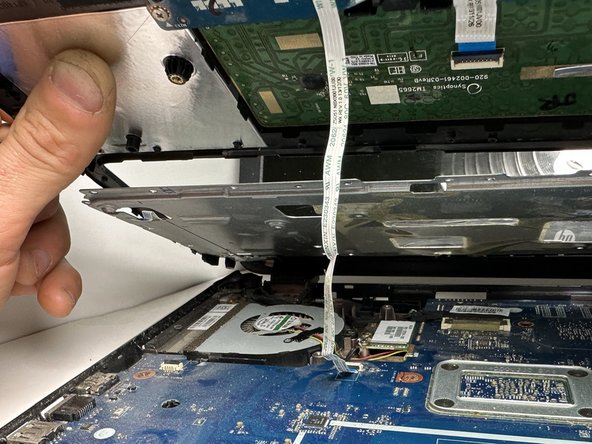
    • Lift the keyboard slightly.

    • There is a ribbon cable connecting the keyboard to the device on the underside. Do NOT pull it away or you risk ripping the ribbon cable and causing damage.

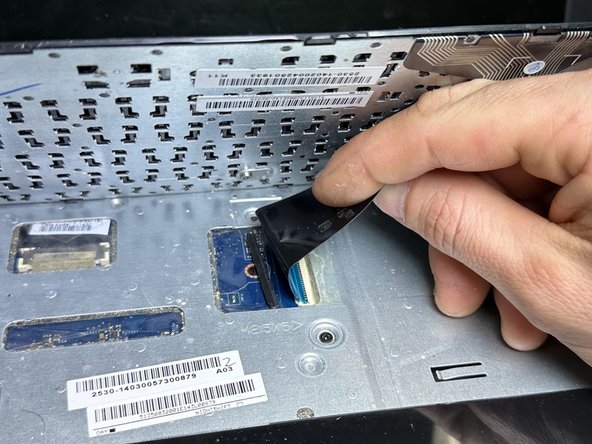
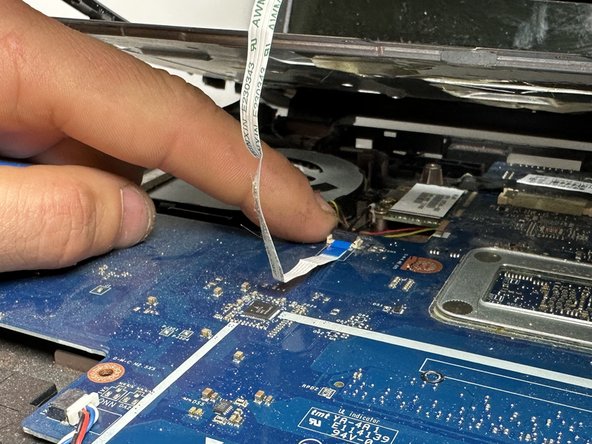
    • Use your fingers or an opening pick to unlock the ZIF locking flap that secures the keyboard ribbon cable.

    • Disconnect the keyboard ribbon cable.

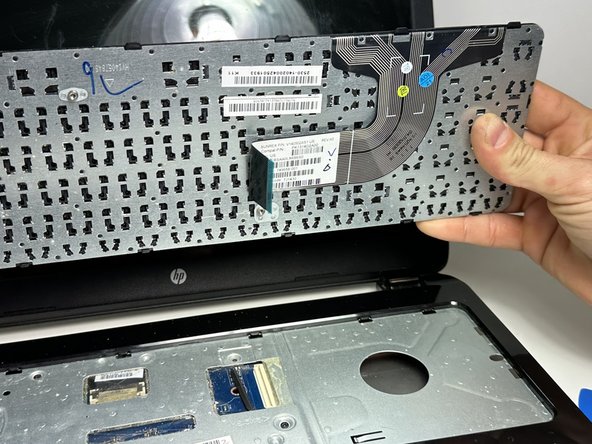
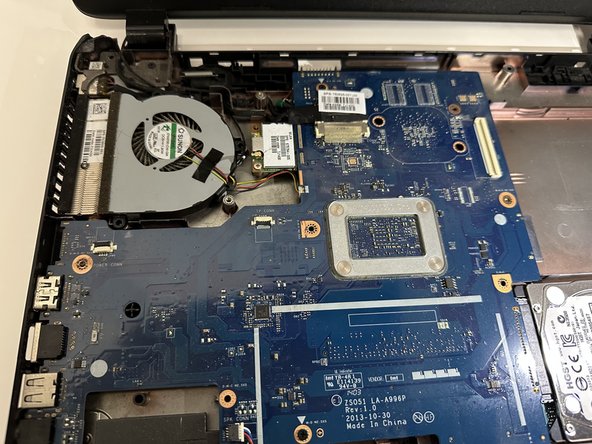
    • Lift the keyboard off.

  11. HP 15-g029wm Upper Case Replacement: passo 11, immagine 1 di 3 HP 15-g029wm Upper Case Replacement: passo 11, immagine 2 di 3 HP 15-g029wm Upper Case Replacement: passo 11, immagine 3 di 3
    • Remove two 5 mm screws using a Phillips screwdriver.

    • Insert an opening pick in the seam between the top case and chassis.

    • Slide the opening pick around the edge of the device to separate the top case from the chassis.

    • Slightly lift the top case up and away from the chassis.

    • There is a ribbon cable connecting the top plate to the device. Handle with care, and do NOT yank on the ribbon cable to prevent damage.

  12. HP 15-g029wm Upper Case Replacement: passo 12, immagine 1 di 3 HP 15-g029wm Upper Case Replacement: passo 12, immagine 2 di 3 HP 15-g029wm Upper Case Replacement: passo 12, immagine 3 di 3
    • Use your fingers or an opening pick to flip up the black ZIF locking flap.

    • Disconnect the ribbon cable.

    • Lift off the top case.

Conclusione

To reassemble your device, follow these instructions in reverse order.

0 Commenti

Aggiungi Commento

Visualizza Statistiche:

Ultime 24 Ore: 0

Ultimi 7 Giorni: 2

Ultimi 30 Giorni: 8

Tutti i Tempi: 109