Salta al contenuto principale

HP 15-dy2024nr Display Assembly Replacement

Cosa ti serve

  1. HP 15-dy2024nr Display Assembly Replacement, Display Assembly: passo 1, immagine 1 di 2 HP 15-dy2024nr Display Assembly Replacement, Display Assembly: passo 1, immagine 2 di 2
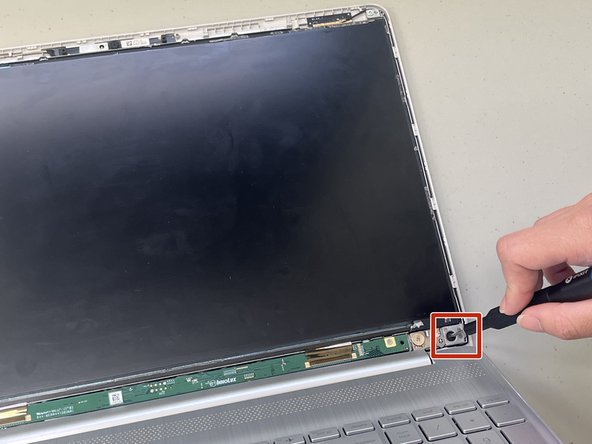
    • Peel the inner edge of the bezel using an opening tool and gently snap both edges away from the glass.

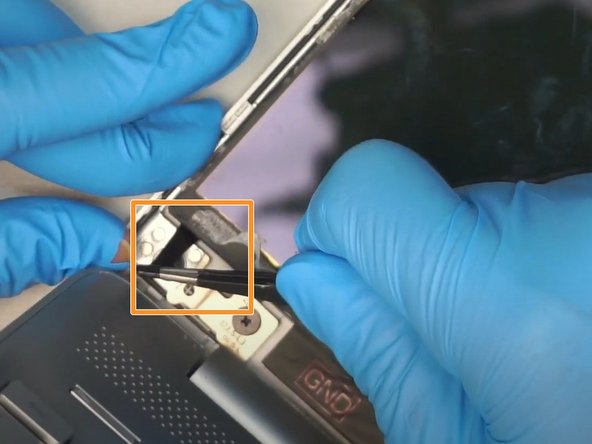
    • Go around the perimeter and begin snapping the tabs underneath.

  2. HP 15-dy2024nr Display Assembly Replacement: passo 2, immagine 1 di 3 HP 15-dy2024nr Display Assembly Replacement: passo 2, immagine 2 di 3 HP 15-dy2024nr Display Assembly Replacement: passo 2, immagine 3 di 3
    • Use the opening tool to unsnap the bezel along the hinge cover.

    • Close the laptop and turn it sideways.

    • Separate the bezel along the bottom edge using the opening tool.

    • Remove the bezel and place it aside.

  3. HP 15-dy2024nr Display Assembly Replacement: passo 3, immagine 1 di 3 HP 15-dy2024nr Display Assembly Replacement: passo 3, immagine 2 di 3 HP 15-dy2024nr Display Assembly Replacement: passo 3, immagine 3 di 3
    • Remove the 1.8 mm screws from the top and bottom corners of the screen using a Phillips #1 screwdriver.

    • Use a pair of tweezers to pull out the adhesive tape from the bottom left and right corners of the screen.

    • Remove the LCD and gently place it on the keyboard with both hands.

  4. HP 15-dy2024nr Display Assembly Replacement: passo 4, immagine 1 di 3 HP 15-dy2024nr Display Assembly Replacement: passo 4, immagine 2 di 3 HP 15-dy2024nr Display Assembly Replacement: passo 4, immagine 3 di 3
    • Gently peel off the tape securing the video connector.

    • Disconnect the video cable.

    • Remove the old screen.

Conclusione

To reassemble your device, follow these instructions in reverse order.

Altre 2 persone hanno completato questa guida.

0 Commenti

Aggiungi Commento

Visualizza Statistiche:

Ultime 24 Ore: 1

Ultimi 7 Giorni: 13

Ultimi 30 Giorni: 50

Tutti i Tempi: 121