Introduzione
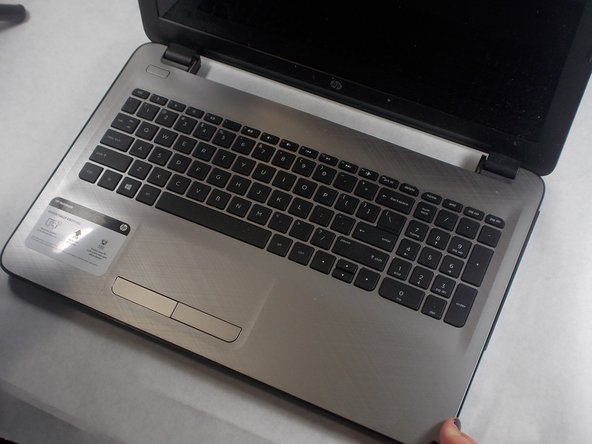
This guide shows you how to replace the fan in the HP 15-af123cl. If the computer is getting very hot, the fan is being loud or both, you may have a problem with your fan.
The fan is what cools the computer by blowing outside air on the CPU (central processing unit), allowing it to cool down and operate at full capacity. A faulty fan will not cool the CPU properly, and will make the computer too hot.
Before completely replacing the fan, look at the inside of the computer. If there is a lot of dust and debris, blow all the dust out either with a ESD-BAND or a can of air. Make sure to get the fan as well, but be careful spinning the fan in away its not intended will damage it so make sure it doesn’t spin when you clean it.
use the computer in a regular session after doing this, if the problems persist move on to the fan replacement but make sure to put the computer back together before testing it.
There are many risks you take when opening computers, like static shocks, so make sure you are wearing ESD-Band connected to a ground like the bottom of a outlet, to ensure the static shock doesn’t damage any of your computer’s still functioning parts.
before doing this make sure to power of the computer completely and disconnect it from the wall if it was charging
Cosa ti serve
-
-
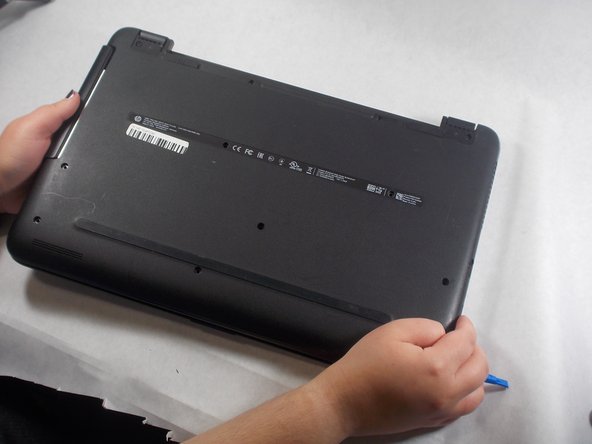
Remove the twelve screws from the bottom of the laptop using a Phillips #00 screwdriver.
-
-
-
-
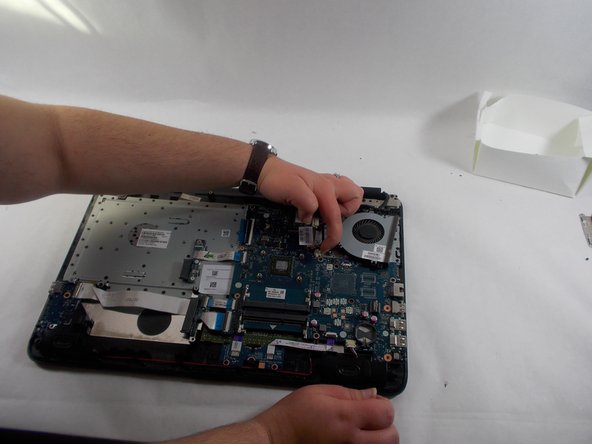
Remove all seven screws from the fan and heat sink using a Phillips #000 screwdriver.
-


To reassemble your device, follow these instructions in reverse order.
To reassemble your device, follow these instructions in reverse order.

Team

UMass Dartmouth, Team 2-5, Sinclaire Fall 2021 Membro di UMass Dartmouth, Team 2-5, Sinclaire Fall 2021
UMASSD-SINCLAIRE-F21S2G5
3 Membri
6 Guide realizzate