Salta al contenuto principale

HP 15-ac142dx Screen Replacement

Cosa ti serve

  1. HP 15-ac142dx Screen Replacement, Screen: passo 1, immagine 1 di 1
    • The first step you should take is to turn the laptop off.

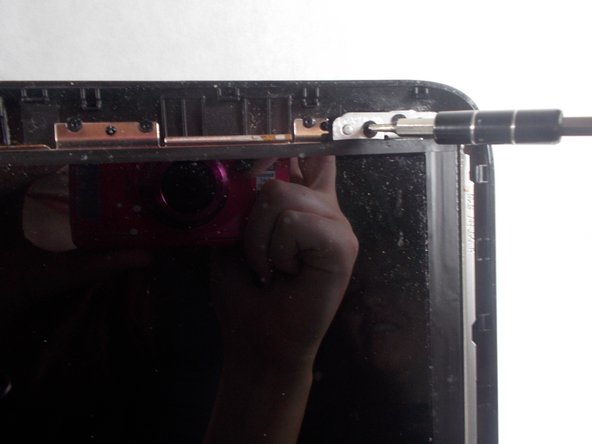
    • Next you want to get the prying tool and wedge it into the seam of the screen and outer casing.

  2. HP 15-ac142dx Screen Replacement: passo 2, immagine 1 di 2 HP 15-ac142dx Screen Replacement: passo 2, immagine 2 di 2
    • Once it is wedged in on one of the upper corners you want to gently lift and slide the tool down the sides and top of the seam until the frame pops off.

    • Continue moving the tool down, while wedged, to release the grasp. You will be left with just the screen in the casing.

    • While prying off make sure you have a good grasp on the computer. You will know it is coming off due to the audible clicks

  3. HP 15-ac142dx Screen Replacement: passo 3, immagine 1 di 2 HP 15-ac142dx Screen Replacement: passo 3, immagine 2 di 2
    • Next, you will want to unscrew the Phillips PM2.0×5.2 screws at the top of the screen with the #0 bit, this will allow the screen to pop off easily.

    • Once all the screws are removed, gently remove the screen from the outer casing.

Conclusione

To reassemble your device, follow these instructions in reverse order.

Un'altra persona ha completato questa guida.

0 Commenti

Aggiungi Commento

Visualizza Statistiche:

Ultime 24 Ore: 0

Ultimi 7 Giorni: 2

Ultimi 30 Giorni: 5

Tutti i Tempi: 555