Introduzione
Hard drive is a hardware component responsible for data storage. This allows your computer to run and store programs installed onto the computer. Make sure that the computer is unplugged, shutdown and the battery has been removed.
Cosa ti serve
-
-
Use a Phillips screwdriver to remove the 10 visible screws on the bottom.
-
Peel up the rubber feet near the hinges.
-
Remove the screw under each.
-
-
-
-
Turn the computer over and use a plastic card, opening pick, or opening tool to pry the space between the keyboard and bottom surface of the computer.
-
Work plastic card, opening pick, or opening tool carefully around the three edges (excluding the side with the screen, which should be positioned at 90 degrees.
-
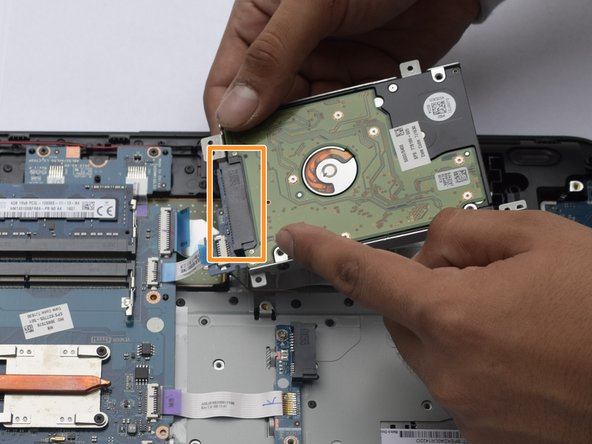
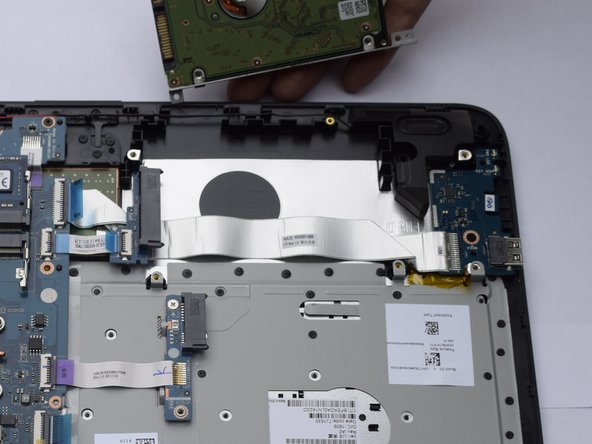
Gently lift the top surface of the bottom half of the laptop, revealing the hard drive.
-


To reassemble your device, follow these instructions in reverse order.
To reassemble your device, follow these instructions in reverse order.
Annulla: non ho completato questa guida.
Altre 8 persone hanno completato questa guida.
Team

Cal Poly, Team S6-G2, Banghart Fall 2017 Membro di Cal Poly, Team S6-G2, Banghart Fall 2017
CPSU-BANGHART-F17S6G2
5 Membri
5 Guide realizzate