Salta al contenuto principale
Graco Secure Coverage  Nursery Unit Power Jack Replacement

Graco Secure Coverage Nursery Unit Power Jack Replacement

Omar Abdullah

Omar Abdullah e 2 altri collaboratori

Ultimo aggiornamento il December 7, 2015

Nessuna stima
Moderato

Introduzione

Vai al passo 1

Use this guide to replace the power jack on your Graco Secure Coverage Digital Baby Monitor for nursery unit.

The power jack replacement includes the power jack and battery replacement.

Cosa ti serve

Strumenti

Mostra di più…

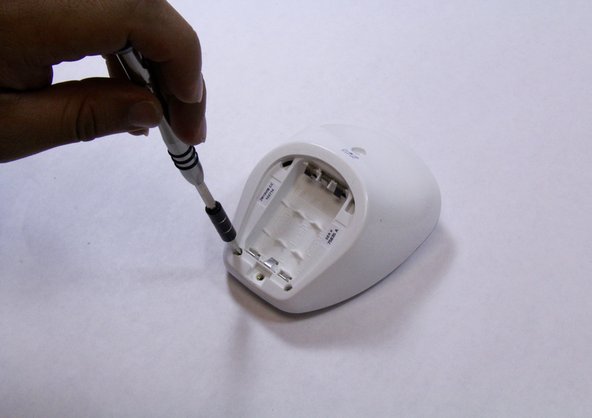
  1. Graco Secure Coverage  Nursery Unit Power Jack Replacement, Nursery Unit Battery: passo 1, immagine 1 di 3 Graco Secure Coverage  Nursery Unit Power Jack Replacement, Nursery Unit Battery: passo 1, immagine 2 di 3 Graco Secure Coverage  Nursery Unit Power Jack Replacement, Nursery Unit Battery: passo 1, immagine 3 di 3
    • Remove the 9mm screw from the battery cover of the nursery unit using a Phillips #1 tip screwdriver.

  2. Graco Secure Coverage  Nursery Unit Power Jack Replacement: passo 2, immagine 1 di 2 Graco Secure Coverage  Nursery Unit Power Jack Replacement: passo 2, immagine 2 di 2
    • Using the plastic opening tool, pry and remove the battery cover carefully.

    • Remove the batteries using plastic opening tool.

    • Replace the batteries.

  3. Graco Secure Coverage  Nursery Unit Power Jack Replacement, Nursery Unit Power Jack: passo 3, immagine 1 di 2 Graco Secure Coverage  Nursery Unit Power Jack Replacement, Nursery Unit Power Jack: passo 3, immagine 2 di 2
    • Remove the two 9mm Phillips #1 screws from the rare case of the device.

    • Place the screws in a secure place.

  4. Graco Secure Coverage  Nursery Unit Power Jack Replacement: passo 4, immagine 1 di 1
    • Hold the bottom of the device with one hand and pull down to separate the front and rare cases.

    • While holding the device with one hand, use plastic opening tool to pry the edges of the front case away from the back case.

    • Take your time and apply constant force carefully to avoid breaking any other plastic parts from the device.

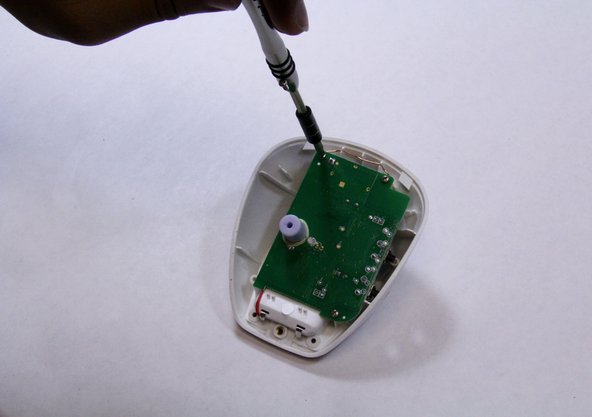
  5. Graco Secure Coverage  Nursery Unit Power Jack Replacement: passo 5, immagine 1 di 2 Graco Secure Coverage  Nursery Unit Power Jack Replacement: passo 5, immagine 2 di 2
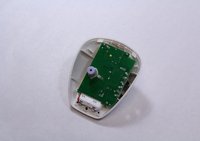
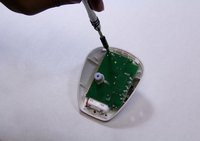
    • Remove all three 7mm Phillips #1 screws from the mother board.

    • Make sure you gently unscrew the screws with moderate force and light pressure to avoid any damages.

  6. Graco Secure Coverage  Nursery Unit Power Jack Replacement: passo 6, immagine 1 di 2 Graco Secure Coverage  Nursery Unit Power Jack Replacement: passo 6, immagine 2 di 2
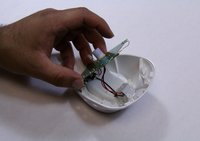
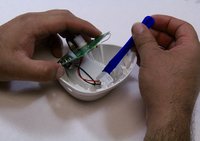
    • Pick up the mother board carefully.

    • Using plastic opening tool, gently pry the power jack plastic part and separate it away from the device case.

    • Apply constant force to avoid breaking the plastic part.

  7. Graco Secure Coverage  Nursery Unit Power Jack Replacement: passo 7, immagine 1 di 1
    • Solder off the wires from the mother board.

    • There are many pins attached to the mother board, make sure you solder off the proper pins that attached to the power jack wires.

    • Replace the power jack.

Conclusione

To reassemble your device, follow these instructions in reverse order.

Omar Abdullah

Membro da: 09/06/15

201 Reputazione

2 Guide realizzate

Team

USF Tampa, Team 6-5, Remmell Fall 2015 Membro di USF Tampa, Team 6-5, Remmell Fall 2015

USFT-REMMELL-F15S6G5

4 Membri

8 Guide realizzate

0Commenti sulla guida

Aggiungi Commento

Visualizza Statistiche:

Ultime 24 Ore: 0

Ultimi 7 Giorni: 1

Ultimi 30 Giorni: 4

Tutti i Tempi: 177