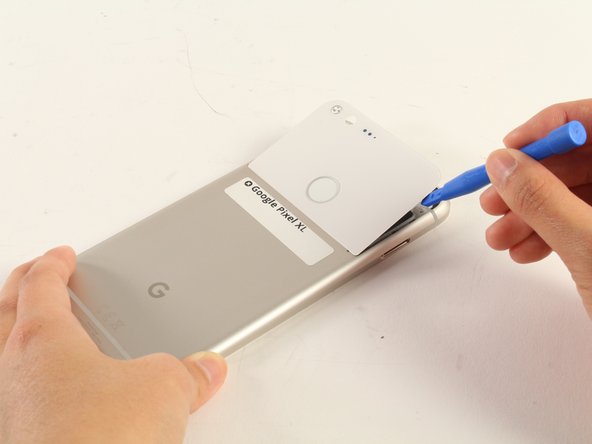
Salta al contenuto principale

Google Pixel XL Fingerprint Scanner Replacement

Guida Archiviata
Questa guida è mantenuta solo per scopi storici. Usa la versione aggiornata della guida per eseguire la riparazione.

Cosa ti serve

  1. Google Pixel XL Fingerprint Scanner Replacement, Fingerprint Scanner: passo 1, immagine 1 di 1
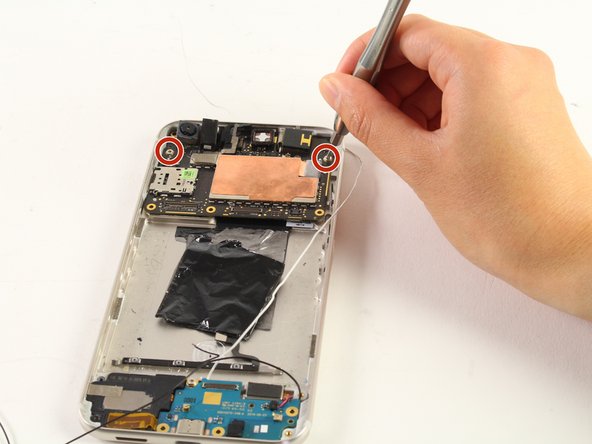
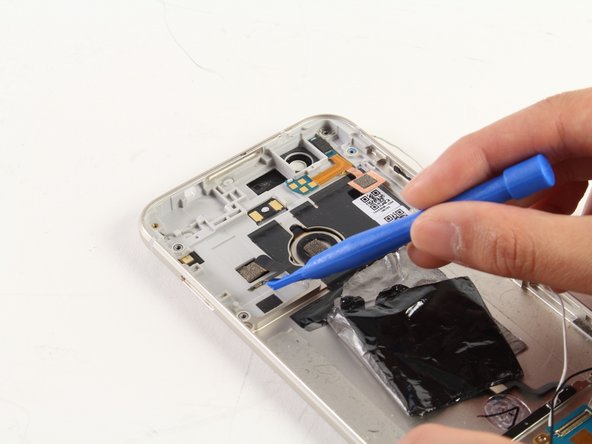
    • Remove the two remaining 3mm T5 screws which secure the motherboard in place.

  2. Google Pixel XL Fingerprint Scanner Replacement: passo 2, immagine 1 di 2 Google Pixel XL Fingerprint Scanner Replacement: passo 2, immagine 2 di 2
    • Slightly lift the motherboard using the plastic opening tool to access the connector which holds the motherboard from the bottom.

    • Disconnect the connector by pulling it away from the board.

  3. Google Pixel XL Fingerprint Scanner Replacement: passo 3, immagine 1 di 2 Google Pixel XL Fingerprint Scanner Replacement: passo 3, immagine 2 di 2
    • Lift the motherboard out of the phone.

  4. Google Pixel XL Fingerprint Scanner Replacement: passo 4, immagine 1 di 1
    • Be very careful when prying because it is possible for the glass to crack during this step.

    • Insert the plastic opening tool underneath the glass panel on the back of the device and gently pry upwards around the seam.

  5. Google Pixel XL Fingerprint Scanner Replacement: passo 5, immagine 1 di 3 Google Pixel XL Fingerprint Scanner Replacement: passo 5, immagine 2 di 3 Google Pixel XL Fingerprint Scanner Replacement: passo 5, immagine 3 di 3
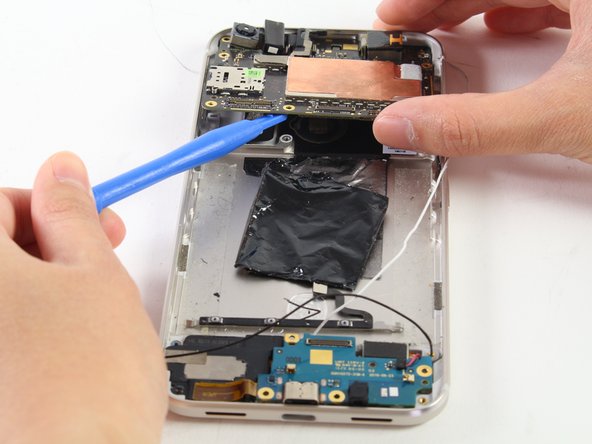
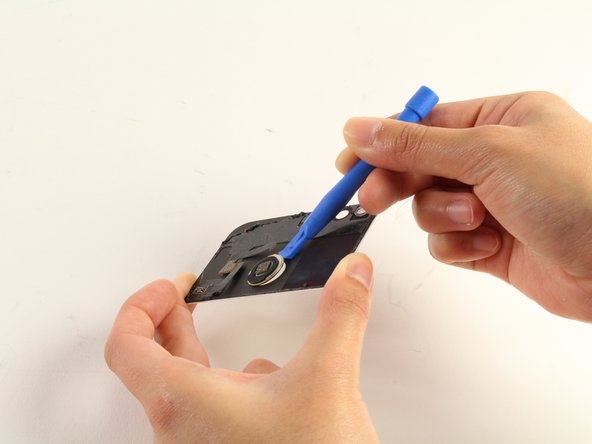
    • Peel the ribbon cable that connects to the fingerprint scanner off of the sticky pads on the inside of the phone.

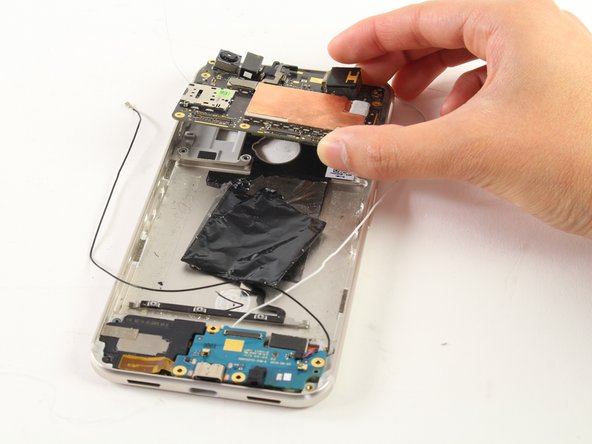
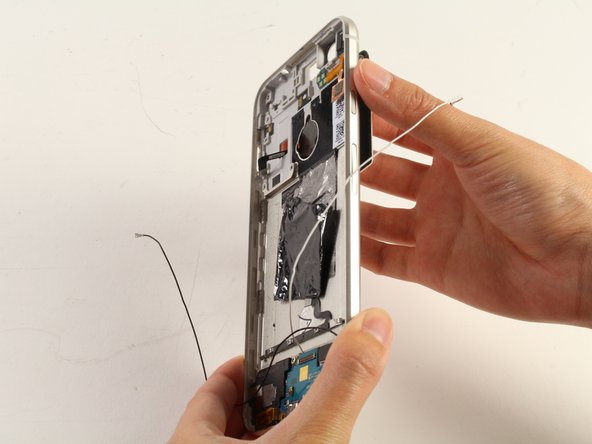
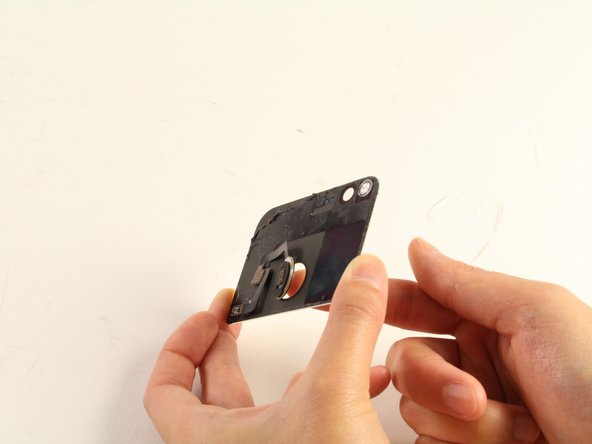
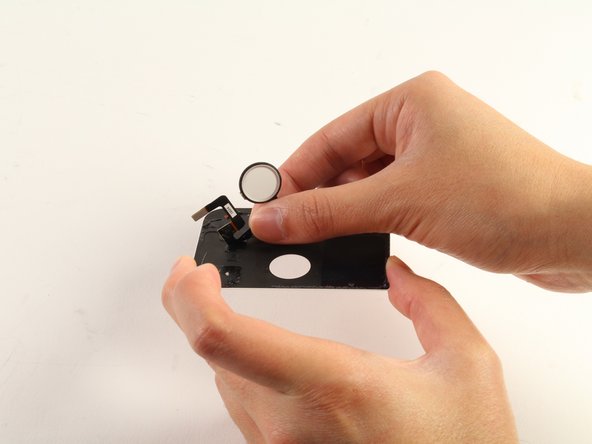
    • Pull the glass panel out from the phone while routing the ribbon cable through the hole in the chassis.

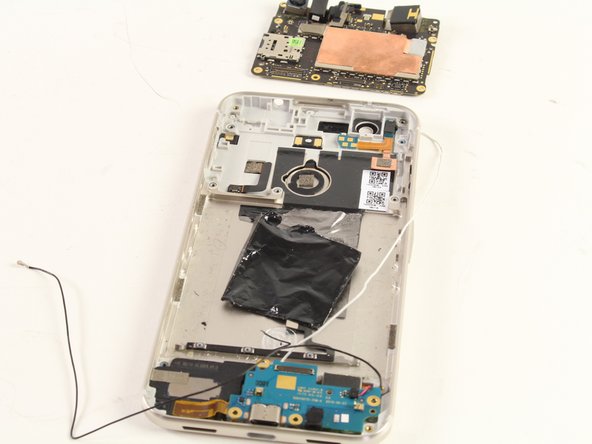
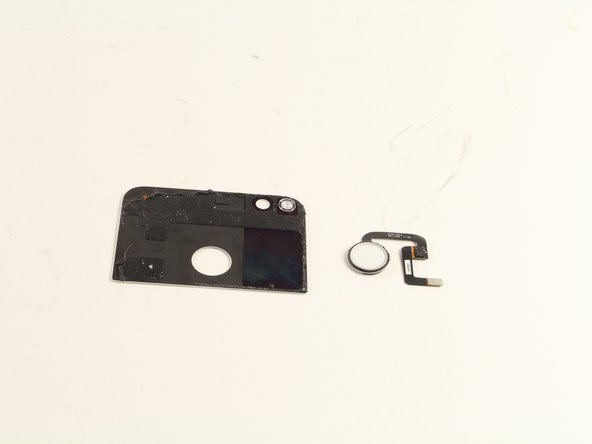
    • Keep the glass panel and place the rest of the phone off to the side.

  6. Google Pixel XL Fingerprint Scanner Replacement: passo 6, immagine 1 di 2 Google Pixel XL Fingerprint Scanner Replacement: passo 6, immagine 2 di 2
    • Use the plastic opening tool to pry the fingerprint scanner out from the inside of the glass panel.

    • If the plastic opening tool is not working properly to remove the scanner, you may push it out with your finger.

  7. Google Pixel XL Fingerprint Scanner Replacement: passo 7, immagine 1 di 2 Google Pixel XL Fingerprint Scanner Replacement: passo 7, immagine 2 di 2
    • Remove the fingerprint scanner completely from the back panel.

Conclusione

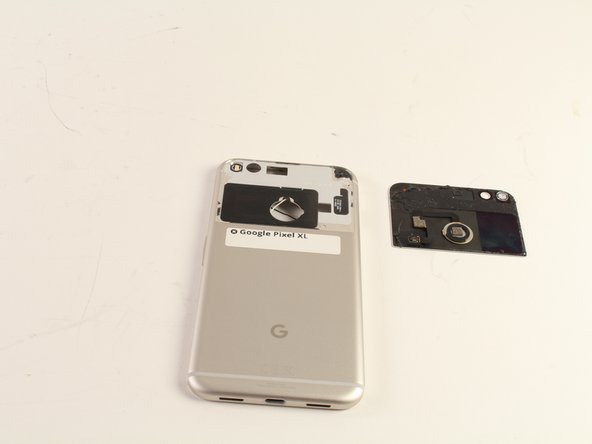
To reassemble your device, follow these instructions in reverse order.

Andrew Ferguson

Membro da: 03/14/17

1.389 Reputazione

4 Guide realizzate

Team

Cal Poly, Team S13-G4, Forte Spring 2017 Membro di Cal Poly, Team S13-G4, Forte Spring 2017

CPSU-FORTE-S17S13G4

4 Membri

4 Guide realizzate

0 Commenti

Aggiungi Commento

Visualizza Statistiche:

Ultime 24 Ore: 0

Ultimi 7 Giorni: 0

Ultimi 30 Giorni: 0

Tutti i Tempi: 3