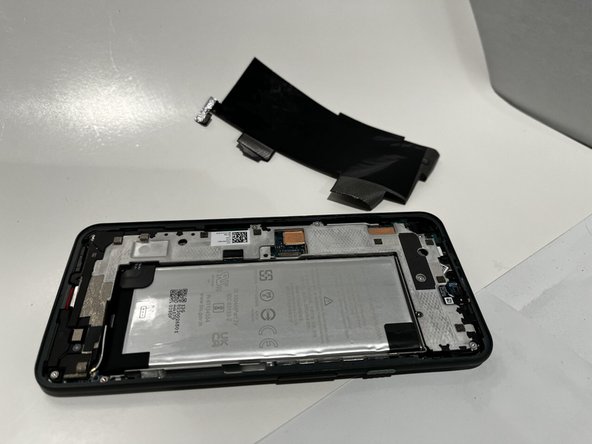
Salta al contenuto principale

Google Pixel 5a Rear-Facing Cameras Replacement

Guida Archiviata
Questa guida è mantenuta solo per scopi storici. Usa la versione aggiornata della guida per eseguire la riparazione.

Cosa ti serve

  1. Google Pixel 5a Rear-Facing Cameras  Replacement, Screen: passo 1, immagine 1 di 3 Google Pixel 5a Rear-Facing Cameras  Replacement, Screen: passo 1, immagine 2 di 3 Google Pixel 5a Rear-Facing Cameras  Replacement, Screen: passo 1, immagine 3 di 3
    • Shut down the device before starting screen removal.

    • Insert a paper clip or SIM card removal tool into the SIM card tray hole.

    • Apply a small amount of pressure until the tray pops out.

    • Slide the SIM card tray out of your Google Pixel 5a.

  2. Google Pixel 5a Rear-Facing Cameras  Replacement: passo 2, immagine 1 di 2 Google Pixel 5a Rear-Facing Cameras  Replacement: passo 2, immagine 2 di 2
    • Pry the screen off of your device using an opening tool around all four sides.

  3. Google Pixel 5a Rear-Facing Cameras  Replacement: passo 3, immagine 1 di 3 Google Pixel 5a Rear-Facing Cameras  Replacement: passo 3, immagine 2 di 3 Google Pixel 5a Rear-Facing Cameras  Replacement: passo 3, immagine 3 di 3
    • Remove the 4 mm screw using a T4 Torx screwdriver.

    • Disconnect the ribbon cable holding the screen in place.

    • Remove the screen from the rest of the phone.

  4. Google Pixel 5a Rear-Facing Cameras  Replacement, Midframe: passo 4, immagine 1 di 3 Google Pixel 5a Rear-Facing Cameras  Replacement, Midframe: passo 4, immagine 2 di 3 Google Pixel 5a Rear-Facing Cameras  Replacement, Midframe: passo 4, immagine 3 di 3
    • Peel back the black plastic film covering the battery.

  5. Google Pixel 5a Rear-Facing Cameras  Replacement: passo 5, immagine 1 di 2 Google Pixel 5a Rear-Facing Cameras  Replacement: passo 5, immagine 2 di 2
    Attrezzo utilizzato in questo passaggio:
    Tweezers
    $4.99
    Compra
    • Use a pair of tweezers to remove the black plastic cover.

  6. Google Pixel 5a Rear-Facing Cameras  Replacement: passo 6, immagine 1 di 3 Google Pixel 5a Rear-Facing Cameras  Replacement: passo 6, immagine 2 di 3 Google Pixel 5a Rear-Facing Cameras  Replacement: passo 6, immagine 3 di 3
    • Use a spudger to peel back the protective tape covering two screws.

  7. Google Pixel 5a Rear-Facing Cameras  Replacement: passo 7, immagine 1 di 3 Google Pixel 5a Rear-Facing Cameras  Replacement: passo 7, immagine 2 di 3 Google Pixel 5a Rear-Facing Cameras  Replacement: passo 7, immagine 3 di 3
    • Using a T4 screwdriver, remove the six 4 mm screws.

    • Using a T4 screwdriver, remove the two 3 mm screws.

    • Using a T4 screwdriver, remove the 5 mm screw.

  8. Google Pixel 5a Rear-Facing Cameras  Replacement: passo 8, immagine 1 di 1
    • Using a T4 screwdriver, remove the single 1 mm screw.

  9. Google Pixel 5a Rear-Facing Cameras  Replacement: passo 9, immagine 1 di 2 Google Pixel 5a Rear-Facing Cameras  Replacement: passo 9, immagine 2 di 2
    • Place a spudger under the metal bracket that covers the charging port.

    • Pry the metal bracket upwards, and remove it from the phone.

  10. Google Pixel 5a Rear-Facing Cameras  Replacement: passo 10, immagine 1 di 3 Google Pixel 5a Rear-Facing Cameras  Replacement: passo 10, immagine 2 di 3 Google Pixel 5a Rear-Facing Cameras  Replacement: passo 10, immagine 3 di 3
    • Place an opening tool under the midframe.

    • Pry the midframe up, and remove it from the phone.

  11. Google Pixel 5a Rear-Facing Cameras  Replacement, Rear-Facing Cameras: passo 11, immagine 1 di 2 Google Pixel 5a Rear-Facing Cameras  Replacement, Rear-Facing Cameras: passo 11, immagine 2 di 2
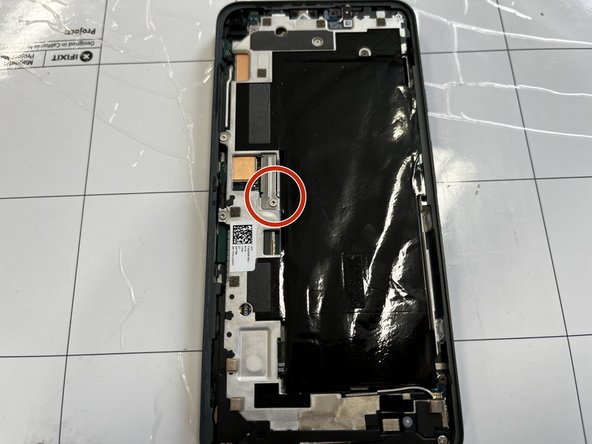
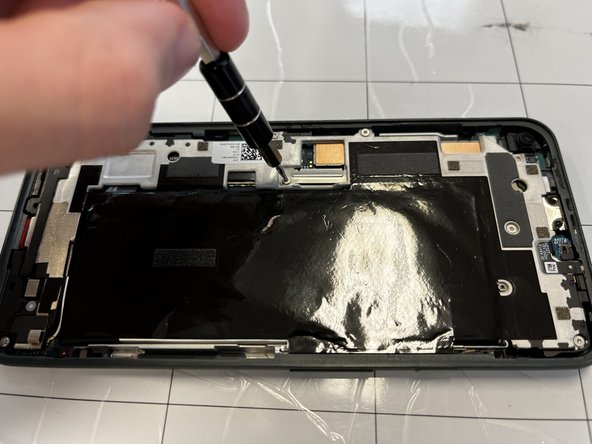
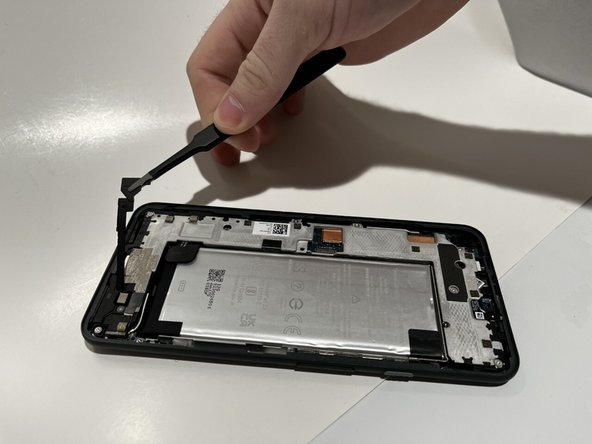
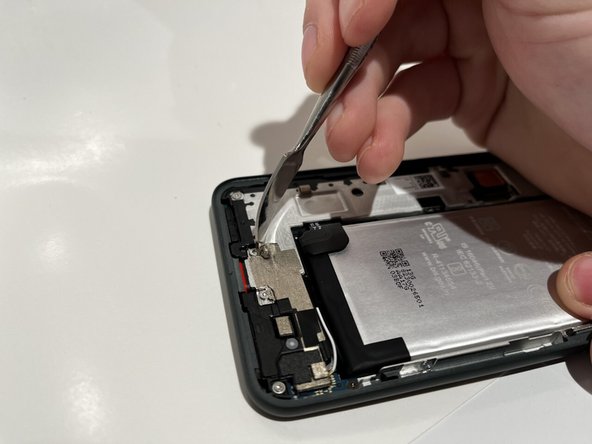
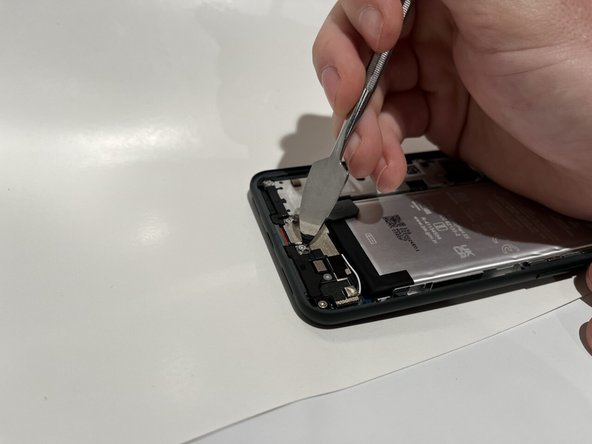
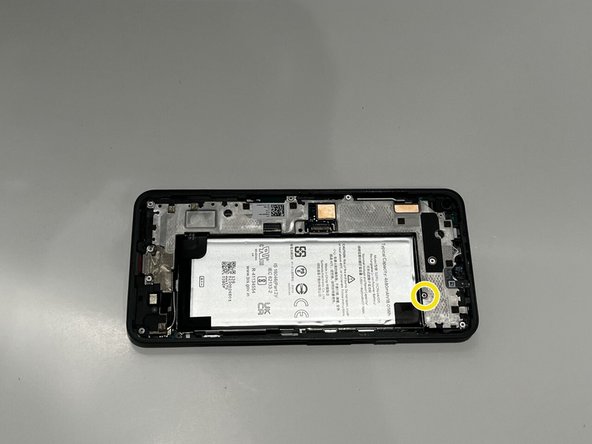
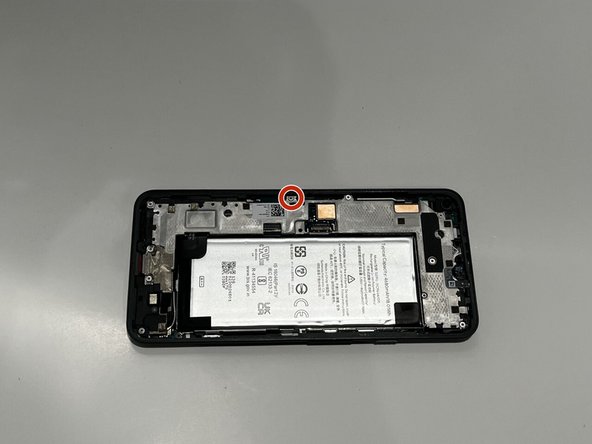
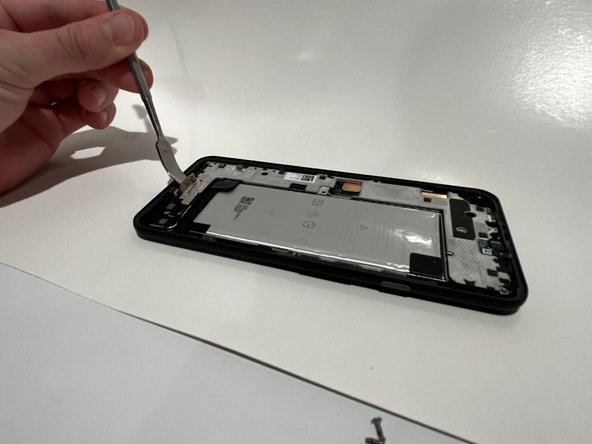
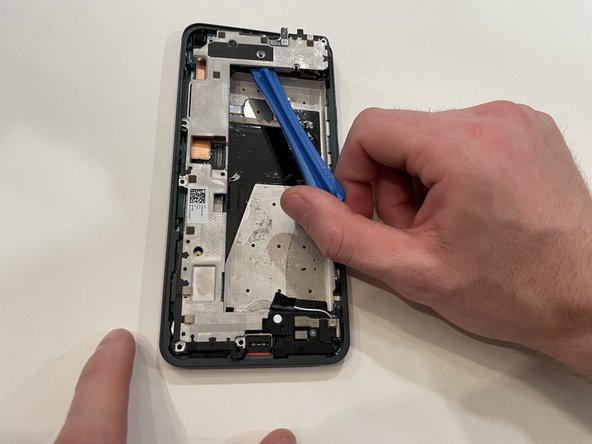
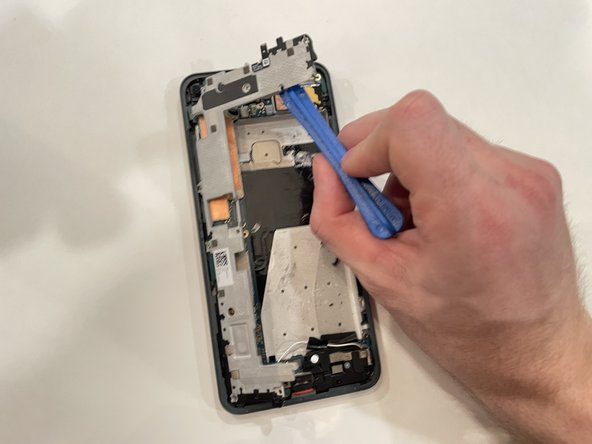
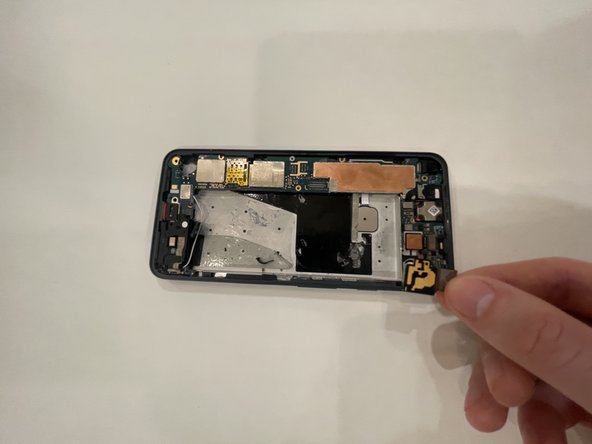
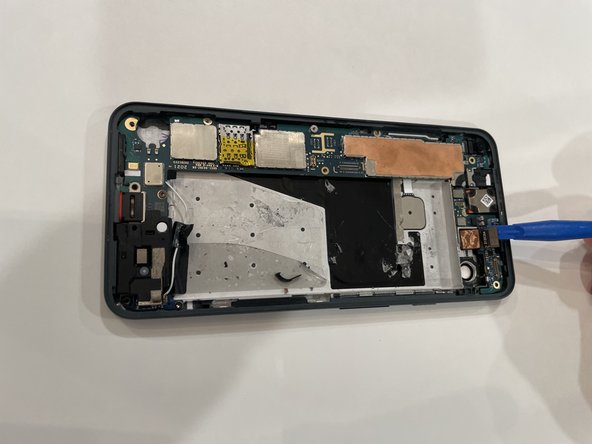
    • Place an opening tool under the camera connector and pry upward.

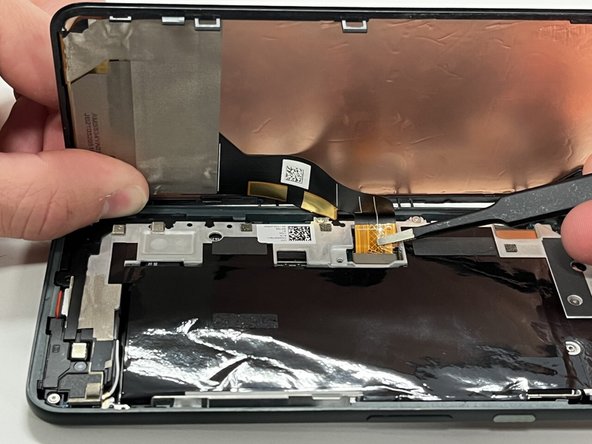
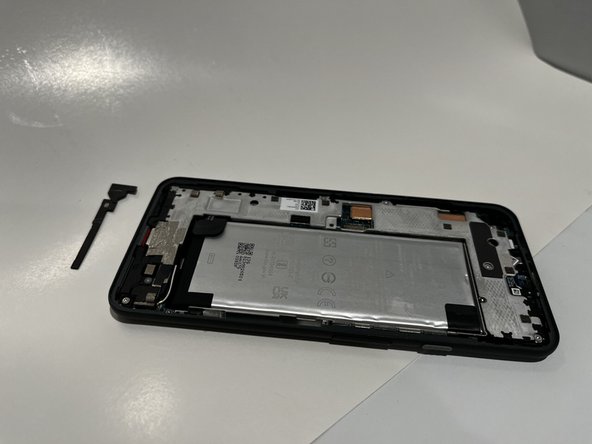
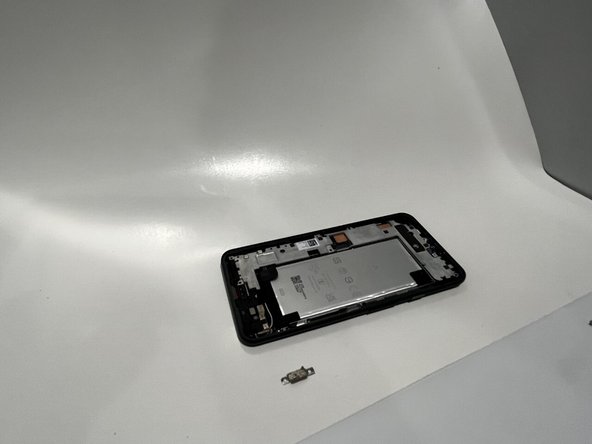
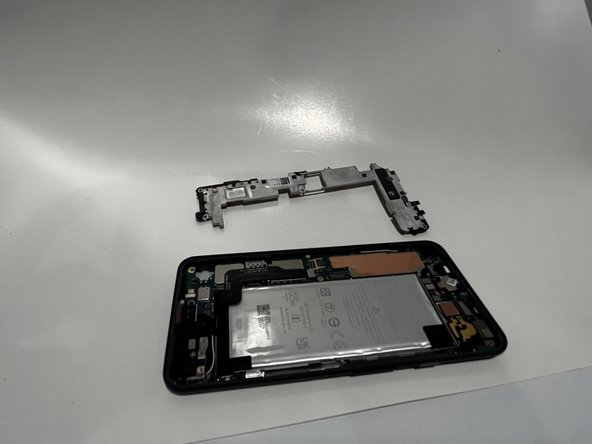
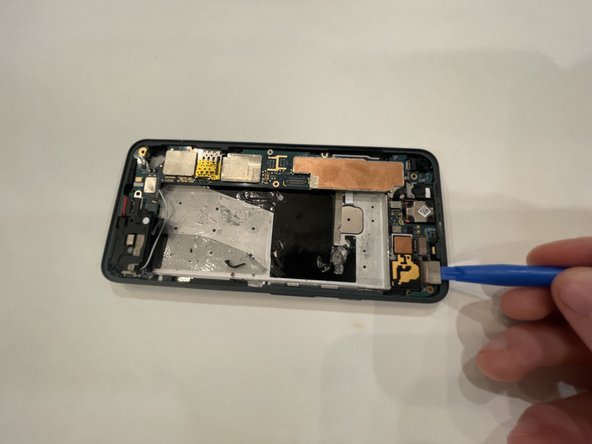
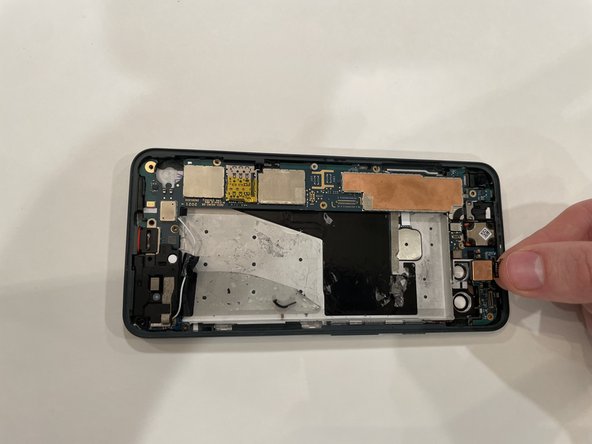
    • Carefully remove the camera connector from the phone.

  12. Google Pixel 5a Rear-Facing Cameras  Replacement: passo 12, immagine 1 di 2 Google Pixel 5a Rear-Facing Cameras  Replacement: passo 12, immagine 2 di 2
    • Place an opening tool under the camera and pry upward.

    • Carefully remove the camera from the phone.

Conclusione

To reassemble your device, follow these instructions in reverse order.

0 Commenti

Aggiungi Commento

Visualizza Statistiche:

Ultime 24 Ore: 0

Ultimi 7 Giorni: 0

Ultimi 30 Giorni: 0

Tutti i Tempi: 42