Questa versione può contenere modifiche errate. Passa all'ultima istantanea verificata.
Cosa ti serve
-
Questo passaggio è privo di traduzione. Aiuta a tradurlo
-
Pull off the Google Home’s magnetically attached base and set it aside.
-
Using a Torx T6 screwdriver head, unscrew the four 1.7mm Torx screws deep in the speaker recess so that you can remove the lid.
-
After all four screws are out, pop the lid off the device to open the capsule.
-
-
Questo passaggio è privo di traduzione. Aiuta a tradurlo
-
Carefully remove the interconnect cable using a pair of tweezers.
-
-
Questo passaggio è privo di traduzione. Aiuta a tradurlo
-
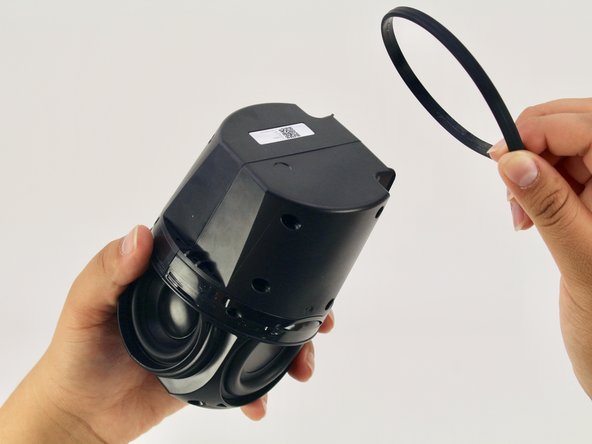
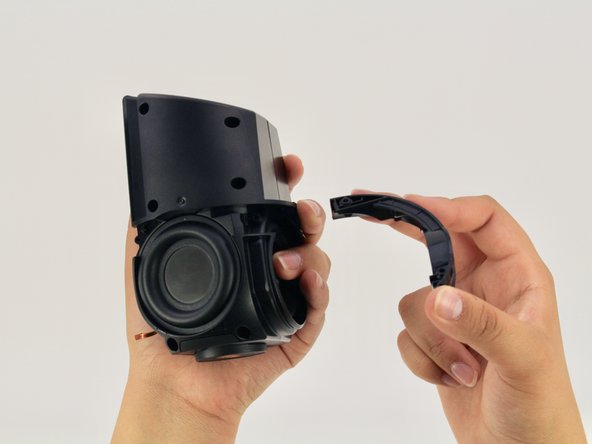
Remove the ‘O-ring’ that wraps around the device holding the switch panel in place.
-
-
-
Questo passaggio è privo di traduzione. Aiuta a tradurlo
-
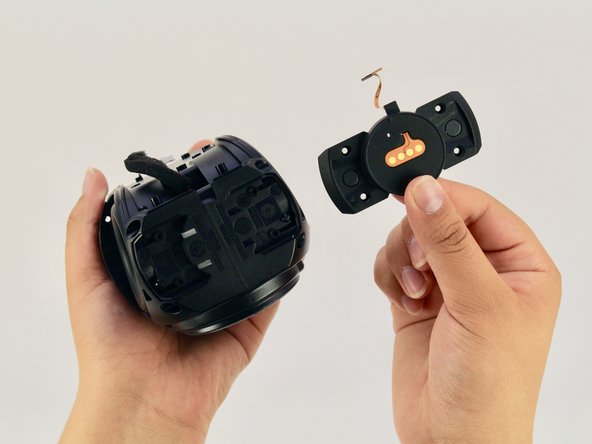
Using a Torx T6 screwdriver head, unscrew the four black 1.7mm Torx screws.
-
Remove the panel and the mute button switch. If done correctly you should now be able to see the device’s guitar-shaped motherboard.
-
-
Questo passaggio è privo di traduzione. Aiuta a tradurlo
-
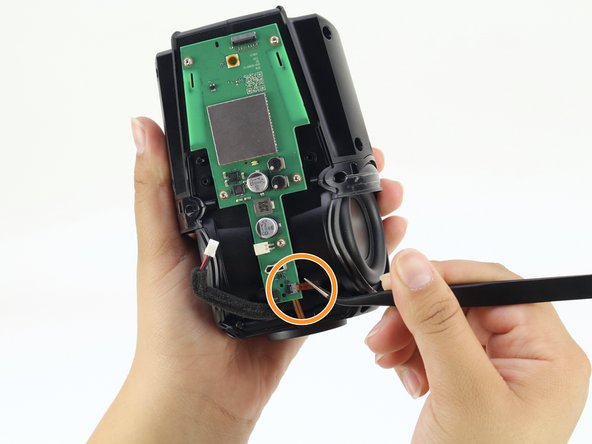
Disconnect the foam-padded, red and black cable that connects the motherboard to the sound driver, by squeezing and pulling on the tab
-
Disconnect the orange interconnect cable that connects the bottom of the device to the motherboard by pulling straight out on the orange tab.
-
-
Questo passaggio è privo di traduzione. Aiuta a tradurlo
-
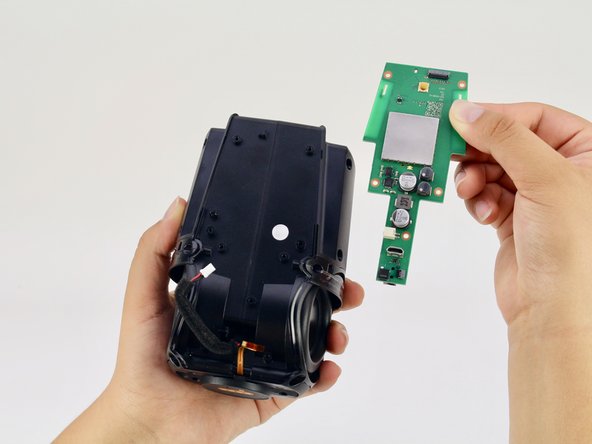
Using a Torx T6 screwdriver head, unscrew the five silver 1.7mm Torx screws keeping the motherboard in place.
-
Remove the motherboard.
-
-
Questo passaggio è privo di traduzione. Aiuta a tradurlo
-
Using a Torx T6 screwdriver head, unscrew the four black 1.7mm Torx screws on the bottom of the device.
-
-
Questo passaggio è privo di traduzione. Aiuta a tradurlo
-
Using a Torx T6 screwdriver head, unscrew the six black 1.7mm Torx screws on the side of the device.
-
-
Questo passaggio è privo di traduzione. Aiuta a tradurlo
-
Pull apart the black casing to reveal the sound driver.
-
Remove the sound driver.
-


Annulla: non ho completato questa guida.
Altre 4 persone hanno completato questa guida.
Team

Cal Poly, Team S24-G11, Maness Spring 2018 Membro di Cal Poly, Team S24-G11, Maness Spring 2018
CPSU-MANESS-S18S24G11
4 Membri
5 Guide realizzate
4 Commenti
I have a torn speaker cone. Can these be replaced and where can I buy the parts
Looking for replacement speaker, where do I find?
replacement speaker for google home, someone knows here i find?
model:PLS -50N25AL07-04
or compatible speaker