Questa versione può contenere modifiche errate. Passa all'ultima istantanea verificata.
Cosa ti serve
-
Questo passaggio è privo di traduzione. Aiuta a tradurlo
-
Pull off the Google Home’s magnetically attached base and set it aside.
-
Using a Torx T6 screwdriver head, unscrew the four 1.7mm Torx screws deep in the speaker recess so that you can remove the lid.
-
After all four screws are out, pop the lid off the device to open the capsule.
-
-
Questo passaggio è privo di traduzione. Aiuta a tradurlo
-
Carefully remove the interconnect cable using a pair of tweezers.
-
-
-
Questo passaggio è privo di traduzione. Aiuta a tradurlo
-
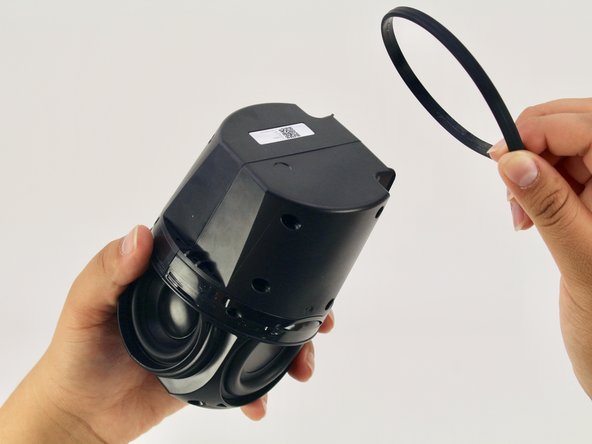
Remove the ‘O-ring’ that wraps around the device holding the switch panel in place.
-
-
Questo passaggio è privo di traduzione. Aiuta a tradurlo
-
Using a Torx T6 screwdriver head, unscrew the four black 1.7mm Torx screws.
-
Remove the panel and the mute button switch. If done correctly you should now be able to see the device’s guitar-shaped motherboard.
-
Annulla: non ho completato questa guida.
Un'altra persona ha completato questa guida.


