Introduzione
If the pictures or video are fuzzy or unable to focus, the lens may need replacement. Follow this guide to do so.
Cosa ti serve
-
-
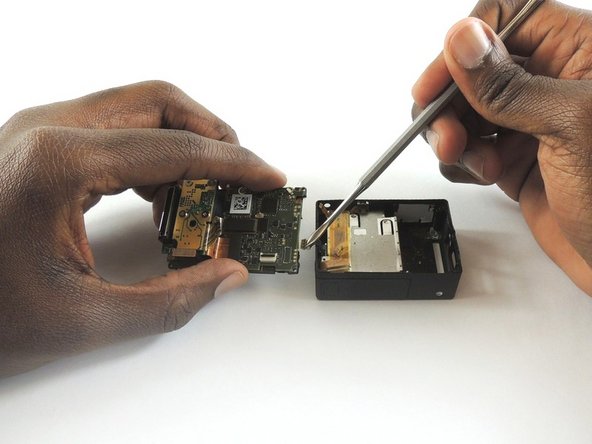
Remove the faceplate by carefully prying around the edge using a plastic opening tool. Loosen the clips on the edge, then pull the faceplate off.
-
Use the tweezers to lift the faceplate from the rest of the device.
-
-
-
-
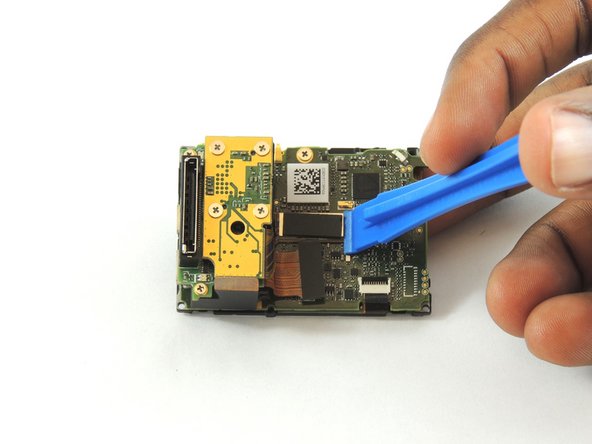
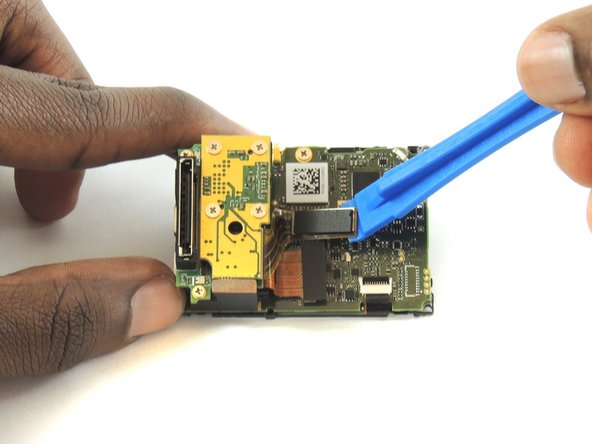
Using a plastic opening tool, separate the camera sensor's connector from the motherboard.
-
-
-
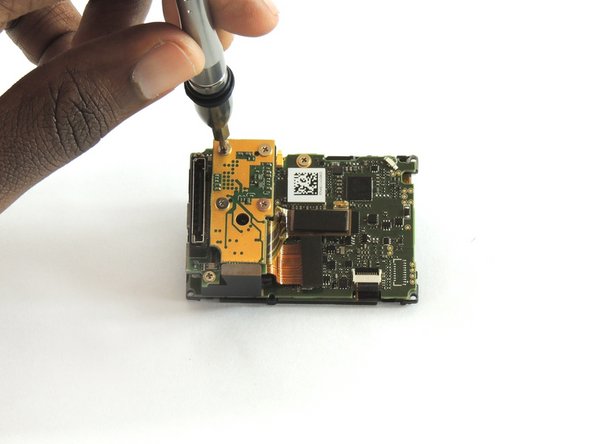
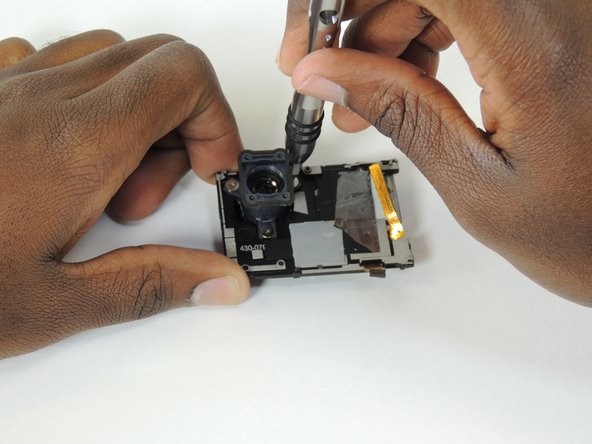
Using a #00 Phillips head screwdriver, remove the following screws:
-
Three 2 mm screw
-


To reassemble your device, follow these instructions in reverse order.
To reassemble your device, follow these instructions in reverse order.
Annulla: non ho completato questa guida.
Altre 5 persone hanno completato questa guida.
Team

USF Tampa, Team S2-G1, Sullivan Spring 2017 Membro di USF Tampa, Team S2-G1, Sullivan Spring 2017
USFT-SULLIVAN-S17S2G1
4 Membri
12 Guide realizzate
Un commento
Between step 6 and step 7, you skipped a really important step…