Introduzione
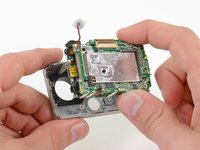
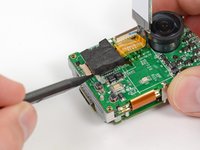
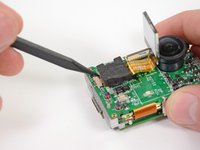
If you can't figure out how to use your GoPro, chances are you either need to read the manual or the LCD is broken. In the case of the latter, this guide will help you install a new display.
Cosa ti serve
-
-
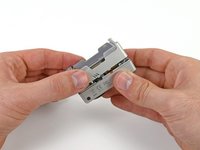
Place your thumb on the indentation in the back case on the side of the GoPro.
-
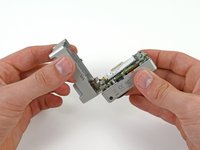
Gently press down with your thumb and lift the back cover away from the case to remove it.
-
-
-
Slide a plastic opening tool between the battery and the rear case.
-
Gently pry the battery up and out of the rear case.
-
-
-
Remove the four Phillips #00 screws securing the rear case to the rest of the device:
-
Two 5.5 mm coarse thread screws.
-
Two 4.4 mm fine thread screws.
-
-
-
Attrezzo utilizzato in questo passaggio:Tweezers$4.99
-
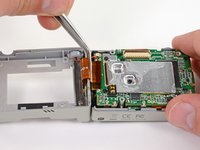
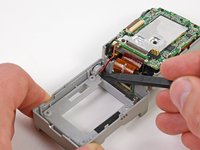
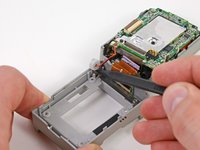
Using a plastic opening tool or your fingernail, flip up the locking tab on the SD board ribbon cable ZIF connector on the motherboard assembly.
-
Use a pair of tweezers to remove the SD board ribbon cable from its connector on the motherboard.
-
-
-
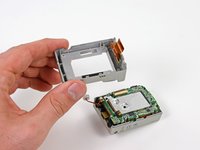
Remove the three screws securing the motherboard assembly to the front case:
-
Two 10.8 mm Phillips #00 screws.
-
One 4.8 mm Phillips #00 screw.
-
-
-
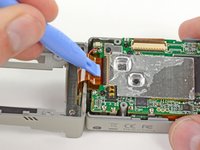
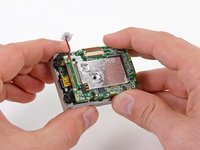
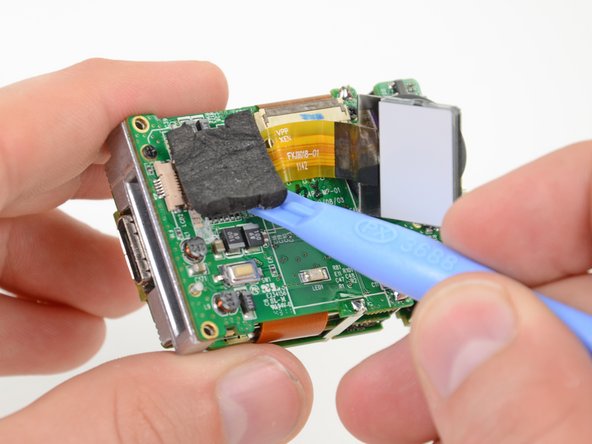
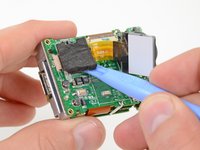
Gently wedge a plastic opening tool underneath the foam padding on top of the LCD ribbon cable.
-
Pry the foam padding up until the LCD ribbon cable can be lifted off the surface of the motherboard.
-
To reassemble your device, follow these instructions in reverse order.
Annulla: non ho completato questa guida.
Altre 5 persone hanno completato questa guida.


