Questa guida ha delle modifiche più recenti. Passa all'ultima versione non verificata.
Introduzione
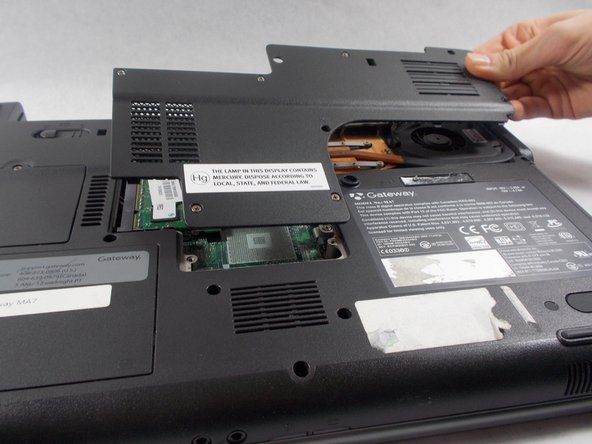
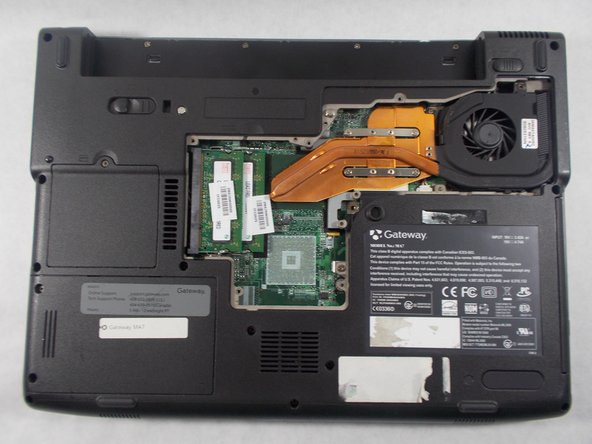
More Random Access Memory (RAM) allows the laptop to run more programs simultaneously, and speed up certain processes. The Gateway MA 7 takes PC2-4200 DDR2 533Mhz 200PIN SODIMM RAM.
Cosa ti serve
-
-
Push the locking tab over to the right away from the battery to unlock it from the laptop.
-
Hold the additional locking tab to the left while pulling out the battery.
-
-


To reassemble your device, follow these instructions in reverse order.
To reassemble your device, follow these instructions in reverse order.
Annulla: non ho completato questa guida.
Altre 2 persone hanno completato questa guida.
Team

UMass Dartmouth, Team S6-G2, Bernier Spring 2018 Membro di UMass Dartmouth, Team S6-G2, Bernier Spring 2018
UMASSD-BERNIER-S18S6G2
3 Membri
8 Guide realizzate