Introduzione
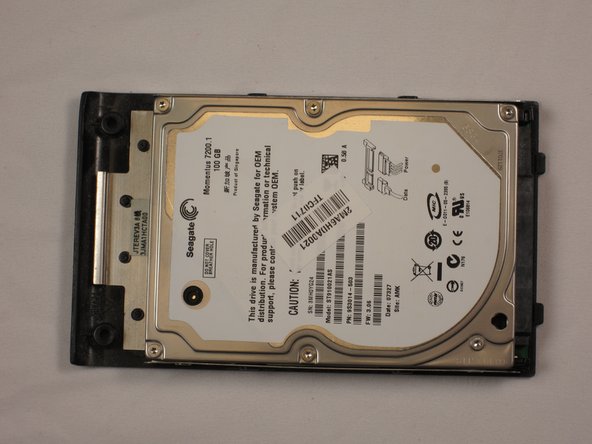
Your laptop hard drive stores all of your files, as well as your computer's operating system. A corrupt hard drive will need to be replaced for your computer to power on and run. It is common to upgrade to a larger hard drive with more storage space.
Cosa ti serve
-
-
Make sure the switch in the upper right corner of the laptop is switched to the "unlock" position (toward the unlocked padlock icon).
-
-
-
-
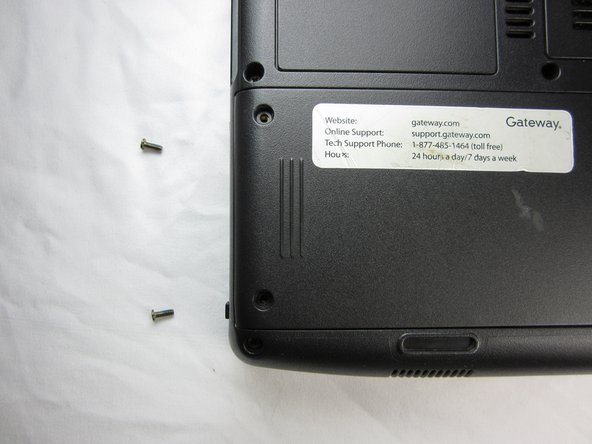
Remove the two 9 mm Phillips #0 screws from the back of the hard drive cover.
-


To reassemble your device, follow these instructions in reverse order.
To reassemble your device, follow these instructions in reverse order.
Annulla: non ho completato questa guida.
Altre 3 persone hanno completato questa guida.
Team

Cal Poly, Team 6-2, Forte Spring 2014 Membro di Cal Poly, Team 6-2, Forte Spring 2014
CPSU-FORTE-S14S6G2
5 Membri
20 Guide realizzate
Un commento
It only took 2 minutes once I found te right screwdriver. Great aid!