Salta al contenuto principale

Gateway KAV60 LT2016U Netbook Hard Drive Replacement

Guida Archiviata
Questa guida รจ mantenuta solo per scopi storici. Usa la versione aggiornata della guida per eseguire la riparazione.

Cosa ti serve

  1. Gateway KAV60 LT2016U Netbook Hard Drive Replacement, Hard Drive: passo 1, immagine 1 di 1
    • The hard drive is located on the bottom of the laptop on the left hand side.

  2. Gateway KAV60 LT2016U Netbook Hard Drive Replacement: passo 2, immagine 1 di 1
    • Remove the two screws on the cover with the specified screwdriver.

  3. Gateway KAV60 LT2016U Netbook Hard Drive Replacement: passo 3, immagine 1 di 1
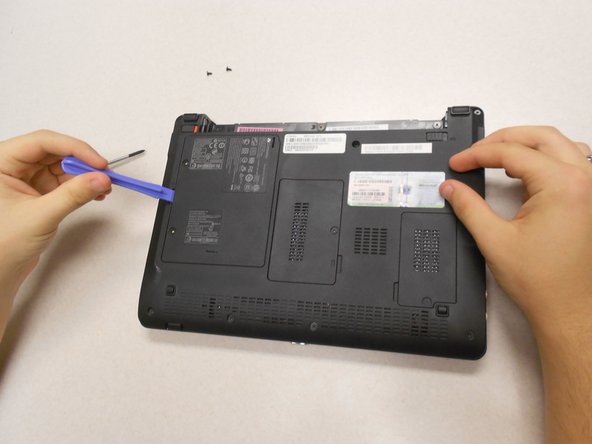
    • Lift off the cover with the plastic opener.

  4. Gateway KAV60 LT2016U Netbook Hard Drive Replacement: passo 4, immagine 1 di 1
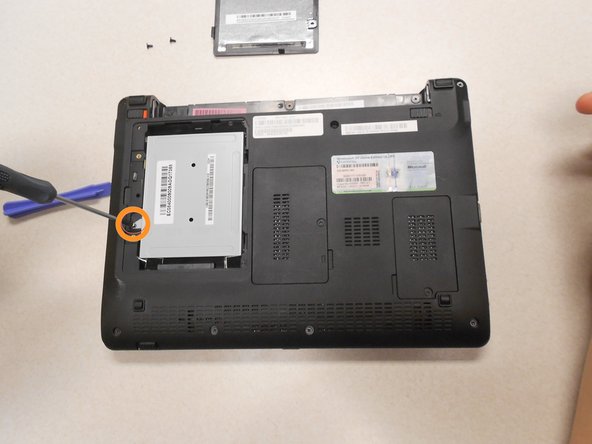
    • Remove the one screw holding the hard drive in place with the same screw driver.

  5. Gateway KAV60 LT2016U Netbook Hard Drive Replacement: passo 5, immagine 1 di 1
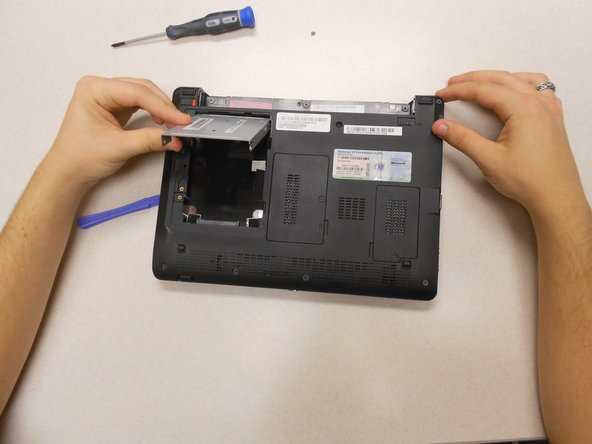
    • Slide the hard drive up and remove it from the laptop.

Conclusione

To reassemble your device, follow these instructions in reverse order.

Un'altra persona ha completato questa guida.

Kyle

Membro da: 03/11/14

622 Reputazione

3 Guide realizzate

Team

0 Commenti

Aggiungi Commento

Visualizza Statistiche:

Ultime 24 Ore: 0

Ultimi 7 Giorni: 0

Ultimi 30 Giorni: 1

Tutti i Tempi: 176