Questa versione può contenere modifiche errate. Passa all'ultima istantanea verificata.
Cosa ti serve
-
Questo passaggio è privo di traduzione. Aiuta a tradurlo
-
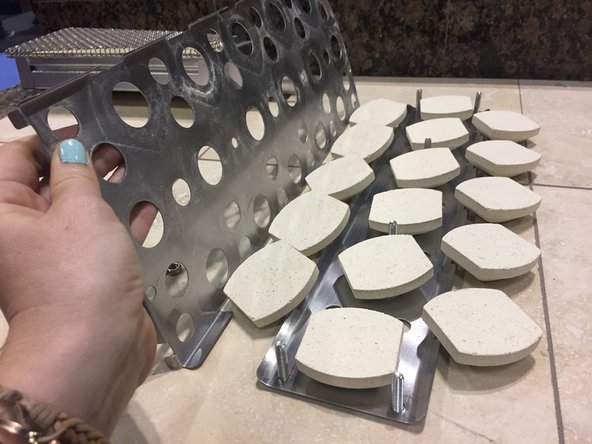
Carefully lift grill plate located above briquettes
-
-
Questo passaggio è privo di traduzione. Aiuta a tradurlo
-
Carefully remove entire ceramic briquette casing from above the stainless steel burner.
-
-
Questo passaggio è privo di traduzione. Aiuta a tradurlo
-
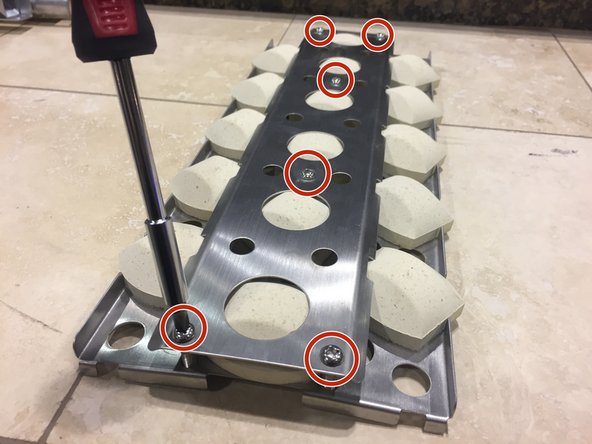
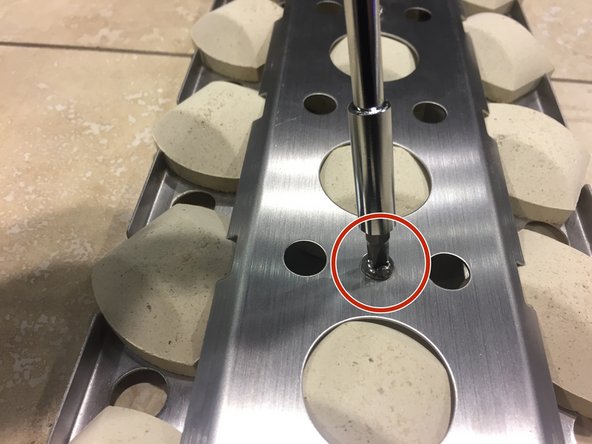
Locate the six screws located on top of the ceramic briquette casing and unscrew them using your phillips head screwdriver.
-
-
Questo passaggio è privo di traduzione. Aiuta a tradurlo
-
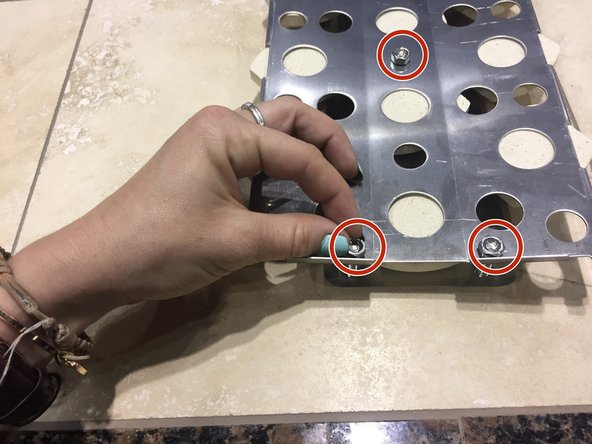
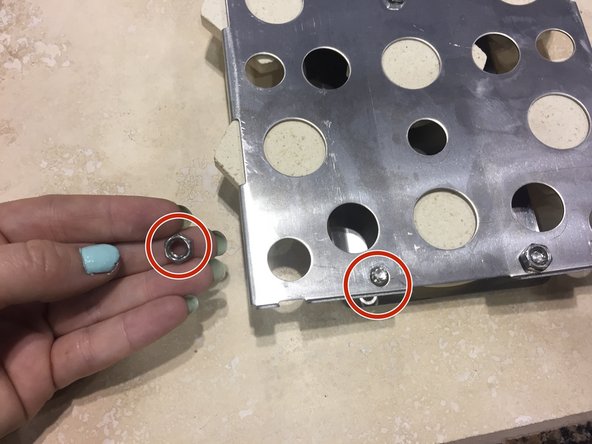
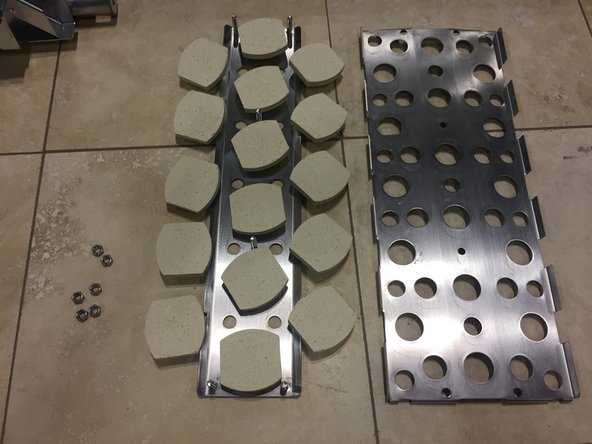
Using your hands, gently unscrew washers from the back of the casing.
-
-
Questo passaggio è privo di traduzione. Aiuta a tradurlo
-
Separate the front and back metal casings surrounding the briquettes.
-
-
Questo passaggio è privo di traduzione. Aiuta a tradurlo
-
Take out old and used briquettes and dispose of them. (They will probably be black and tarnished)
-
-
Questo passaggio è privo di traduzione. Aiuta a tradurlo
-
Take 16 new ceramic briquettes out and carefully align them inside the casing.
-


Annulla: non ho completato questa guida.
Altre 3 persone hanno completato questa guida.
Team

USF Sarasota-Manatee, Team 1-3, Stewart Spring 2016 Membro di USF Sarasota-Manatee, Team 1-3, Stewart Spring 2016
USFSM-STEWART-S16S1G3
5 Membri
7 Guide realizzate