Introduzione
If you need to replace the Garmin STRIKER 4 digital display, access it with this guide. Some reasons you may be replacing the screen include dead pixels in the screen or the screen not turning on at all. Be careful when prying away the old screen to avoid any further damage to the casing.
Cosa ti serve
-
-
-
Slide out the screen cable from the motherboard using the iFixit opening tool or your fingernail.
-
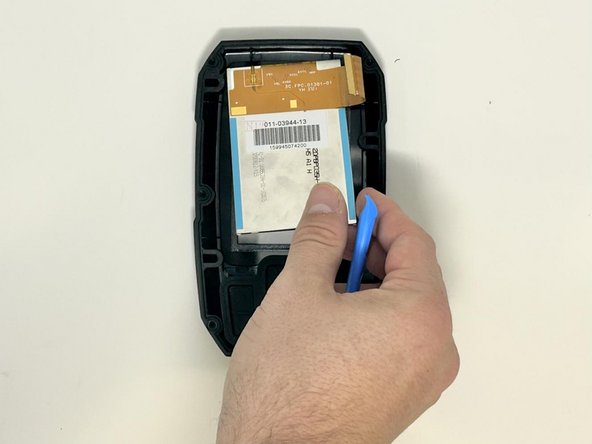
Remove the motherboard from the device.
-
-
-
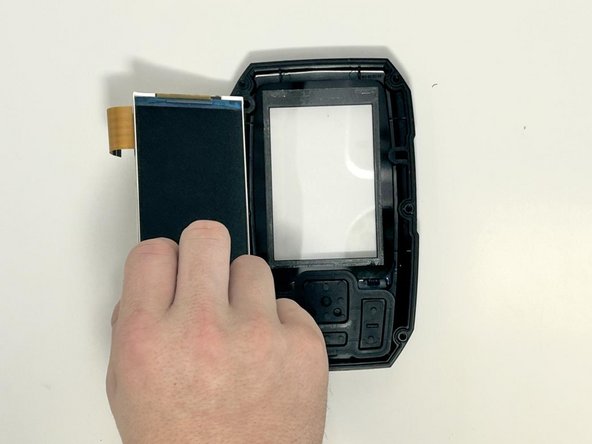
Use the iFixit opening tool to gently lift the screen from the casing.
-


To reassemble your device, follow these instructions in reverse order.
To reassemble your device, follow these instructions in reverse order.
Annulla: non ho completato questa guida.
Altre 2 persone hanno completato questa guida.

Team

Utah Tech University, Team 1-5, McMurrin Fall 2023 Membro di Utah Tech University, Team 1-5, McMurrin Fall 2023
UTAHTECH-MCMURRIN-F23S1G5
3 Membri
4 Guide realizzate