Salta al contenuto principale
Unisciti alla Community delle riparazioni - Crea un account
GameStop GS3 GameCube Controller Disassembly

GameStop GS3 GameCube Controller Disassembly

Brandon

Brandon e 2 altri collaboratori

Ultimo aggiornamento il 6 ago 2024

Nessuna stima
Facile
Guida fornita dalla comunità

Cosa ti serve

Strumenti

Mostra di più…

  1. GameStop GS3 GameCube Controller Disassembly, Remove four screws on the back of the unit: passo 1, immagine 1 di 2 GameStop GS3 GameCube Controller Disassembly, Remove four screws on the back of the unit: passo 1, immagine 2 di 2
    • Turn the controller over so the back is facing upwards.

  2. GameStop GS3 GameCube Controller Disassembly: passo 2, immagine 1 di 3 GameStop GS3 GameCube Controller Disassembly: passo 2, immagine 2 di 3 GameStop GS3 GameCube Controller Disassembly: passo 2, immagine 3 di 3
    • Carefully pry open the controller. Ensure that the rumble assembly stays intact.

  3. GameStop GS3 GameCube Controller Disassembly: passo 3, immagine 1 di 2 GameStop GS3 GameCube Controller Disassembly: passo 3, immagine 2 di 2
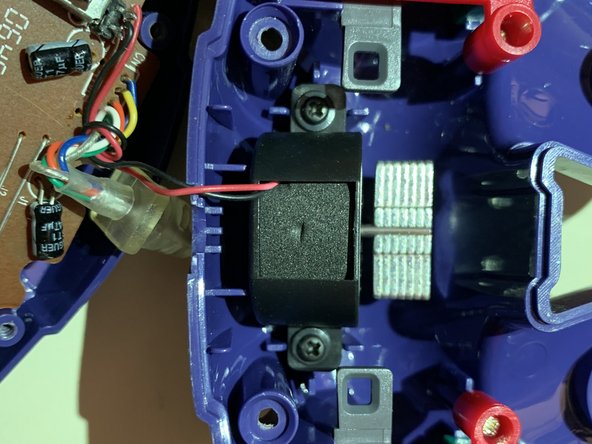
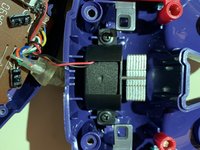
    • Locate the two black screws attached to the rumble assembly. Remove them and separate the motor from the back casing.

  4. GameStop GS3 GameCube Controller Disassembly: passo 4, immagine 1 di 3 GameStop GS3 GameCube Controller Disassembly: passo 4, immagine 2 di 3 GameStop GS3 GameCube Controller Disassembly: passo 4, immagine 3 di 3
    • Locate the green pcb on the main assembly. Remove the silver screw on the green pcb to separate it from the controller casing.

  5. GameStop GS3 GameCube Controller Disassembly: passo 5, immagine 1 di 2 GameStop GS3 GameCube Controller Disassembly: passo 5, immagine 2 di 2
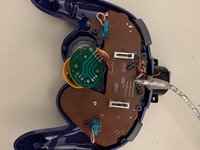
    • Locate the two silver screws on the brown pcb. Remove them and carefully pry both pcbs off of the controller casing. Ensure that the buttons on the controller casing remain in place.

  6. GameStop GS3 GameCube Controller Disassembly: passo 6, immagine 1 di 2 GameStop GS3 GameCube Controller Disassembly: passo 6, immagine 2 di 2
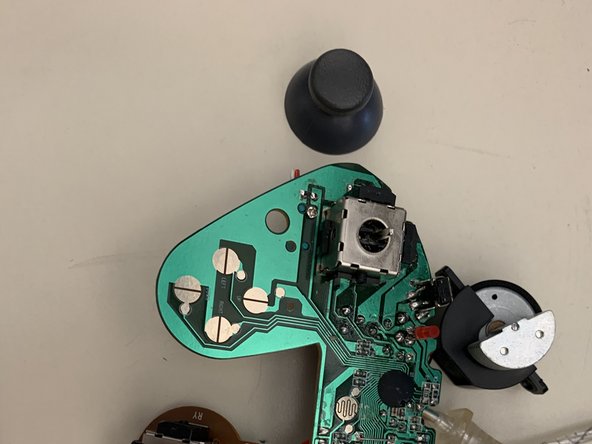
    • Firmly pry the plastic part of the problematic joystick off of the pcb. Take care to ensure that the pcb remains intact.

  7. GameStop GS3 GameCube Controller Disassembly: passo 7, immagine 1 di 1
    • Examine the joystick module on the pcb. Stick drift is a common problem and is usually caused by dirt and debris inside the metal casing. Use rubbing alcohol and a tissue to clean the affected area.

Conclusione

To reassemble your device, follow these instructions in reverse order.

Brandon

Membro da: 11/18/19

145 Reputazione

1 Guida realizzata

0Commenti sulla guida

Aggiungi Commento

Visualizza Statistiche:

Ultime 24 Ore: 1

Ultimi 7 Giorni: 1

Ultimi 30 Giorni: 6

Tutti i Tempi: 342