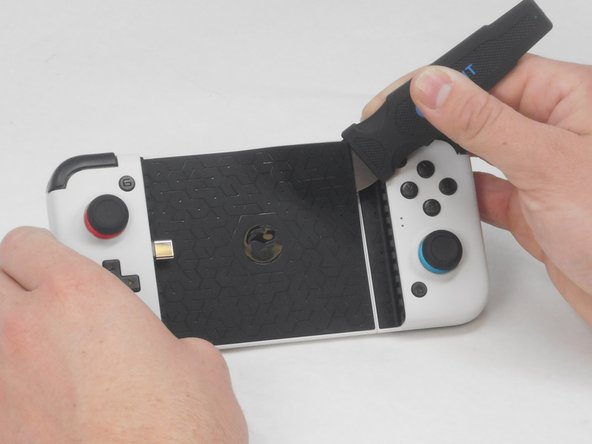
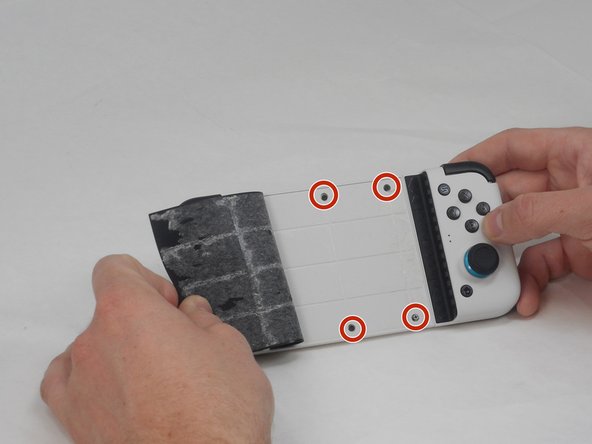
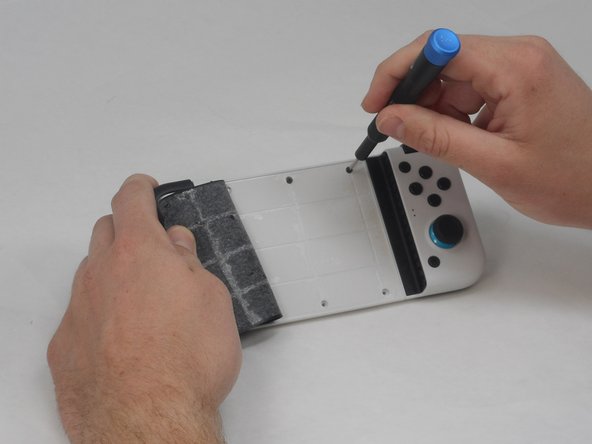
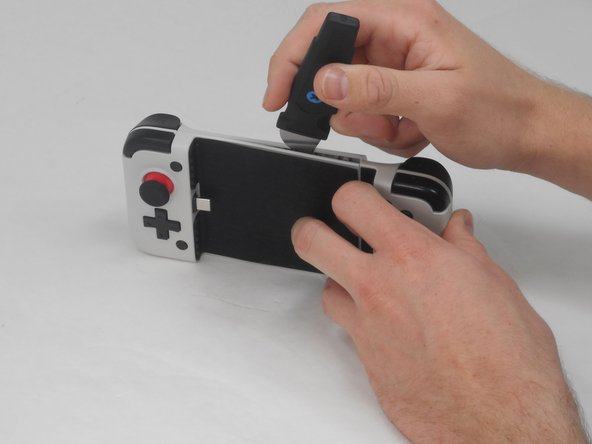
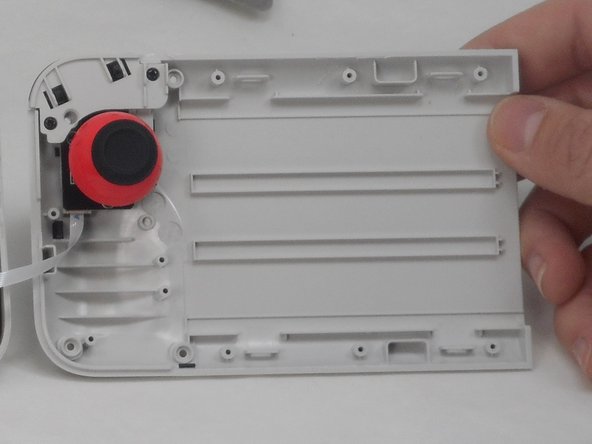
Salta al contenuto principale

GameSir X2 Type-C Back Cover Replacement

Cosa ti serve

  1. GameSir X2 Type-C Back Cover Replacement, Back Cover: passo 1, immagine 1 di 2 GameSir X2 Type-C Back Cover Replacement, Back Cover: passo 1, immagine 2 di 2
    • Turn the device so the back faces you.

  2. GameSir X2 Type-C Back Cover Replacement: passo 2, immagine 1 di 2 GameSir X2 Type-C Back Cover Replacement: passo 2, immagine 2 di 2
    • Remove the eight 6 mm T6 Torx screws.

  3. GameSir X2 Type-C Back Cover Replacement: passo 3, immagine 1 di 1
    • Use a straight edge to remove the rubber pad on the front of the device.

  4. GameSir X2 Type-C Back Cover Replacement: passo 4, immagine 1 di 2 GameSir X2 Type-C Back Cover Replacement: passo 4, immagine 2 di 2
    • Remove the four 4.5 mm screws with a Phillips #000 screwdriver.

  5. GameSir X2 Type-C Back Cover Replacement: passo 5, immagine 1 di 2 GameSir X2 Type-C Back Cover Replacement: passo 5, immagine 2 di 2
    • Use a straight edge to pry open the controller, following the seam on the controller.

    • Some force is necessary, but be careful not to damage any of the clips holding the controller together.

Conclusione

To reassemble your device, follow these instructions in reverse order.

Un'altra persona ha completato questa guida.

0 Commenti

Aggiungi Commento

Visualizza Statistiche:

Ultime 24 Ore: 0

Ultimi 7 Giorni: 5

Ultimi 30 Giorni: 32

Tutti i Tempi: 68