Questa guida ha delle modifiche più recenti. Passa all'ultima versione non verificata.
Introduzione
In this guide, we will show you how to remove and replace the motherboard and LCD.
Cosa ti serve
-
-
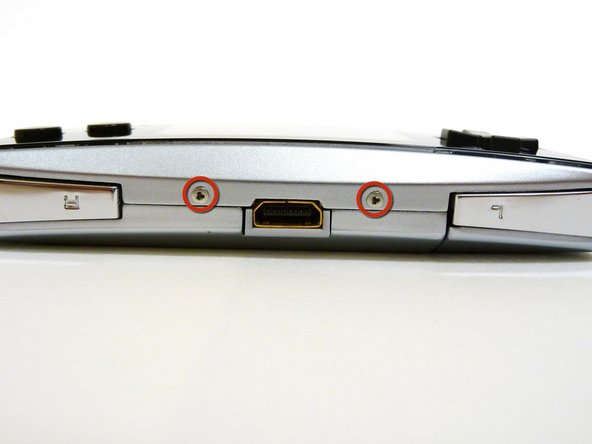
Locate the two circular holes on the side of the Game Boy nearest to the directional pad.
-
-
-
Remove the Phillips #00 screw on the side of the Game Boy closest to the directional pad.
-
Once the screw has been loosened, lift the cover off the back of the device.
-
-
-
Remove the two tri-wing screws on the top of the Game Boy and the two screws next to the volume/contrast switch.
-
-
-
-
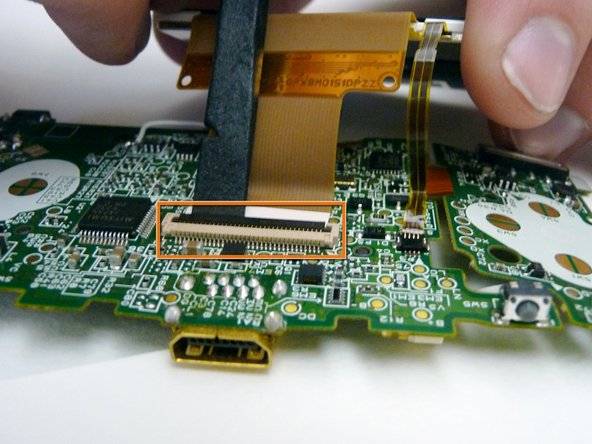
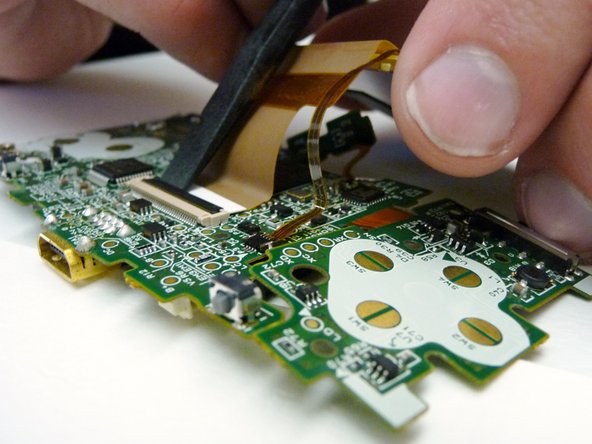
The LCD screen is connected to the motherboard by two ribbon cables.
-
Use a plastic spudger to disconnect the LCD's ZIF connector.
-


To reassemble your device, follow these instructions in reverse order.
To reassemble your device, follow these instructions in reverse order.
Annulla: non ho completato questa guida.
Altre 19 persone hanno completato questa guida.
Team

Cal Poly, Team 8-46, Regan Winter 2010 Membro di Cal Poly, Team 8-46, Regan Winter 2010
CPSU-REGAN-W10S8G46
5 Membri
25 Guide realizzate