Introduzione
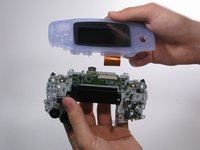
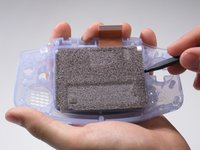
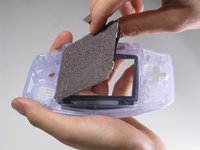
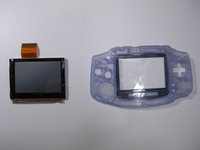
Use this guide to replace your cracked or broken LCD screen or front case.
Cosa ti serve
Panoramica Video
-
-
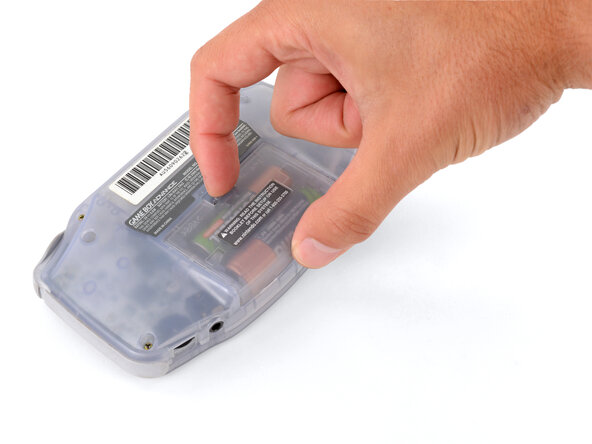
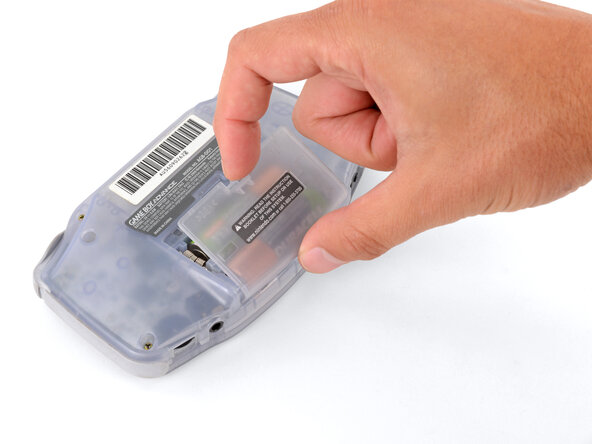
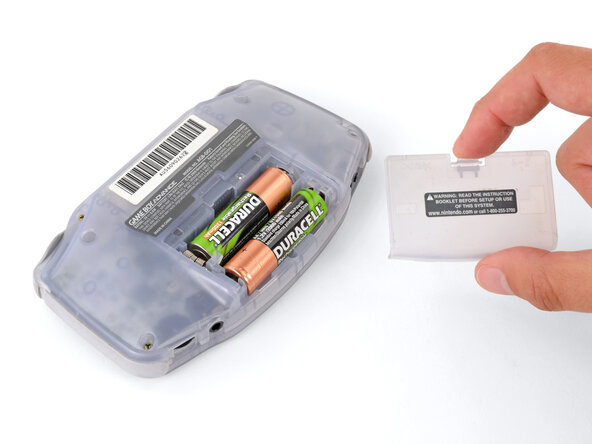
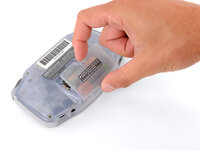
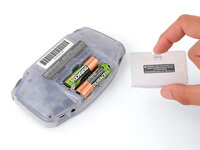
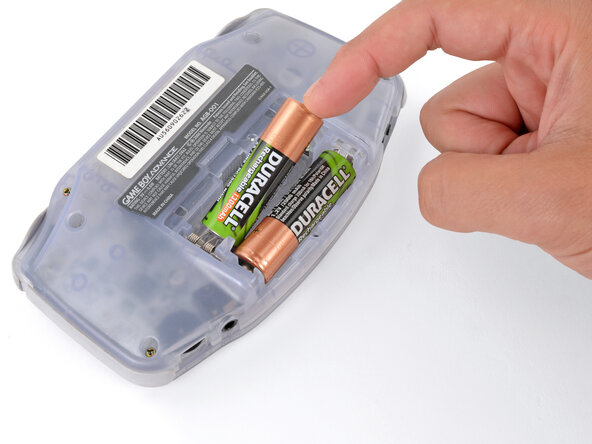
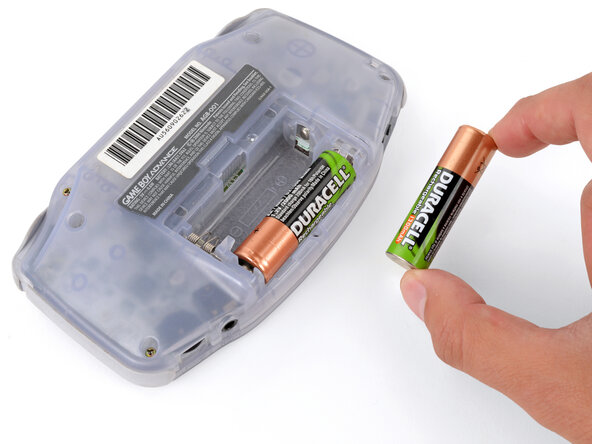
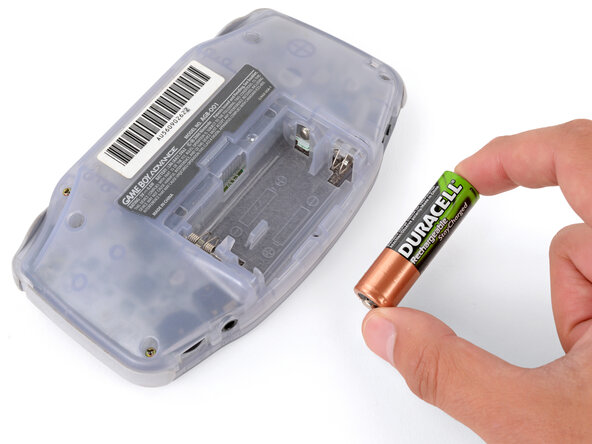
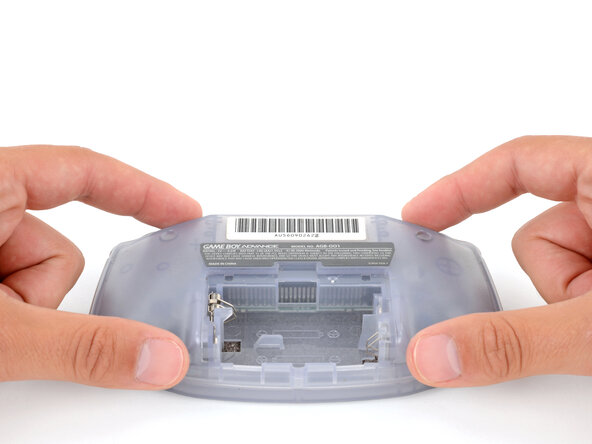
Release the battery cover tab with your finger and swing the cover away from your Game Boy to remove it.
-
-
-
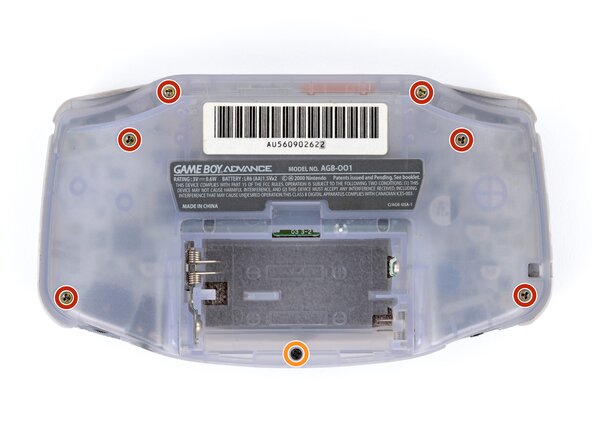
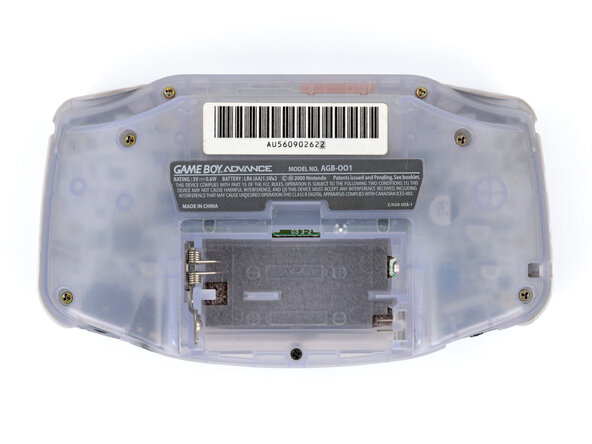
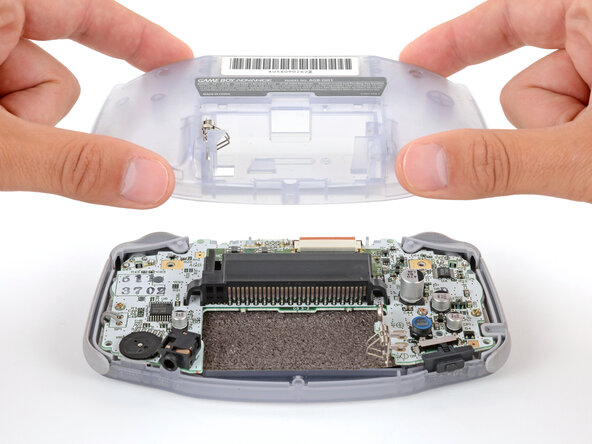
Remove the seven screws securing the back shell:
-
Six 9.4 mm‑long tri‑point Y0 screws
-
One 8.5 mm‑long JIS 1 screw
-
-
-
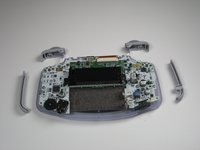
Remove left and right triggers by lifting and pulling them away from the system.
-
Do the same for side panels
-
-
-
-
Remove the gray On/Off Switch by pulling up and away from the unit. Replace with another switch if necessary.
-
-
-
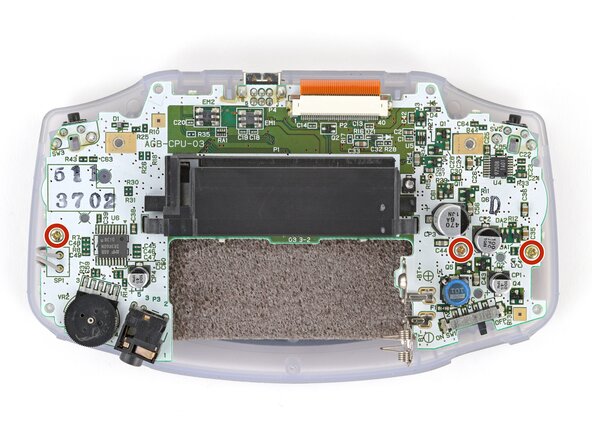
Remove the three screws on the circuit board with a Phillips #1 screw driver.
-
-
-
Use a JIS 1 screwdriver to remove the three 7 mm‑long screws securing the motherboard.
-
-
-
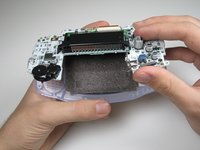
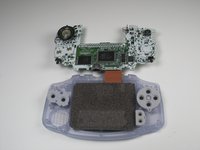
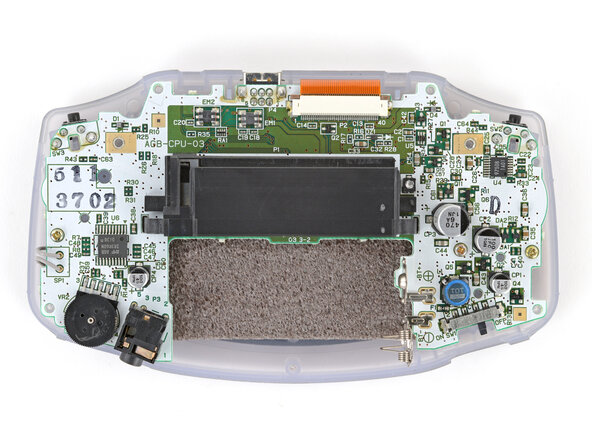
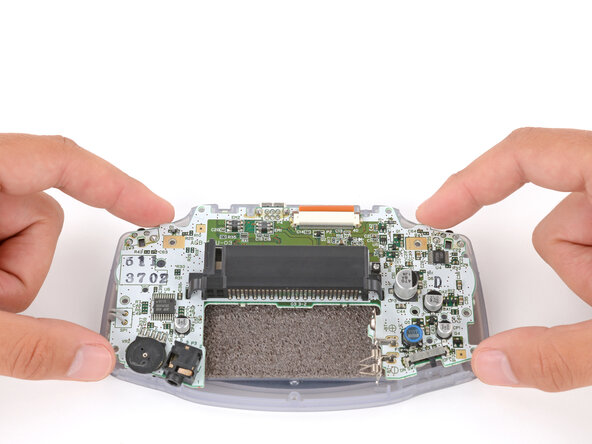
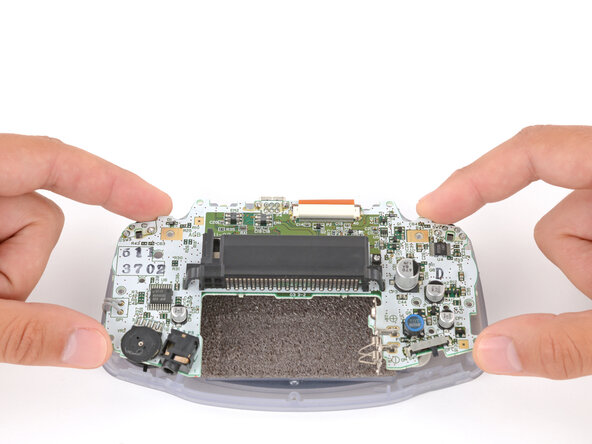
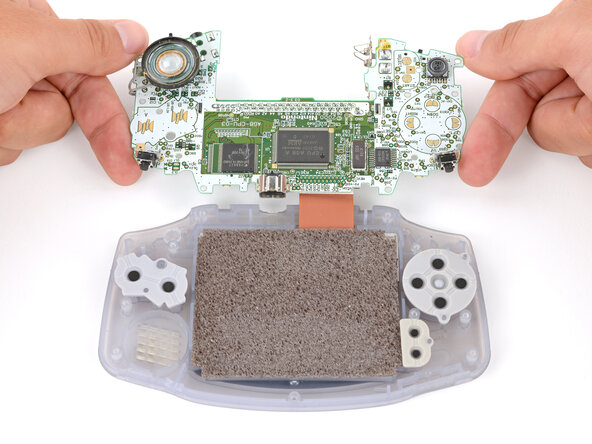
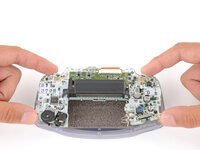
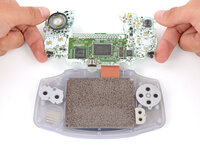
Carefully flip the motherboard over the top edge of your Game Boy and rest it on your work surface.
-
-
-
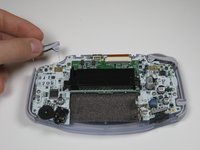
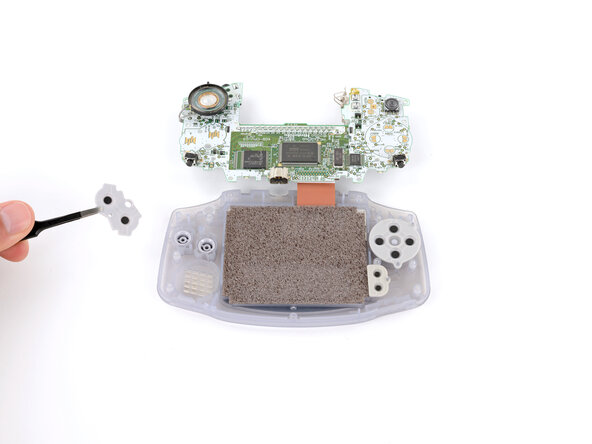
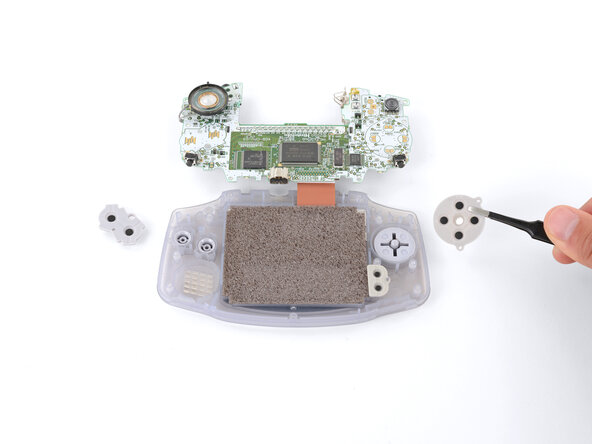
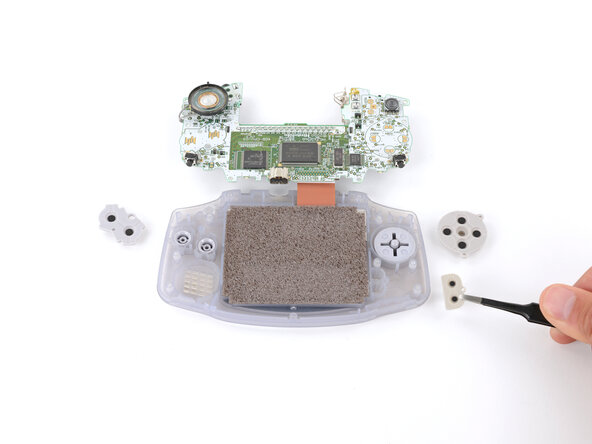
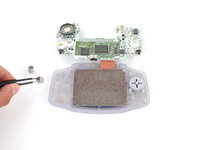
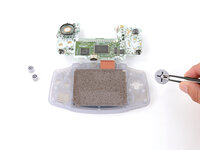
Use tweezers or your fingers to remove the three silicone pads covering the buttons (A and B, the D‑pad, and Start/Select ).
-
-
-
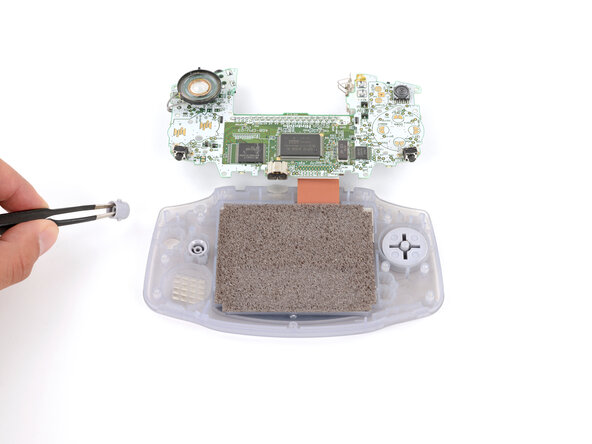
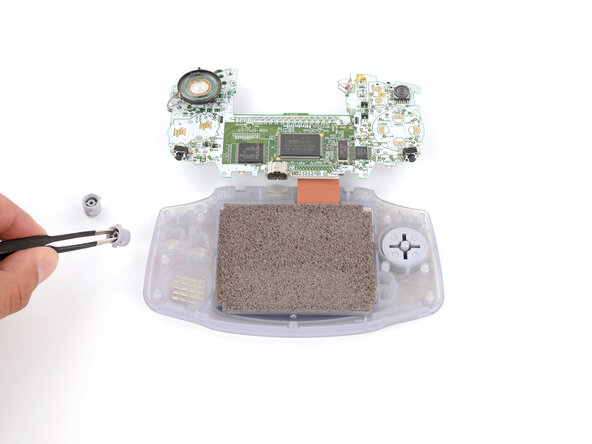
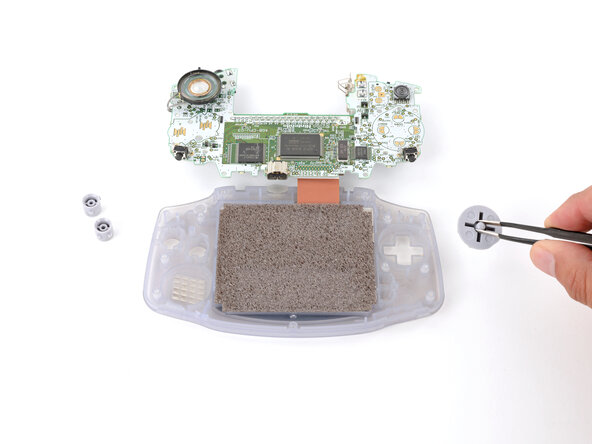
Use tweezers or your fingers to remove the buttons (A and B as well as the D‑pad).
-
-
Attrezzo utilizzato in questo passaggio:Tweezers$4.99
-
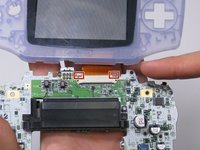
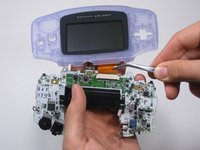
Use a spudger/tweezers/fingernail to unlatch the LCD ribbon port by pulling the grey tabs on the sides upwards (towards the top edge of the PCB).
-
Once the LCD ribbon port has been unlatched, the LCD ribbon should very easily slide out and can be removed with zero force using fingers or tweezers.
-
Annulla: non ho completato questa guida.
Altre 6 persone hanno completato questa guida.
