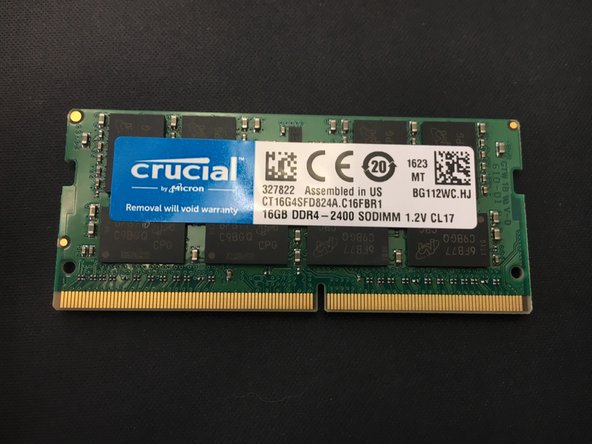
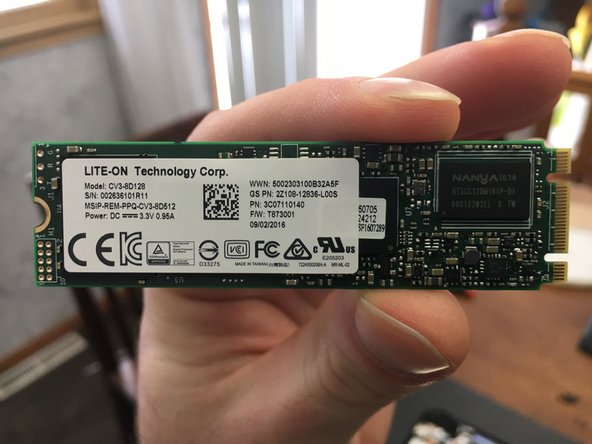
Salta al contenuto principale

GIGABYTE 15.6" P55Wv6-NE2 Disassembly

Cosa ti serve

  1. GIGABYTE 15.6" P55Wv6-NE2 Disassembly, Overview: passo 1, immagine 1 di 3 GIGABYTE 15.6" P55Wv6-NE2 Disassembly, Overview: passo 1, immagine 2 di 3 GIGABYTE 15.6" P55Wv6-NE2 Disassembly, Overview: passo 1, immagine 3 di 3
    • As with all electronics, ensure that you are in a static free environment, and the computer is turned off.

  2. GIGABYTE 15.6" P55Wv6-NE2 Disassembly: passo 2, immagine 1 di 1
    • Use a PH00 to remove the 15 Screws holding in the bottom cover. There are no large clips holding in the back cover, so gentle pressure should release it.

  3. GIGABYTE 15.6" P55Wv6-NE2 Disassembly: passo 3, immagine 1 di 3 GIGABYTE 15.6" P55Wv6-NE2 Disassembly: passo 3, immagine 2 di 3 GIGABYTE 15.6" P55Wv6-NE2 Disassembly: passo 3, immagine 3 di 3
    • There are 2 SODIMM Slots, Mine came with 16GB of Crucial Memory.

    • The M.2 2280 SSD that mine came with was a Lite-On. The 2.5" 1TB HHD was nondescript.

    • The wifi chip is an Intel 8260NGW

Conclusione

To reassemble your device, follow these instructions in reverse order.

Altre 2 persone hanno completato questa guida.

Justin Koch

Membro da: 01/22/15

155 Reputazione

1 Guida realizzata

1Commento della guida

I know this is very old, but did you by chance know what size the screws are? ive lost a lot somehow...

Damo V - Replica

Aggiungi Commento

Visualizza Statistiche:

Ultime 24 Ore: 3

Ultimi 7 Giorni: 10

Ultimi 30 Giorni: 49

Tutti i Tempi: 7,933