Questa versione può contenere modifiche errate. Passa all'ultima istantanea verificata.
Cosa ti serve
-
Questo passaggio è privo di traduzione. Aiuta a tradurlo
-
Locate the two clips on the bottom of the computer that support the battery.
-
-
Questo passaggio è privo di traduzione. Aiuta a tradurlo
-
Using your fingers, push the clips inward and then upward.
-
Lift the battery out of the computer.
-
-
Questo passaggio è privo di traduzione. Aiuta a tradurlo
-
Use a spudger to lift the back of the hinge cover on the left and right sides of the computer.
-
-
Questo passaggio è privo di traduzione. Aiuta a tradurlo
-
Lay the computer flat on a stable surface with the monitor pointing away from you.
-
-
-
Questo passaggio è privo di traduzione. Aiuta a tradurlo
-
Use a spudger to partially lift the hinge cover.
-
-
Questo passaggio è privo di traduzione. Aiuta a tradurlo
-
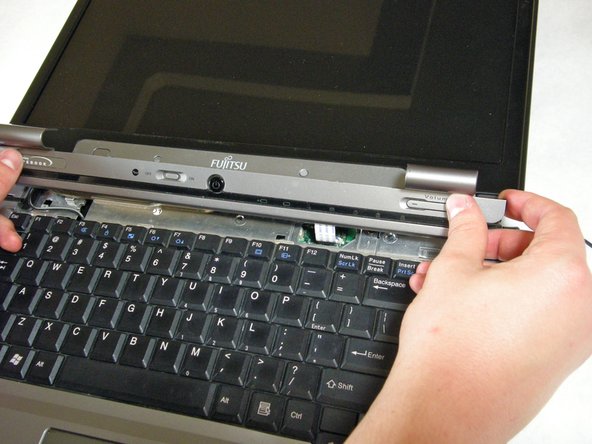
Lift the hinge cover enough to expose the ribbon cable.
-
-
Questo passaggio è privo di traduzione. Aiuta a tradurlo
-
Disconnect the ribbon cable from the motherboard and remove the hinge cover from the computer.
-
-
Questo passaggio è privo di traduzione. Aiuta a tradurlo
-
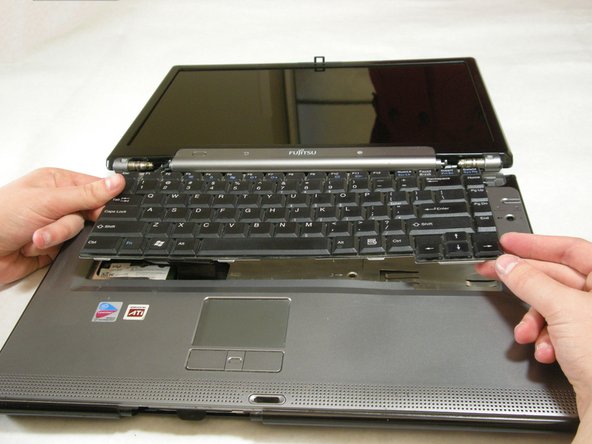
Lift the keyboard enough to expose the ribbon cable.
-
-
Questo passaggio è privo di traduzione. Aiuta a tradurlo
-
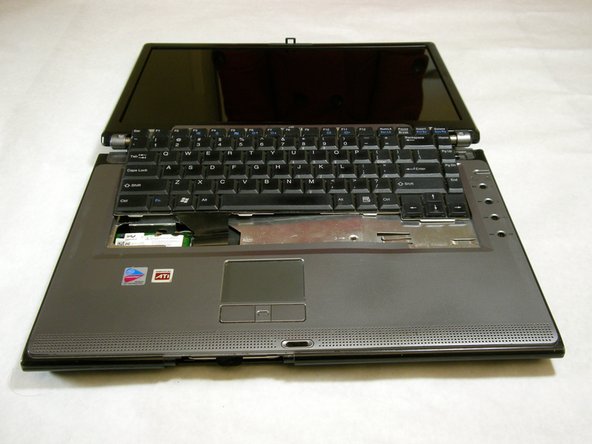
Use a spudger to release the ribbon cable from the motherboard.
-
-
Questo passaggio è privo di traduzione. Aiuta a tradurlo
-
After the ribbon has been detached, carefully remove the keyboard.
-
-
Questo passaggio è privo di traduzione. Aiuta a tradurlo
-
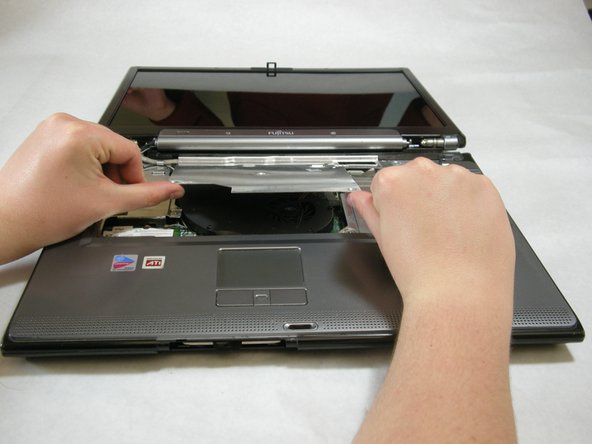
Remove the following screws, all labeled "3."
-
Two 8.63mm screws.
-
One 7.65mm screw.
-
One 5.74mm screw.
-
Remove the following screw, labeled "15."
-
One 17.81mm screw.
-


