Questa versione può contenere modifiche errate. Passa all'ultima istantanea verificata.
Cosa ti serve
-
Questo passaggio è privo di traduzione. Aiuta a tradurlo
-
First, push in the lens and remove the two AA batteries.
-
-
Questo passaggio è privo di traduzione. Aiuta a tradurlo
-
Open the rear compartment and remove the film cartridge.
-
-
-
Questo passaggio è privo di traduzione. Aiuta a tradurlo
-
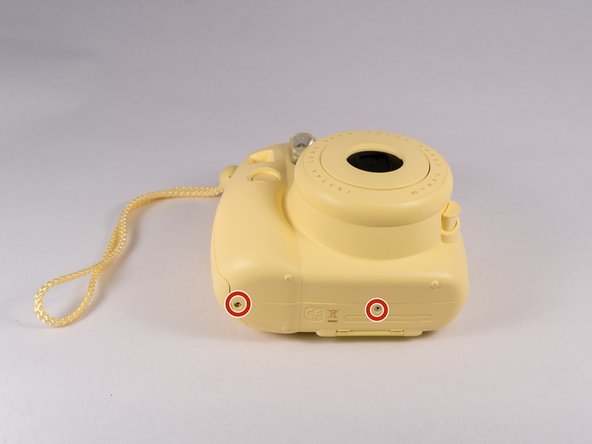
Remove screws from bottom of camera with a small #00 Phillips Screwdriver. Then remove screws around the camera. Additionally, there are two screws in the battery compartment which also need to be removed.
-
-
Questo passaggio è privo di traduzione. Aiuta a tradurlo
-
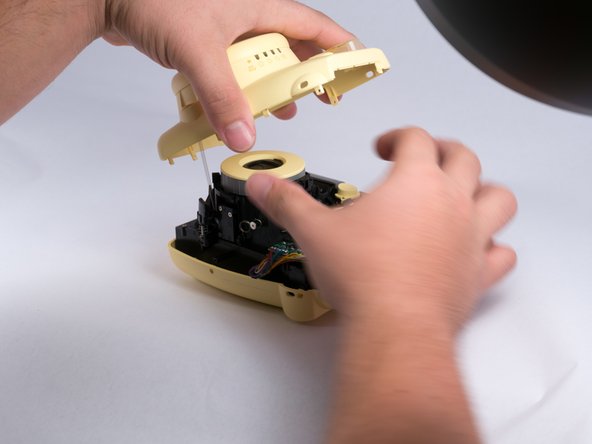
Once all screws are removed, gently pry open the front casing with your hands or plastic opening tools carefully. Do note that there will be a spring that attaches the front casing and the main circuit board, so refrain from allowing excess tension on the spring.
-
-
Questo passaggio è privo di traduzione. Aiuta a tradurlo
-
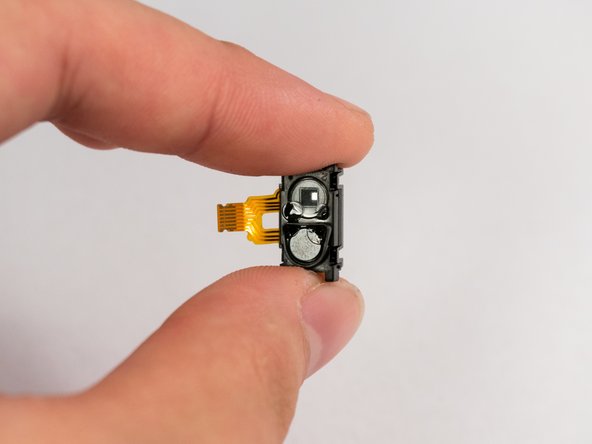
Locate the IR blaster, remove the connecting wire ribbon by prying the connector latch open on the motherboard, then sliding it out. Once the wire ribbon is disconnected, the IR blaster can be lifted away from the motherboard.
-


Annulla: non ho completato questa guida.
Un'altra persona ha completato questa guida.

Team

USF Tampa, Team 4-1, Meier Fall 2015 Membro di USF Tampa, Team 4-1, Meier Fall 2015
USFT-MEIER-F15S4G1
4 Membri
24 Guide realizzate