Salta al contenuto principale

Fugoo Tough Speaker Replacement

Cosa ti serve

  1. Fugoo  Tough Speaker Replacement, Speaker: passo 1, immagine 1 di 3 Fugoo  Tough Speaker Replacement, Speaker: passo 1, immagine 2 di 3 Fugoo  Tough Speaker Replacement, Speaker: passo 1, immagine 3 di 3
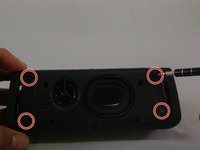
    • Begin by unscrewing the four 10.72mm corner screws using the Hex 2.0 screwdriver.

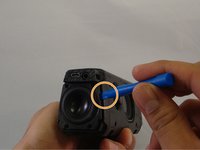
    • Using the Hex 1.5 screwdriver, remove the remaining six 5.79mm screws on the front of the speaker.

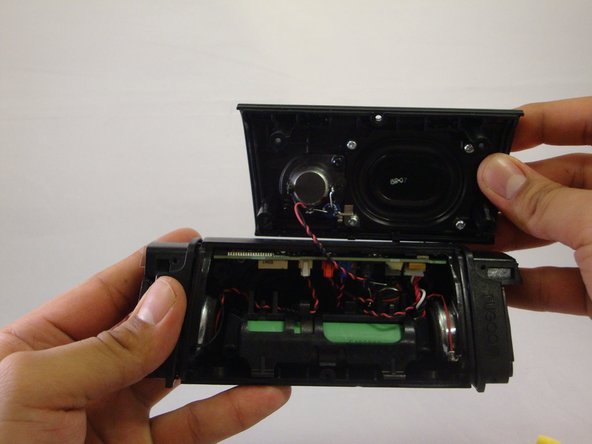
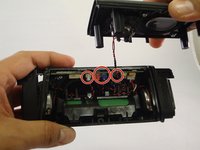
    • Pull the front part of shell away from the back part of shell.

  2. Fugoo  Tough Speaker Replacement: passo 2, immagine 1 di 3 Fugoo  Tough Speaker Replacement: passo 2, immagine 2 di 3 Fugoo  Tough Speaker Replacement: passo 2, immagine 3 di 3
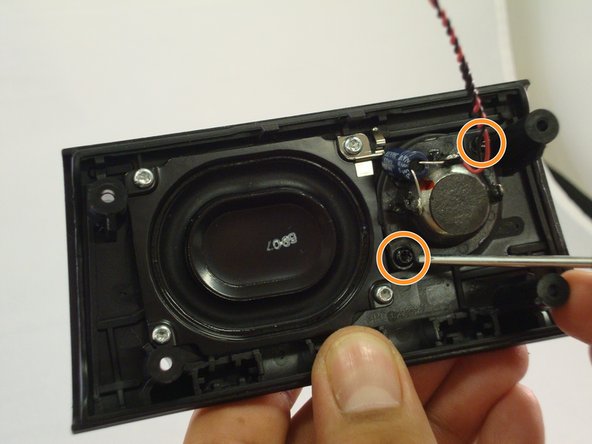
    • Change to the Hex 1.3 head. Remove all 4-5.57mm screws on both speaker covers.

    • Pull on the speaker covers to remove them.

    • Rotate to side the speaker that has the charging port. Remove the 4-5.57mm screws of the facing you.

    • Rotate the speaker 180 degrees and then remove 4-5.57 screws on the side speaker that has the power/bluetooth buttons

  3. Fugoo  Tough Speaker Replacement: passo 3, immagine 1 di 3 Fugoo  Tough Speaker Replacement: passo 3, immagine 2 di 3 Fugoo  Tough Speaker Replacement: passo 3, immagine 3 di 3
    • Have back of speaker facing you, remove 5-12.70mm screws using 1/16 flat head screwdriver.

    • Using the plastic opening tool you will be able to wedge back face of speaker off.

  4. Fugoo  Tough Speaker Replacement: passo 4, immagine 1 di 2 Fugoo  Tough Speaker Replacement: passo 4, immagine 2 di 2
    • The circuit board will be revealed, you will notice the various individual speaker connections to the circuit board.

    • Remove black "clip" from the circuit board. Using the T9 screwdriver head remove the 2-7.20mm screws, and remove the speaker from the body of the device

  5. Fugoo  Tough Speaker Replacement: passo 5, immagine 1 di 1
    • At this point, the next step would be to replace the speaker.

  6. Fugoo  Tough Speaker Replacement: passo 6, immagine 1 di 1
    • Undo the clips that are now exposed inside of the speaker. The colors of these clips are white, red, blue.

    • Once the clips are undone, you can freely remove and replace the corresponding speaker within the device.

Conclusione

To reassemble your device, follow these instructions in reverse order.

0 Commenti

Aggiungi Commento

Visualizza Statistiche:

Ultime 24 Ore: 0

Ultimi 7 Giorni: 0

Ultimi 30 Giorni: 0

Tutti i Tempi: 448