Introduzione
Flipper Zero is a versatile multi-tool device that is widely used for hardware hacking, electronics prototyping, and security testing. One of its key features is its array of buttons, which allow users to interact with the device and perform various actions. However, like any mechanical component, the buttons on your Flipper Zero can eventually wear out or become damaged, leading to issues with functionality.
If you're experiencing issues with the buttons on your Flipper Zero, don't worry. Replacing the buttons is a relatively simple process that can be done with just a few tools and some basic knowledge. In this guide, we'll take you through the steps involved in replacing the buttons on your Flipper Zero, so you can continue to use this powerful tool for all your hardware hacking, electronics prototyping, and security testing needs.
Cosa ti serve
-
-
Go to Main Menu > Settings > Power.
-
Select Power OFF.
-
Confirm by pressing the Right-button.
-
-
-
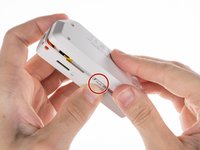
Eject the microSD card by pressing it with your fingernail.
-
-
Attrezzo utilizzato in questo passaggio:Phillips #0 Screwdriver$5.49
-
Use a PH0 screwdriver to unscrew the four long screws holding the back cover.
-
-
-
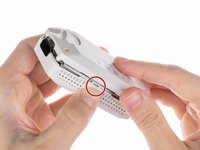
Press the middle of the top cover on both sides, one by one, to release the latches that hold the back cover in place.
-
Once the latches are released, you can remove the bottom cover.
-
-
Attrezzo utilizzato in questo passaggio:Phillips #0 Screwdriver$5.49
-
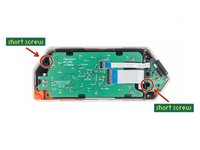
Use a PH0 screwdriver to unscrew the two short screws that are holding the chassis and top cover together.
-
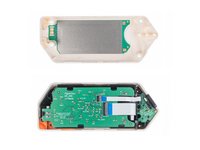
Once the screws are removed, separate the chassis from the top cover.
-
-
-
Attrezzo utilizzato in questo passaggio:Spudger$3.99
-
Disconnect the battery by carefully prying the connector with a Spudger and pulling it out.
-
-
Attrezzo utilizzato in questo passaggio:iFixit Opening Picks (Set of 6)$4.99
-
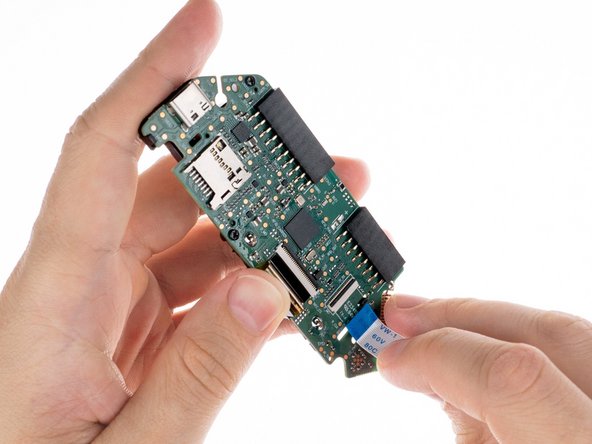
Disconnect the large ribbon cable from the board. Use a plastic pick to lift the latch up to open the lock and carefully pull it out of the connector.
-
-
-
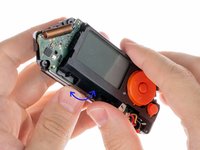
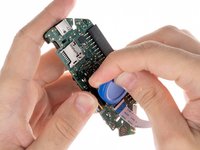
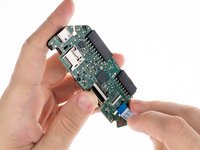
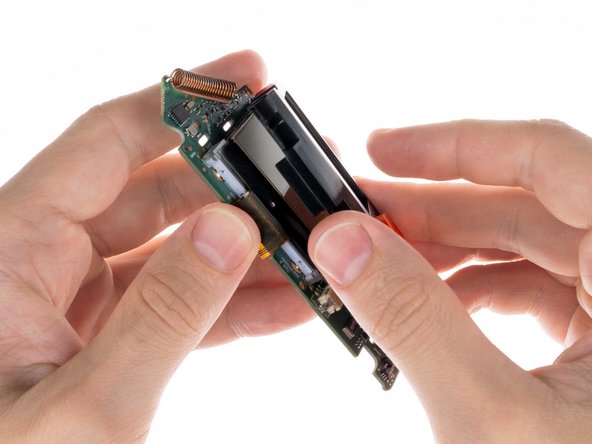
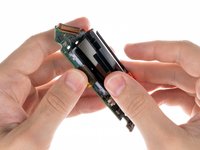
To release the battery chassis, lightly rock it back and forth while pulling the two parts apart.
-
-
Attrezzo utilizzato in questo passaggio:iFixit Opening Picks (Set of 6)$4.99
-
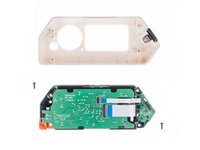
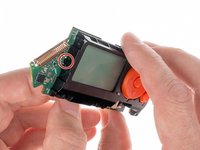
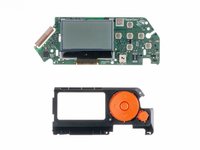
Use a plastic pick to lift the latch up to unlock the connector and carefully remove the ribbon cable.
-
-
Attrezzo utilizzato in questo passaggio:Phillips #0 Screwdriver$5.49
-
Unscrew the two short screws holding the button chassis using a PH0 screwdriver.
-
-
-
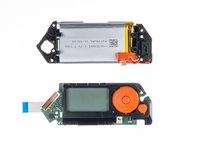
To seperate the button chassis and the board, press the latch on the side shown below and pull the chassis away from the board.
-
-
-
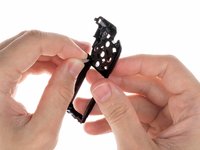
To remove the buttons you need to release the latches.
-
OK
-
D-pad
-
Back
-
The central button (OK) is removed after the navigation button (D-pad).
-
-
Attrezzo utilizzato in questo passaggio:Flathead 1.5 mm Screwdriver$5.49
-
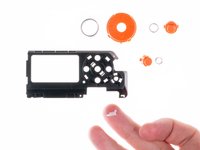
Release the latches with a flat head screwdriver.
-
-
-
Use a flat head screwdriver to release the light diffuser from the chassis and pull it out.
-


To reassemble your device, follow these instructions in reverse order.

2Commenti sulla guida
I don't believe the top buttons on the plastic top layer are the problem. It's the physical button underneath the circuitboard.
ifixit screwdrivers are too big for step 3 you must use wera PH0 or similar size