Introduzione
This is a guide that show you a good method to separate Samsung S9’s OLED screenand restore it with RMB-2 OCA Laminating Machine and Frozen Machine successfully.
Are you ready? Let’s roll.
Cosa ti serve
Panoramica Video
-
-
Initially, we have to use an 8 inches of Manual Vacuum Separator to heat the screen so that the residual glue on the screen can be soften.
-
After that, we use a clean cloth to wipe the OLED with a little glue cleanser, so it can remove the residual glue easily and efficiently.
-
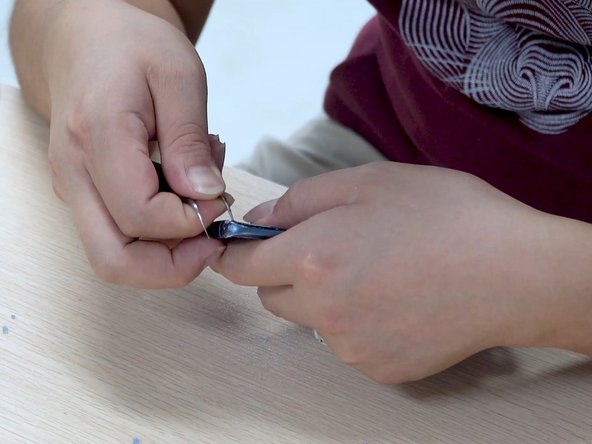
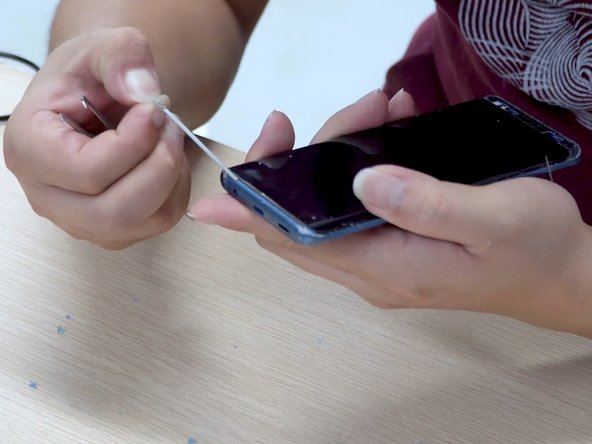
Then we should be patient and careful to use a yellow glue remover tool to remove the residual glue. Once removed, we should clean up the OLED with white oil.
-
-
-
The following part is using 17 inches of Frozen Machine to disassemble the mid-frame from the OLED. Firstly, we would place the whole screen into the working area of the frozen machine for freezing. Here it needs to take 5 minutes to freeze the screen.
-
Then we can use a poker card to separate the mid-frame under the low temperature after the freezing time is up.
-
Once separated the mid-frame, we have to use Test Boarder to test the display and the touch are on work or not.
-
-
-
-
Then we would laminate a new piece of OCA to the new glass of Samsung S9 once we confirmed the test result is no problem.
-
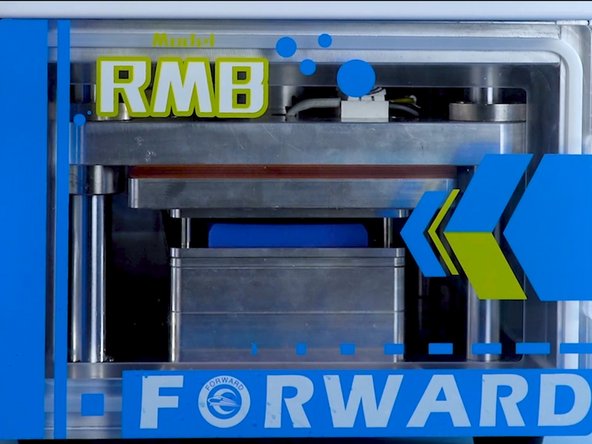
In the OCA lamination part, the tools we would use are the whole set high precision positioning edge mold of model S9 and RMB-2 OCA Lamination Machine. It would take 90s in this process.
-
Here we can see there’s no any bubble and folds on the new glass after the lamination through the third picture.
-
-
-
The next part is laminating the OLED. As same as above OCA lamination, we still use Samsung S9's positioing edge molds and RMB-2 OCA Lamination Machine. And it just need to take 90s in this LCD lamination process.
-
-
-
The last step is putting the screen into bubble remover to remove bubbles. It should take 5 mins to remove bubbles so that we can get a perfect effect.
-
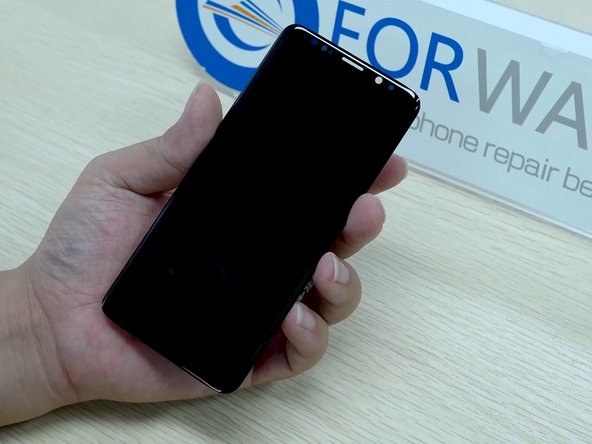
We can see the final screen lamination and bubble removing effects are extremely good.
-


That’s all steps for Samsung S9’s broken screen replacement. Reviewing the whole process, I think that mid-frame cold separating is a key point for the entire replace process. But I think you can do it well.
That’s all steps for Samsung S9’s broken screen replacement. Reviewing the whole process, I think that mid-frame cold separating is a key point for the entire replace process. But I think you can do it well.
Annulla: non ho completato questa guida.
Un'altra persona ha completato questa guida.